ecoQ DryAir Alpin Step-by-step guide for setting up, operating, and maintaining the ecoQ DryAir Alpin dehumidifier. Covers installation, humidity control, speed and timer settings, ionizer, continuous drainage, cleaning, maintenance, and troubleshooting for efficient moisture removal. -
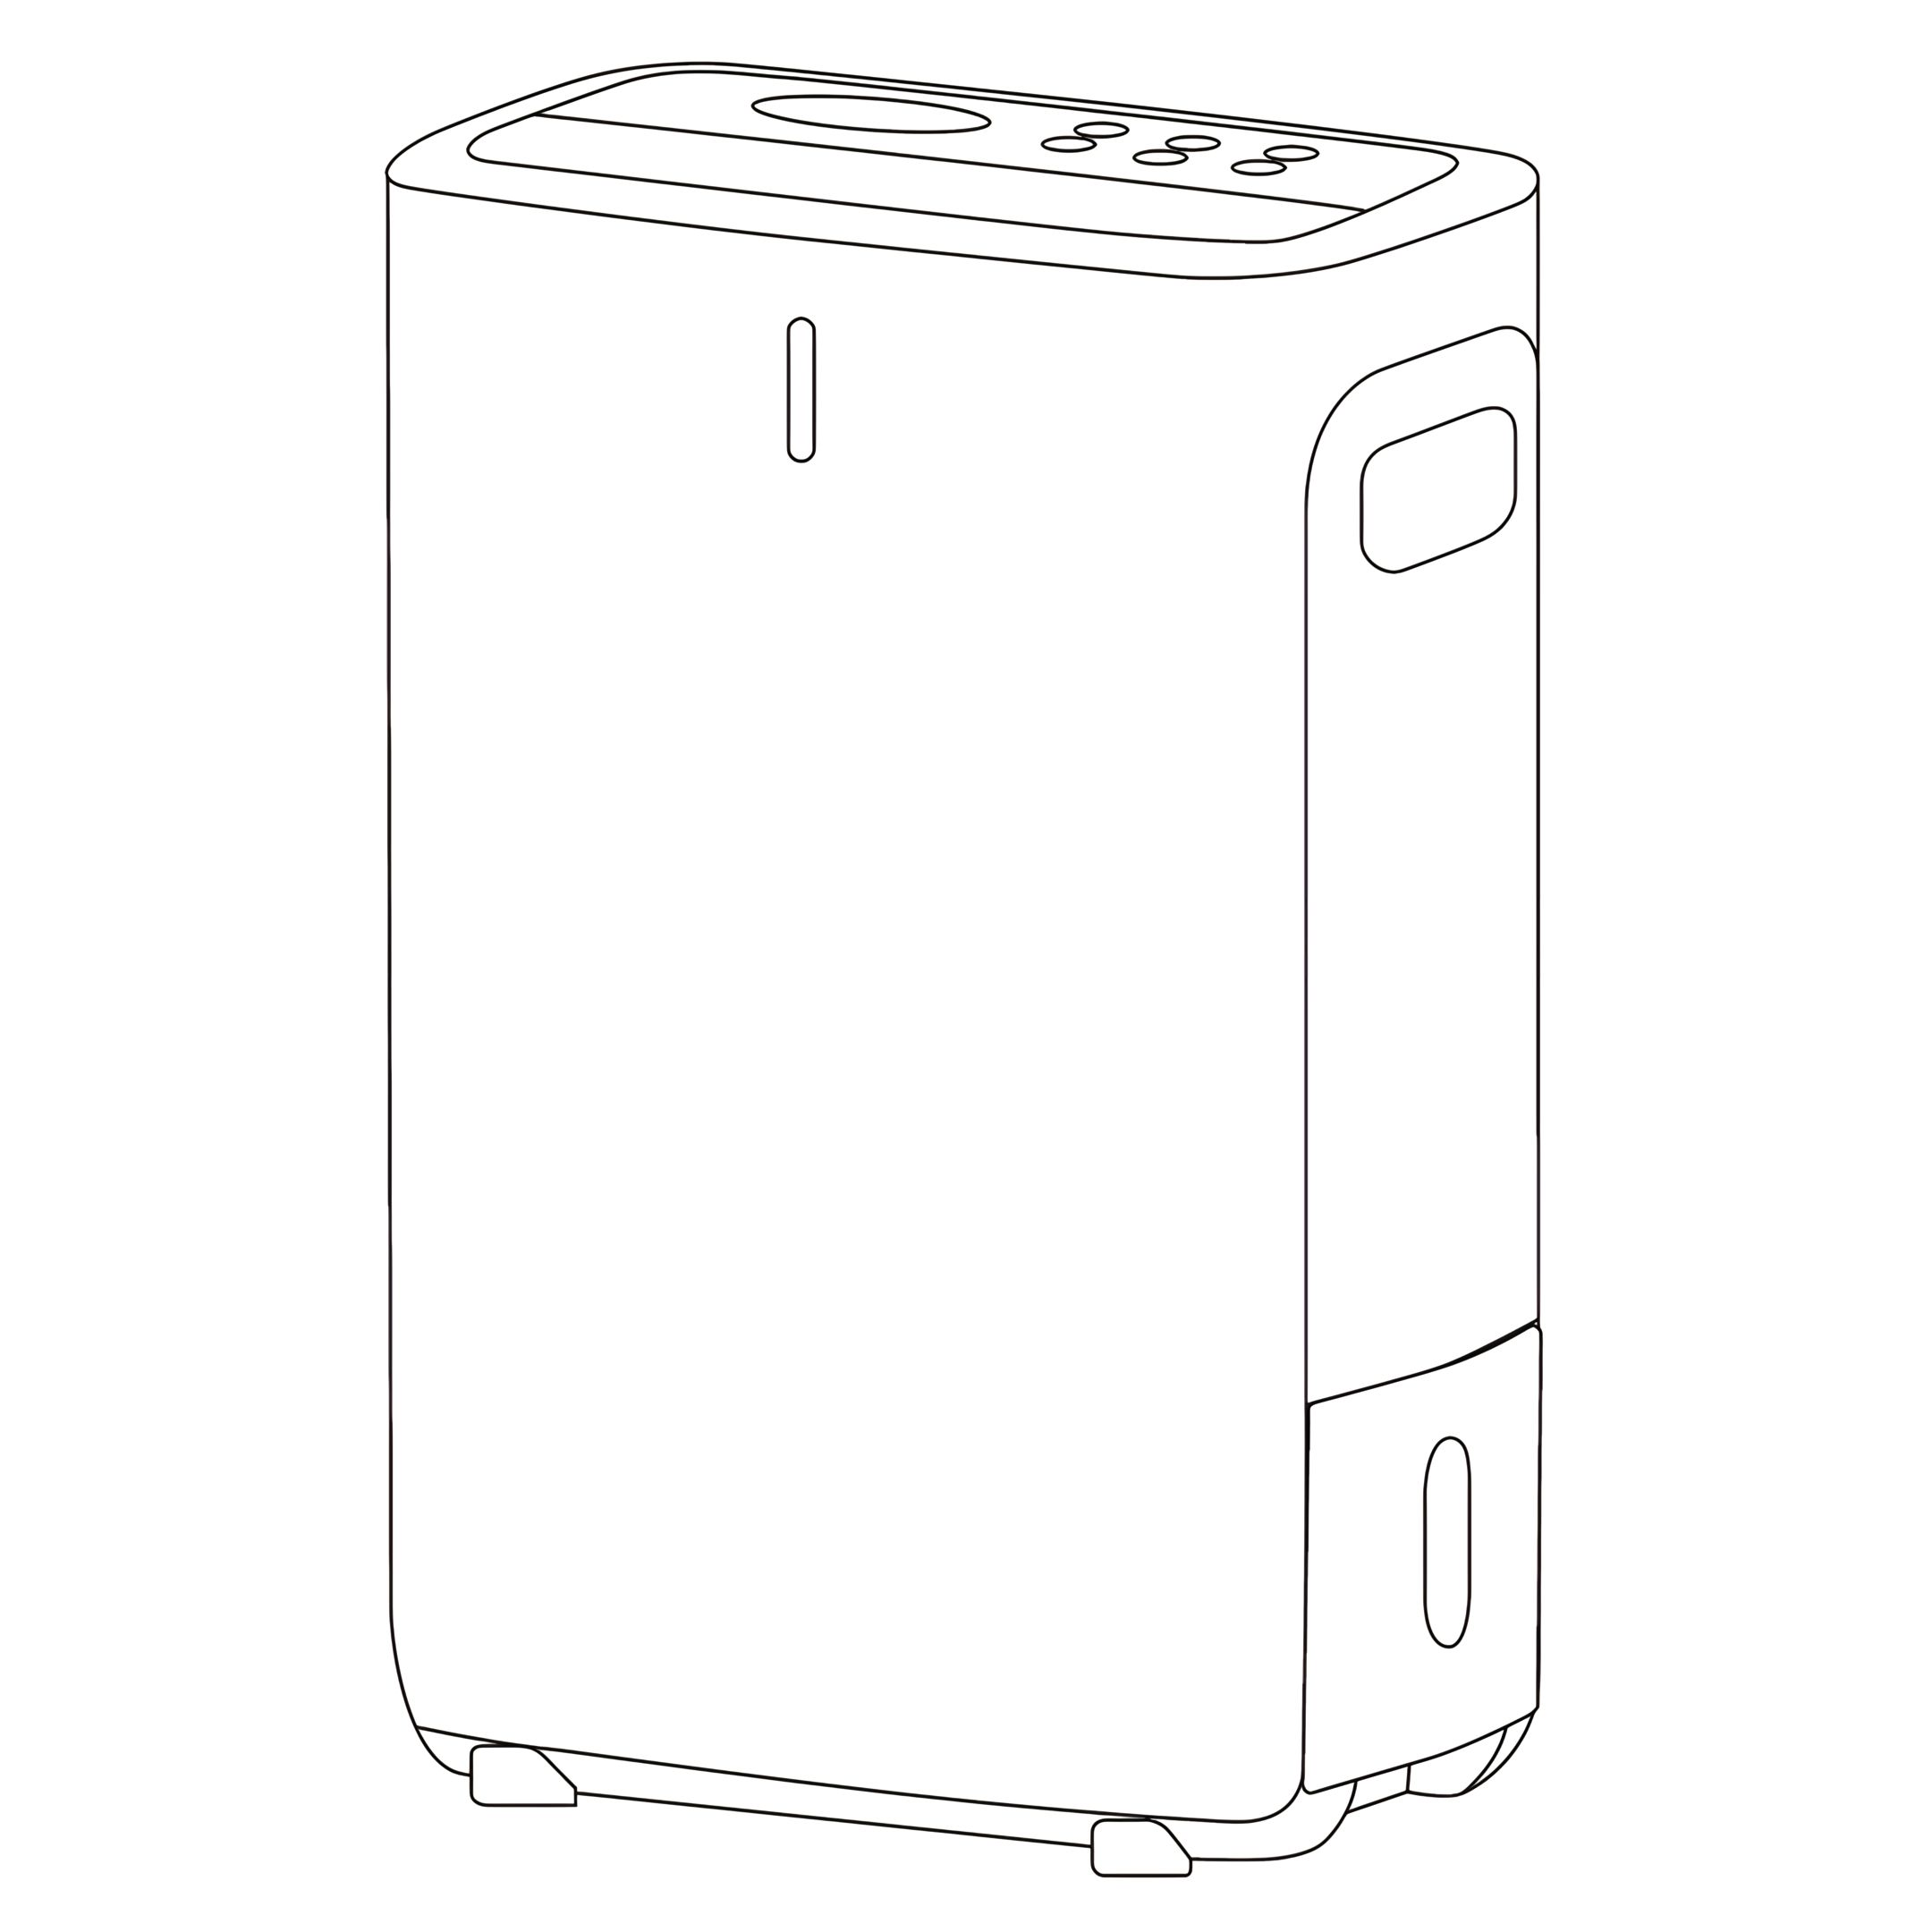
Operating Instructions 1. Power Button
-
Connect the unit to the mains socket. The unit
alarm will sound 3 times and the LED indicator (A)
light up white once.
-
Press the POWER button to turn the unit on.
The display will show the current humidity (%),
and the LED indicator (A) will light up as below.
| LED Indicator |
Room Humidity |
| Blue |
>60% |
| Green |
40-60% |
| Red |
<40% |
-
Press the POWER button to turn the unit off.
-
2. Humidity Button Press repeatedly to set the humidity between CO (Continuous dehumidifying) / 40% /
45% / 50% / 55% / 60% / 65% / 70% / 75% / 80%.
-
As soon as the ambient humidity reaches the set target value, the unit stops active dehumidification. The fan may continue to run. This is normal and does not mean that the unit is still actively dehumidifying.
-
When the ambient humidity falls at least two percentage points below the set target value, the unit switches off the heating element (PTC). The fan then continues to run for ten minutes at speed one and subsequently stops.
-
If the ambient humidity remains at least two percentage points below the set target value, the unit switches to monitoring mode. The fan runs every 30 minutes for three minutes at speed one and then switches off again.
-
As soon as the ambient humidity rises again to at least two percentage points above the set target value, the unit resumes operation. The fan speed is adjusted depending on the deviation from the target humidity.
-
To activate continuous dehumidification, press the HUMIDITY button repeatedly until “CO” is displayed. In this mode, the unit operates continuously, regardless of the ambient humidity.
Note: The fan may continue to run during this phase. This is normal and does not mean that the unit is still actively dehumidifying.
-
3. Speed Button Press repeatedly to switch between:
-
1 (low speed)
-
2 (medium speed)
-
3 (high speed)
-
A (auto mode)
In auto-mode (A), the unit automatically adjusts the fan speed based on the difference between the current ambient humidity and the automatically set target value.
-
The target humidity is set according to the ambient temperature:
Below 17 °C -> 55 %.
17 °C to 23 °C -> 50 %.
From 24 °C -> 45 %.
-
If the ambient humidity exceeds the target value, the speed is adjusted as follows:
Difference of 1 % to 10 %: speed 1.
Difference of 11 % to 20 %: speed 2.
Difference of 21 % or more: speed 3.
As soon as the ambient humidity falls at least two percentage points below the target value, active dehumidification stops. The fan continues to run for ten minutes at speed one and then switches off.
If the humidity remains below the target value, the fan runs every 30 minutes for three minutes for monitoring.
When the humidity rises again to at least two percentage points above the target value, the unit automatically resumes operation.
-
4. Ionizer Button Select the negative ion release function.
-
5. Timer Button Press TIMER button repeatedly to select the auto shut off time from 0-8 hours.
-
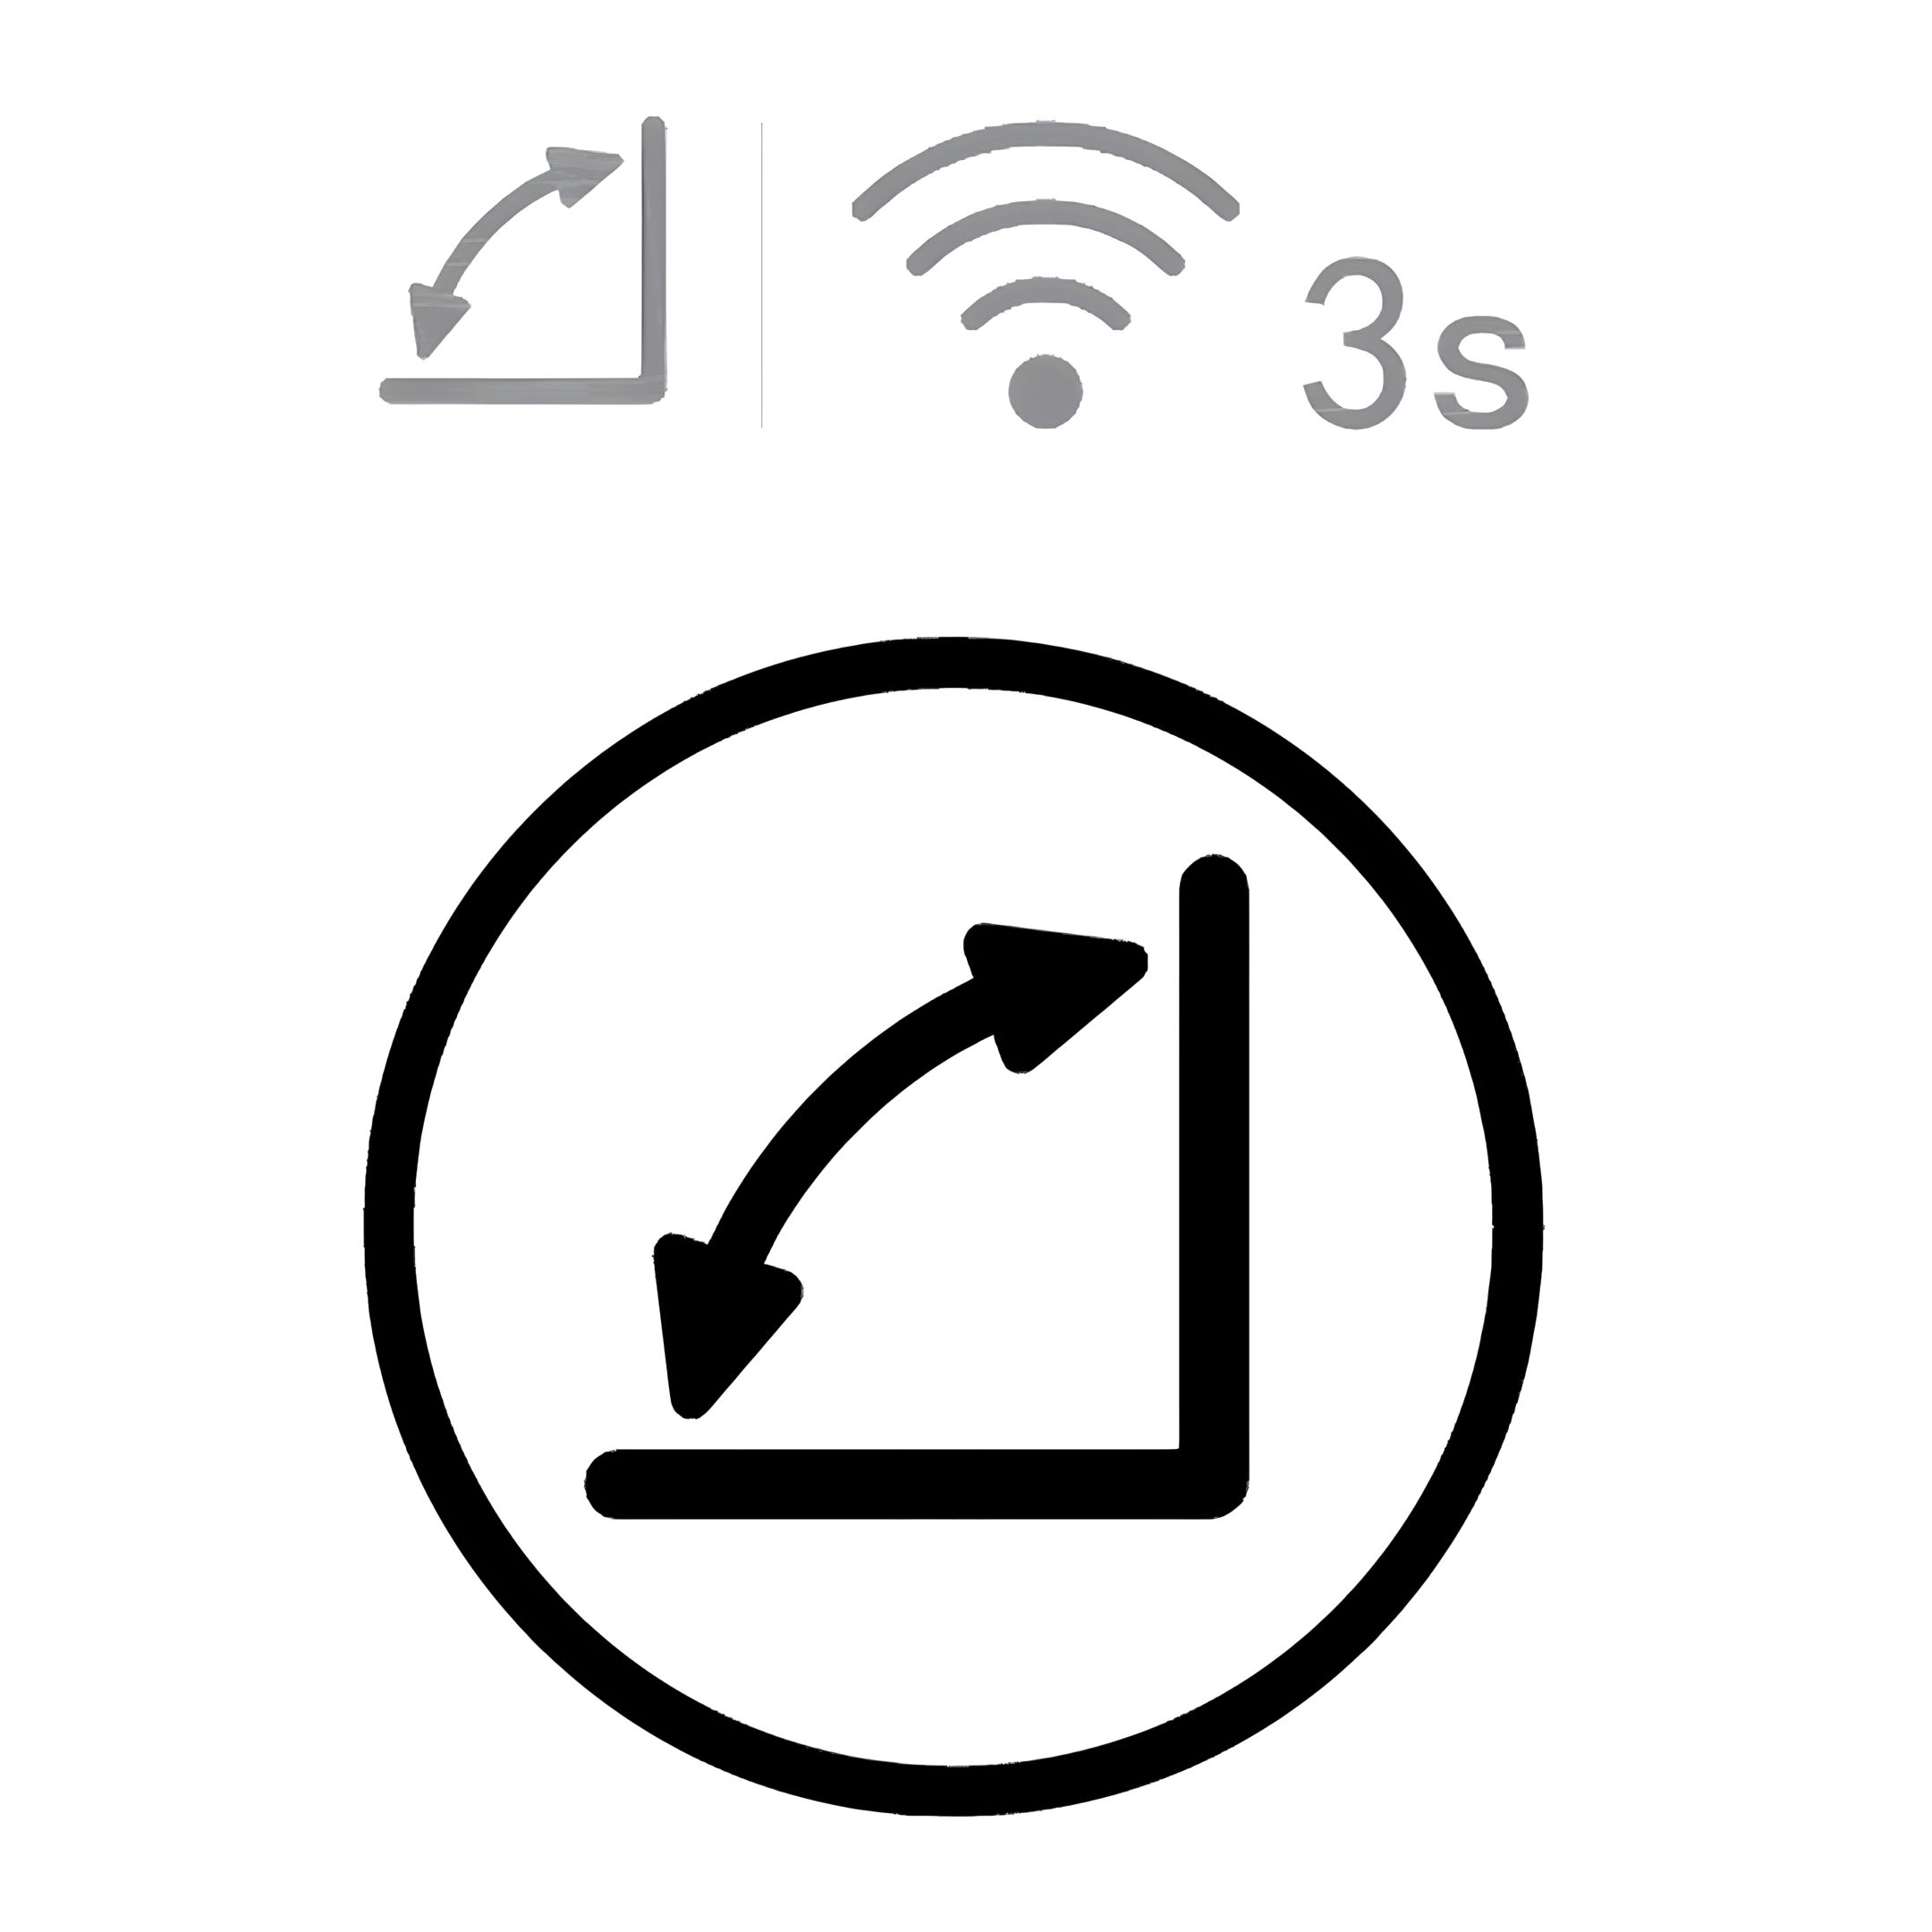
6. Swing Button The louvre can only be adjusted when the unit is switched on.
- Press SWING button repeatedly to switch on/off auto-swing.
-
7. Suitable Environments This unit is designed to operate in the following ambient domestic room conditions:
- Minimum: >0°C
- Maximum: 35°C
IIt is suitable for use in bedrooms, studies, basements, kitchens, storage rooms, and home computer rooms.
Note: During operation, the unit releases warm air from the outlet. This is normal for adsorption-based
dehumidifiers and should be considered when using it in small or temperature-sensitive rooms.
This unit is intended for indoor domestic use only.
-
8. Post-Run Cooling and Safety Protection
- If the unit is knocked over, bumped, or is not standing upright during operation, the
internal protection system will automatically stop operation. To resume use, simply
switch the unit on again.
- When the unit is turned off, the fan motor will continue running for approximately 10
minutes.
- This is a normal part of the drying cycle: it allows residual heat and moisture to be
flushed out of the system and helps protect the internal adsorption element.
- Do not unplug the unit while the fan is still running.
- Interrupting the post-run cooling phase may cause heat buildup inside the unit, which
can lead to overheating, reduced efficiency, or damage to internal components.
- Wait until the fan has stopped and the air outlet closes automatically before
unplugging.
-
9. Switch ON/OFF the Button Beep Tone While the unit is on, press the SWING button and TIMER button for about 3 seconds to
switch on/off the button beep tone.
Note: The unit will still beep a warning tone while the water tank is full.
-
10. Overheat Protection
- This unit has an overheat protection device. If the unit overheats, the display will show
C1 or C2.
- The heater inside will shut down automatically but the fan motor will continue
running for another 10 minutes before shutting down.
- Do not unplug the unit whilst fans
are running.
- Unplug the unit from the mains socket when the fan motor stops.
-
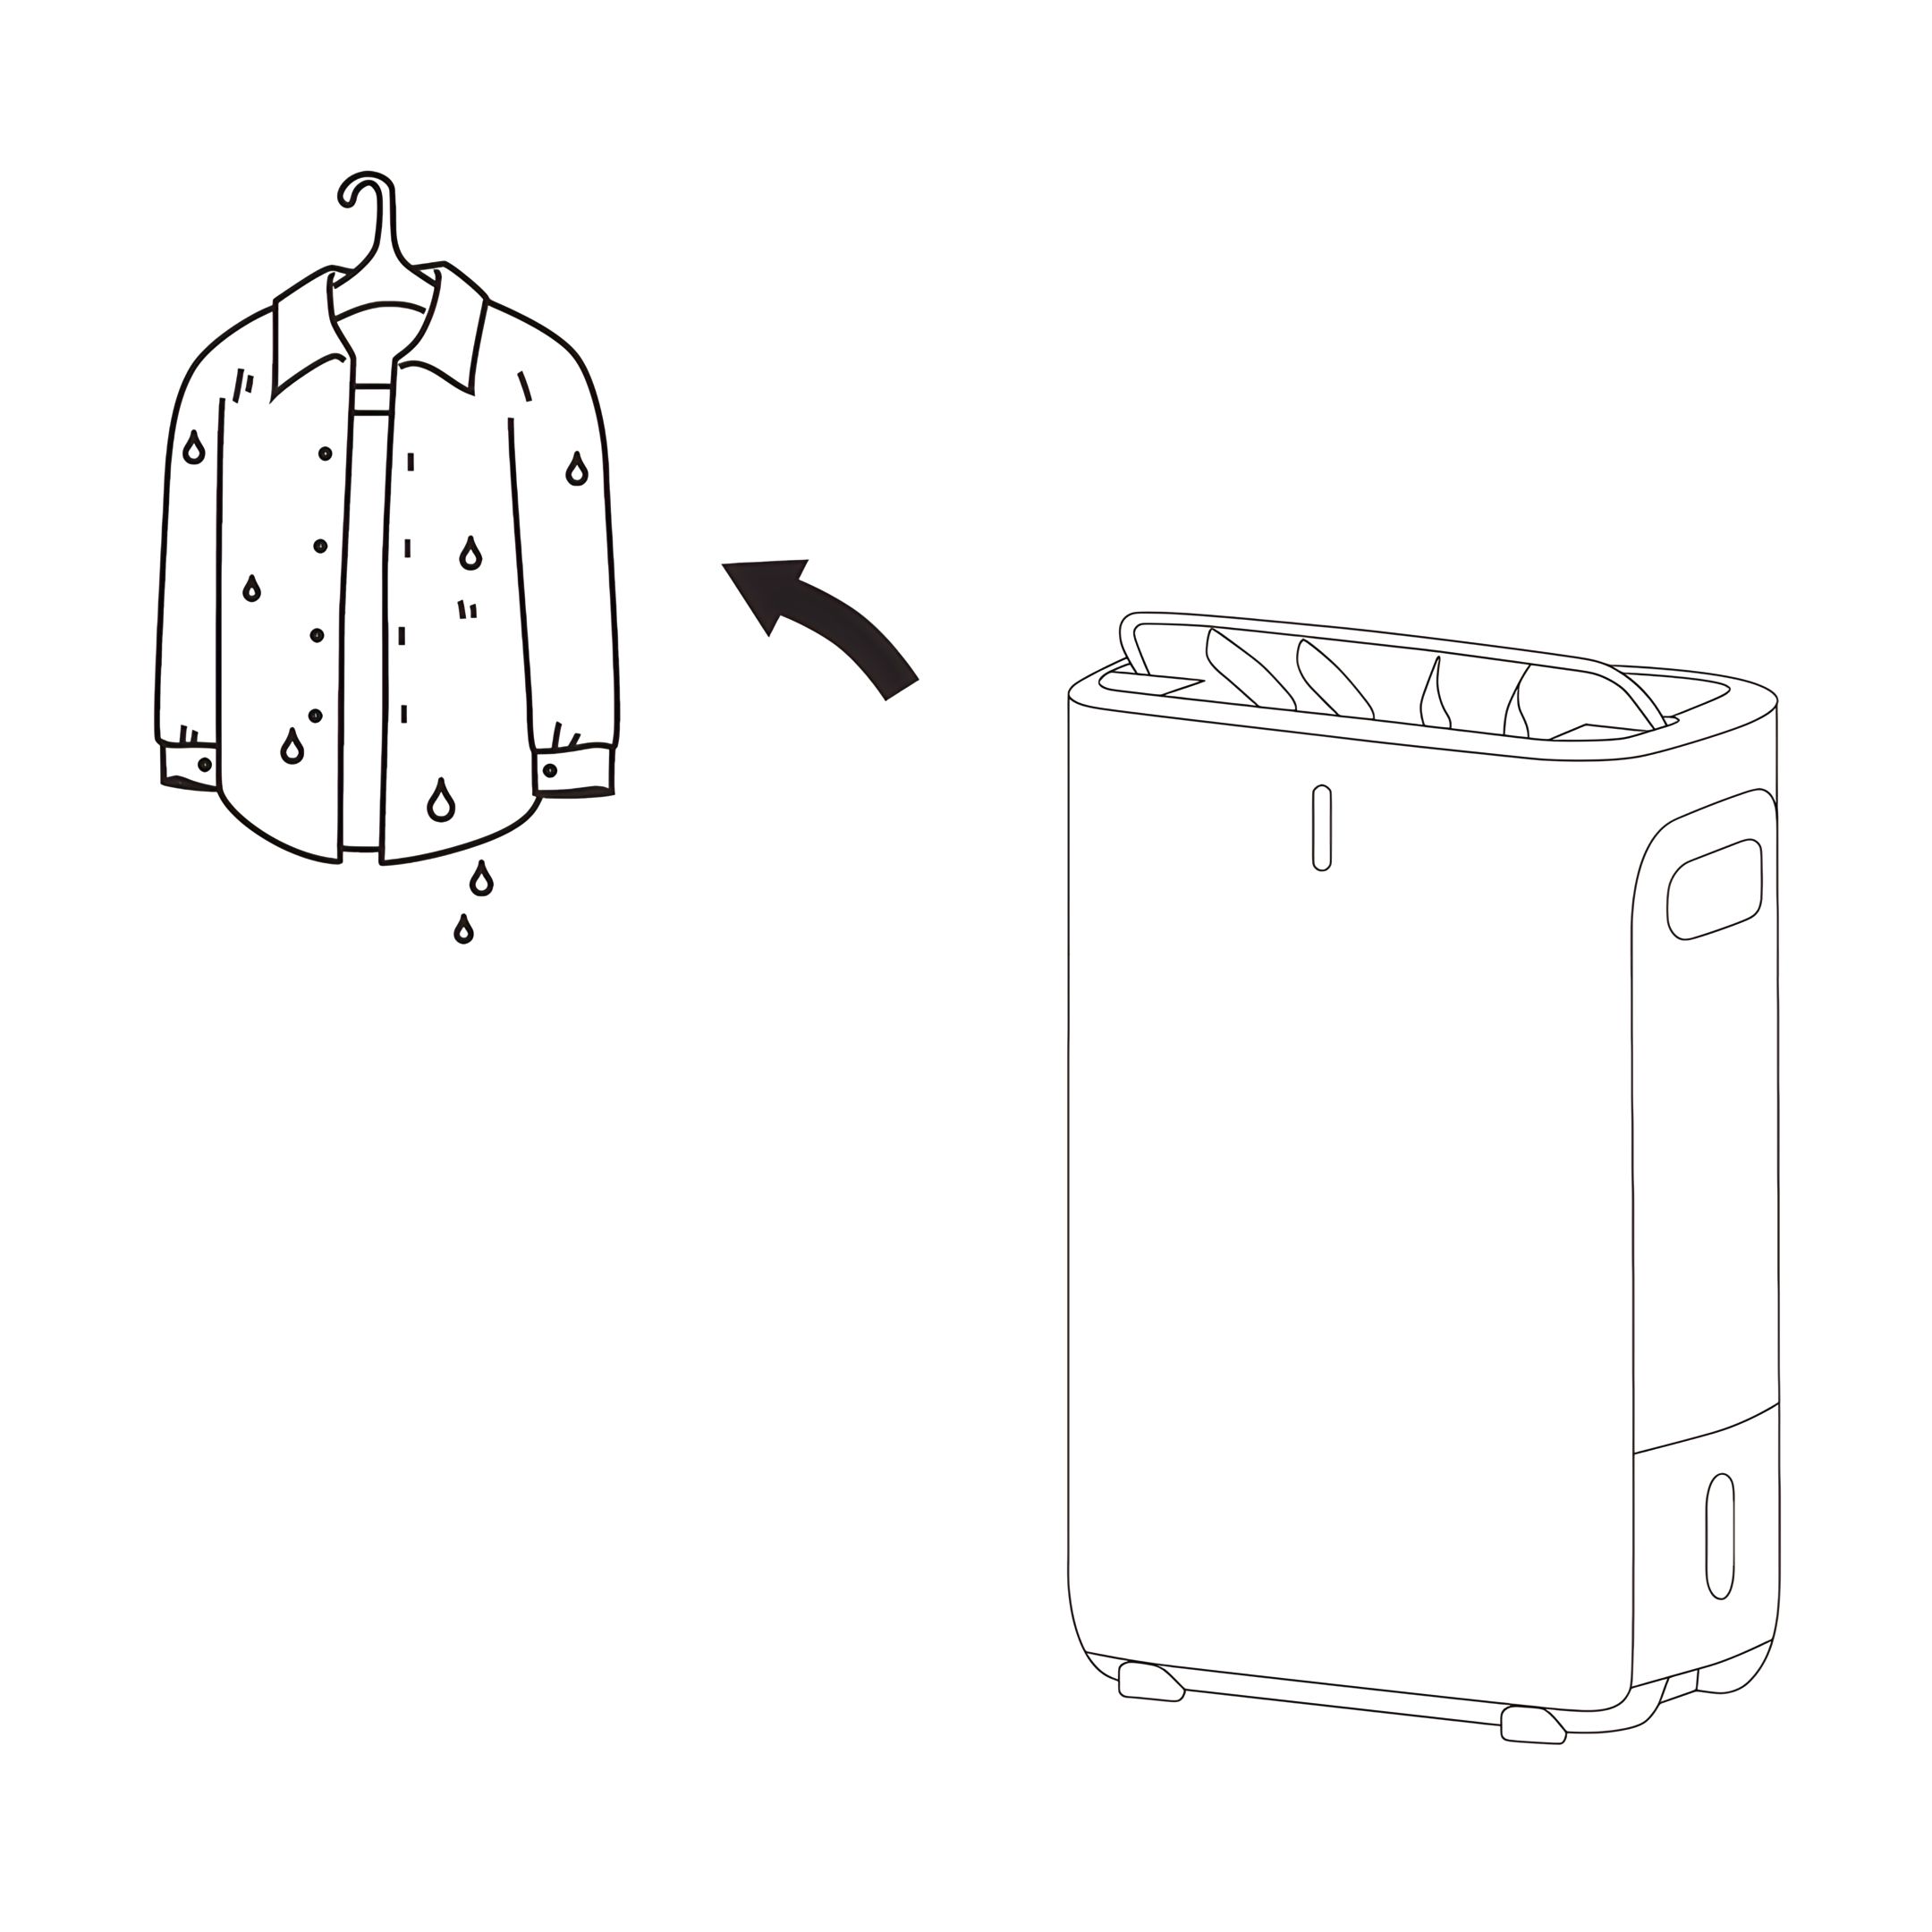
11. Laundry Drying
-
When drying clothes, activate the Laundry Mode (display shows “CO”) using the Ionisation Button (press for 2s).
-
Place the unit next to the damp laundry and direct the warm airflow toward the clothes.
Note: Laundry Mode is available only when fan speed is set to level 1–3.
Additional note: Laundry Mode automatically stops after a total of six hours of operation. The timer is cumulative and does not reset when the water tank is emptied and reinserted.
Important: Do not place the unit directly under wet laundry. Water must not drip onto the appliance – risk of damage or electric shock.
-
Drainage 12. Water Tank Full
- When the water tank is full, the unit will beep
10 times.
- The LED Indicator will flash in red, the
display will show Water Tank Full icon and the
unit will automatically stop operating (but the fan
motor will still be on for further 10 minutes).
- Turn
off the unit and remove the water tank.
- Empty the
water and then refit the water tank.
- Turn the unit
on again and continue operation.
Warning: Do not unplug the unit whilst
fans are running.
-
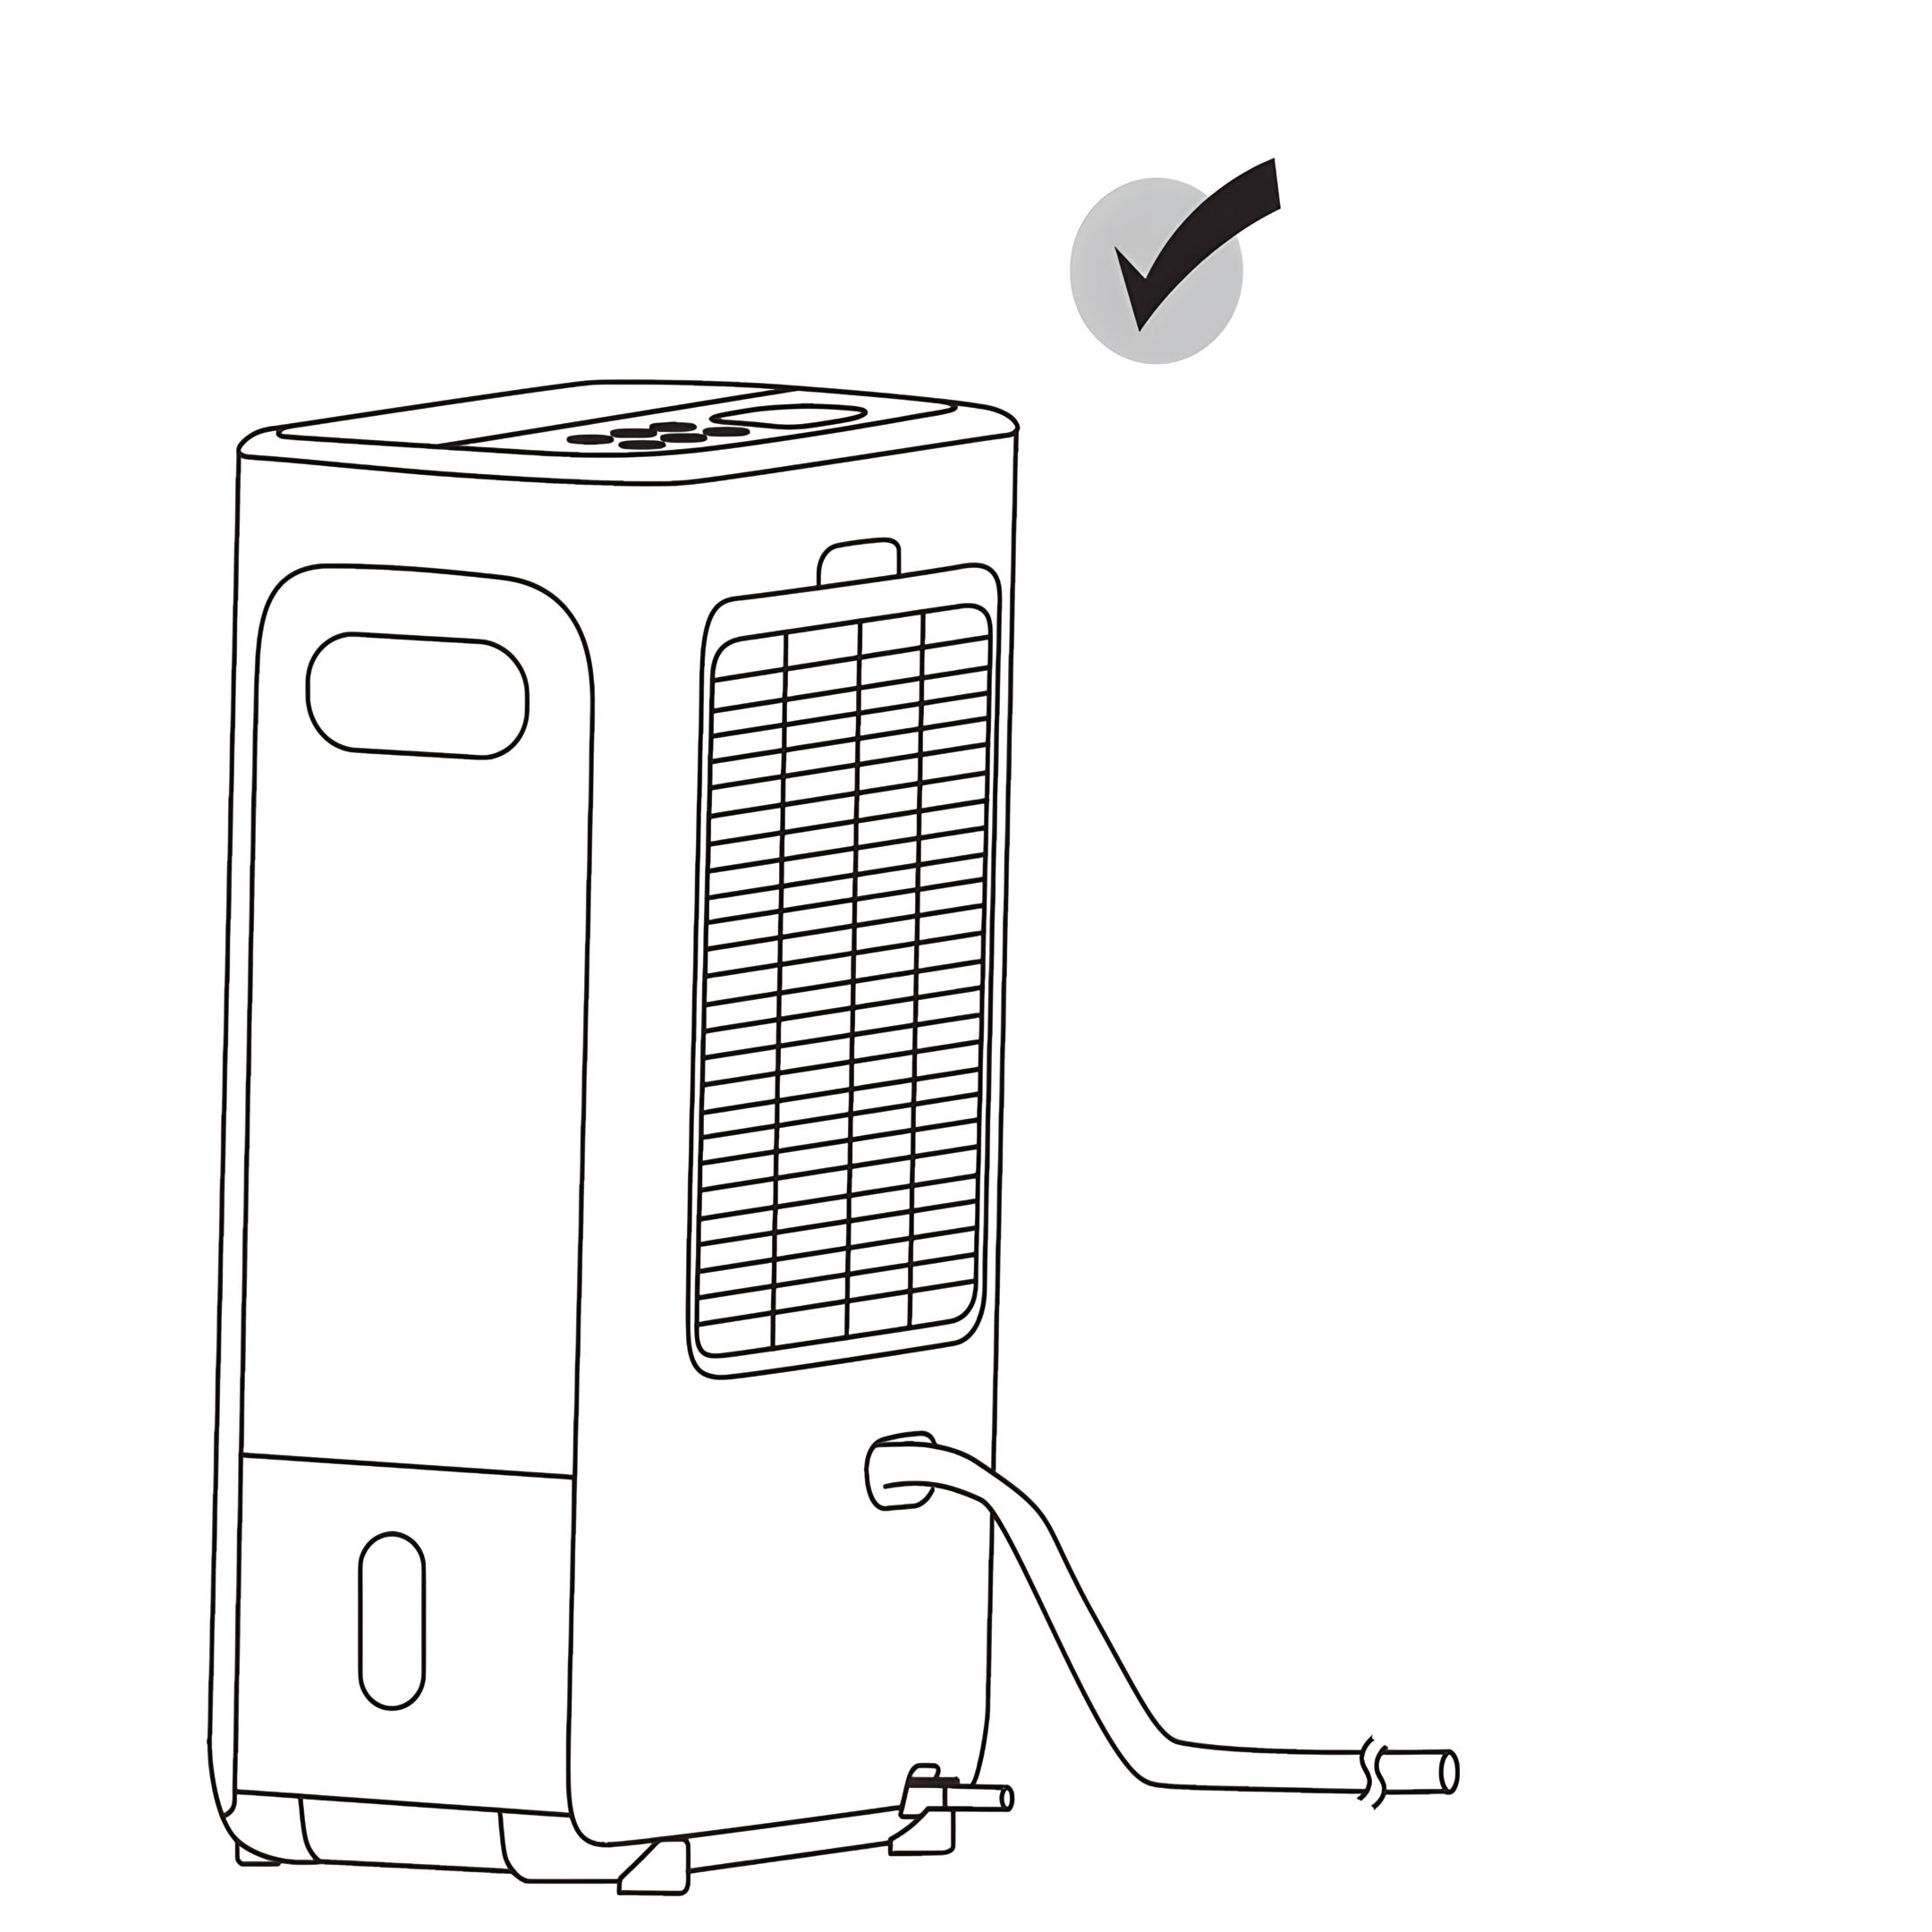
13. Continuous Drainage Water can be automatically emptied into a floor drain by attaching the unit with a water
hose.
- Insert the water hose into the drain outlet as shown on the left. Lead the hose to a
suitable drainage facility.
- Once the hose is connected correctly, the unit can continue operating as usual.
Safety:
- When the hose is not being used, remove the hose from the drain outlet.
- The hose level must be lower than the drainage outlet, see diagrams
shown below. Otherwise, water might flow back to the water tank.
-
Cleaning & Maintenance 14. Safety
- Make sure that the unit is unplugged from
the mains socket before cleaning and other
maintenance.
- Remove the water tank from the unit.
-
15. Maintenance of Your Air Filter The build up of dust reduces the efficiency of the unit. To
prevent the dust from clogging up the unit always use it with
the air filter in place.
Clean the air filter every two weeks. If the unit is operating in
a dusty environment, clean it more frequently.
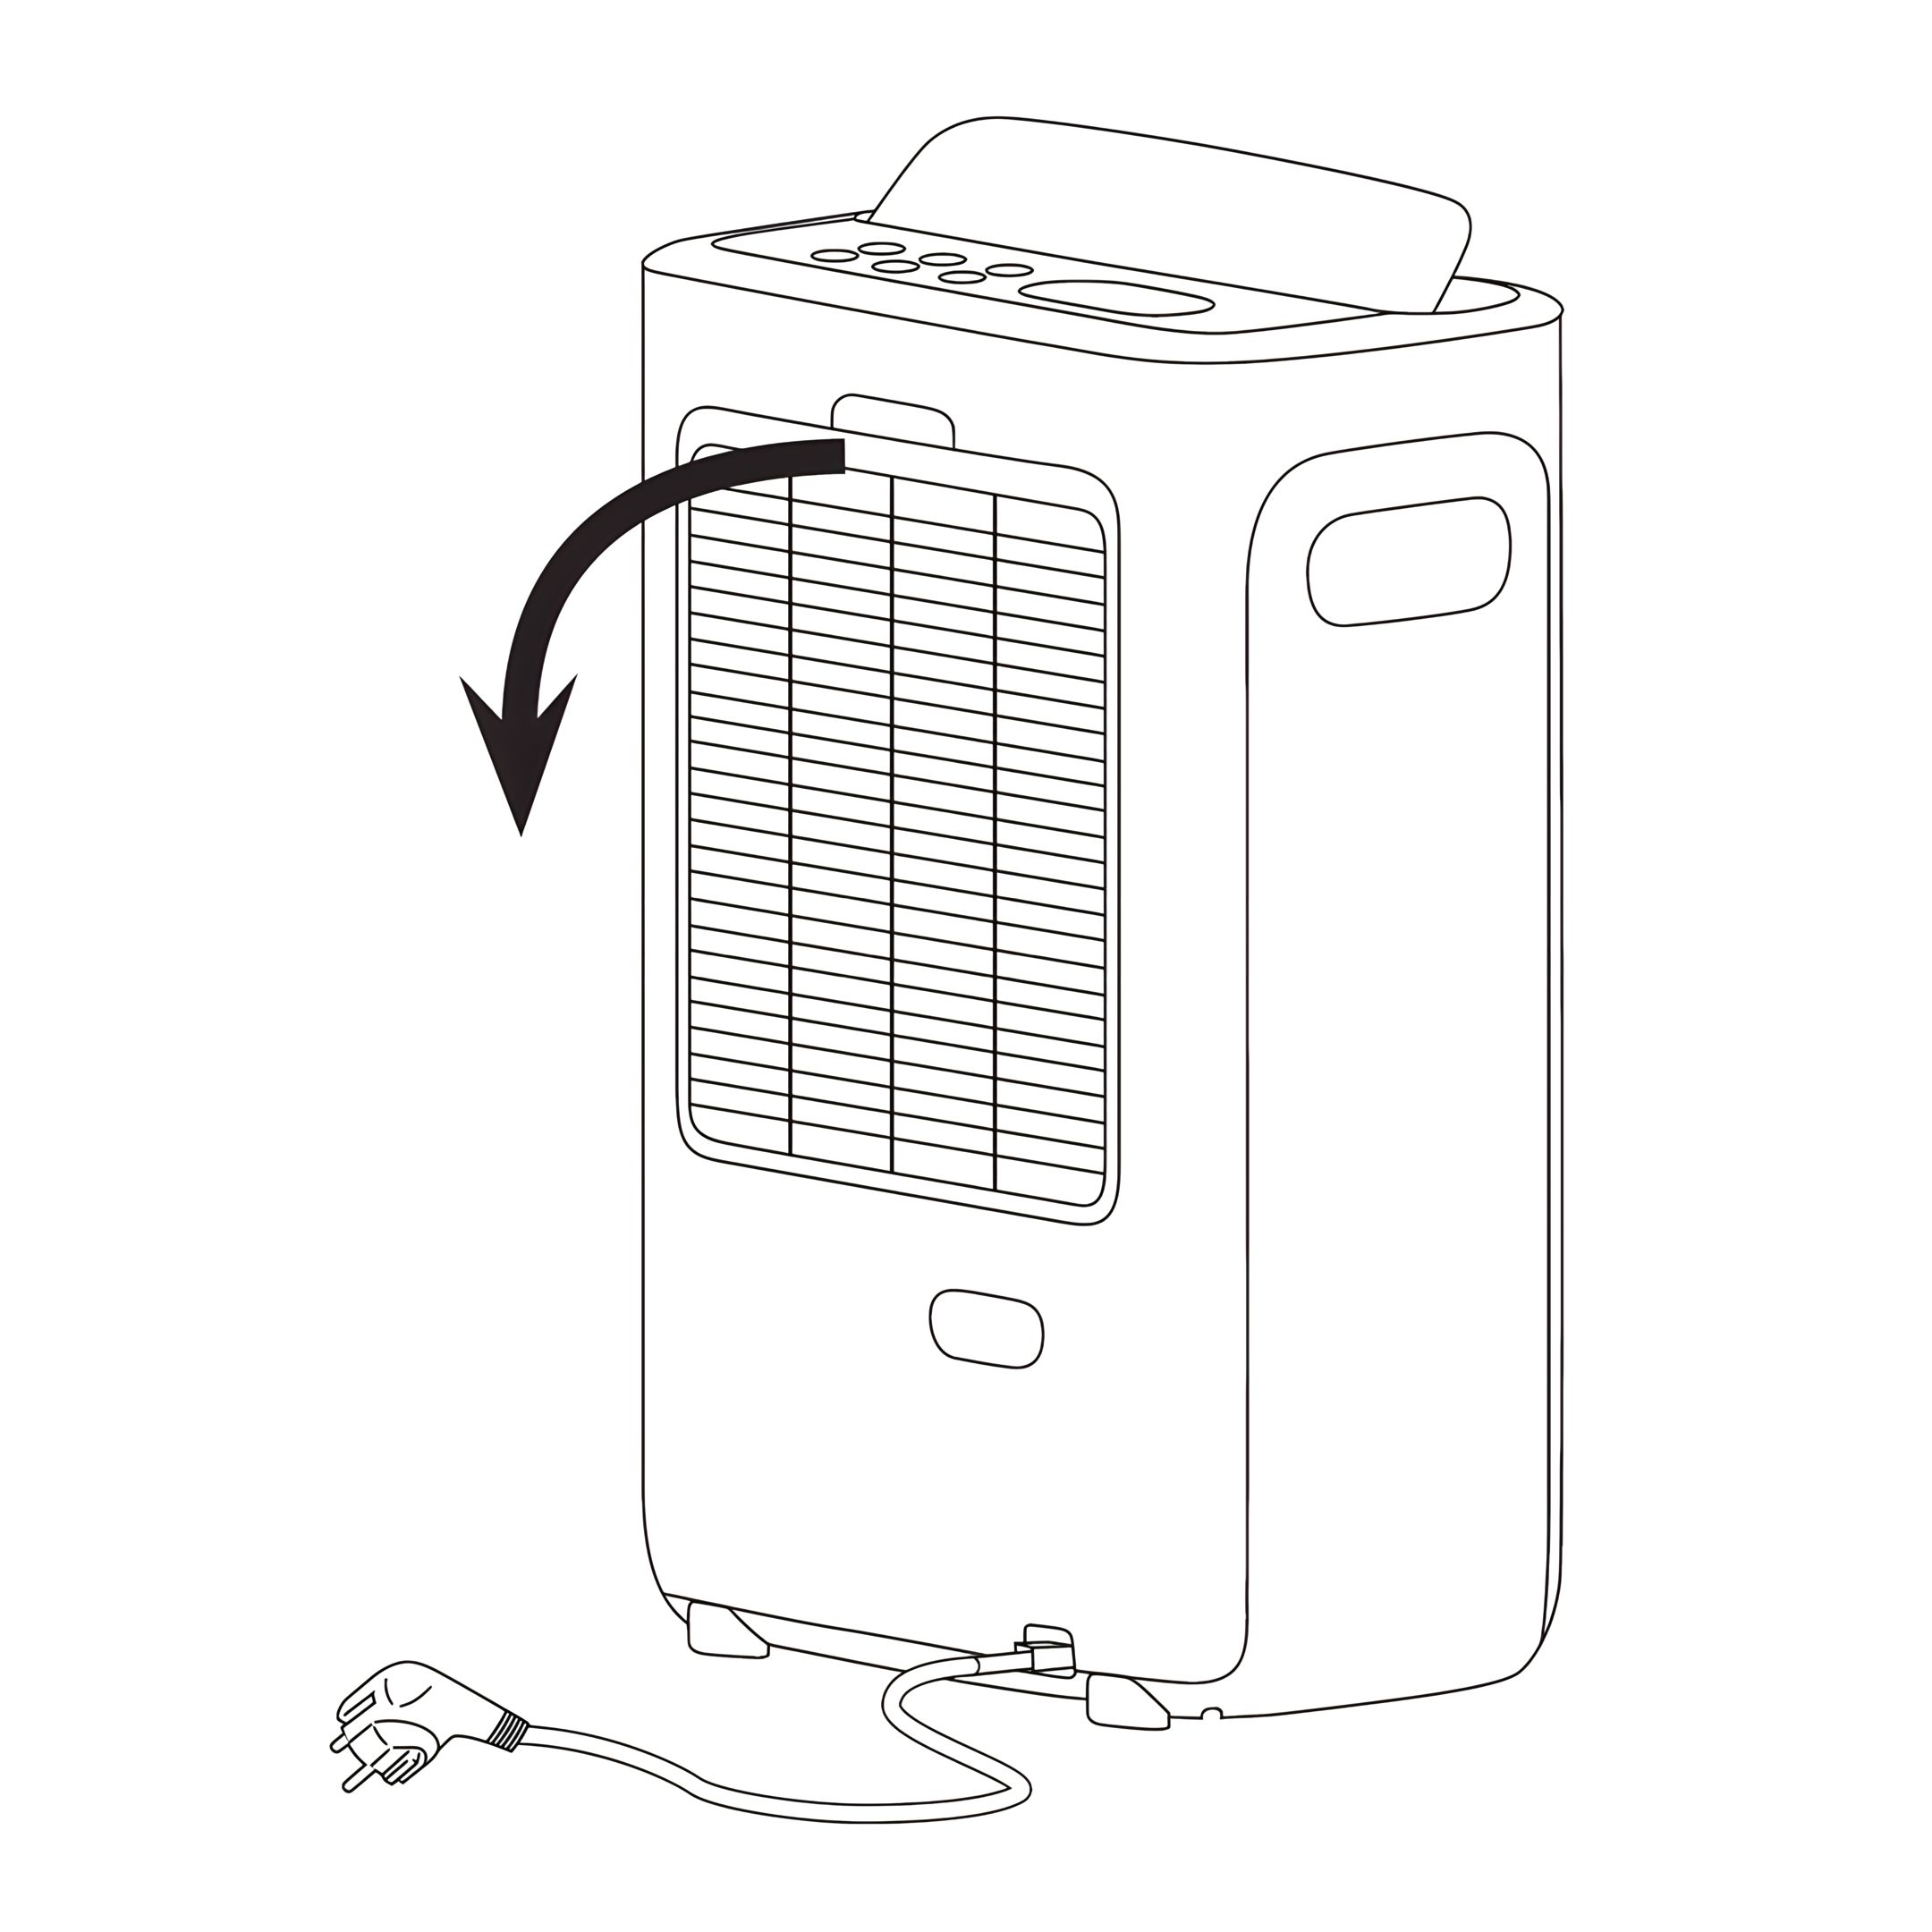
- Slide the air filter out of the unit.
- Rinse the filter with clean water.
- Before refitting the filter, make sure it is completely dry.
- Do not bend the filter and ensure it is inserted correctly.
-
16. Cleaning the Unit
- Wipe the exterior of the unit with a soft damp cloth or sponge.
- Dry with a clean, dry cloth.
- Do not use alcohol, solvents, abrasive cleaners, or spray water directly
onto the unit.
- Never immerse the unit in water.
- Cleaning the Water Tank.
- Empty the water tank regularly and rinse it with clean water.
- For more thorough cleaning, you may use a mild solution of water and
vinegar (1 part vinegar to 3 parts water) or a suitable descaling agent
intended for plastic components.
- Rinse the tank thoroughly after cleaning and allow it to dry completely
before reinserting.
-
Wi-Fi Connection 17. Information on the ecofort SMART App This application allows you to operate the unit via your home network.
A prerequisite is a permanent Wi-Fi connection to your router and the “ecofort SMART” app (iOS & Android)
-
18. Prerequisites Before connecting, please ensure the following:
- The "ecofort SMART" app is installed on your smartphone and you have created a user account.
- The device is plugged in and in pairing mode (the Wi-Fi symbol on the device is flashing).
- Your smartphone is near the device.
- Bluetooth is enabled on your smartphone.
- Your smartphone is connected to your 2.4 GHz Wi-Fi network. (Note: 5 GHz networks are not supported).
-
19. Establishing the Connection (Pairing)
- Activate Pairing Mode on the Device: In standby mode, press and hold the Swing button on the device for approx. 3 seconds until the Wi-Fi symbol starts to flash rapidly.
- Open the ecofort SMART App: Open the app on your smartphone.
- Find Device: The app should now automatically detect the device via Bluetooth and display it on the screen. Follow the on-screen instructions to select the device.
- Enter Wi-Fi Details: The app will ask you to enter the password for your Wi-Fi network. The credentials will then be securely transferred to the device.
- Connection Complete: Once the connection is successfully established, the Wi-Fi symbol on the device will light up steadily. You can now operate the device via the app.
If the connection is not established after 3 minutes, the device will cancel the pairing attempt and the Wi-Fi indicator will turn off. In this case, please restart the process.
-
20. Important Note The device can only be paired with a single ecofort user account and cannot be controlled from multiple devices simultaneously.
-
21. Disconnecting To permanently disconnect the Wi-Fi connection from the device, press and hold the Swing button on the device for approx. 5 seconds until the Wi-Fi indicator turns off.
-
Troubleshooting 22. The LED Indicator flashes, and the display shows Water Tank Full icon. -
23. Dehumidifying function does not work. Clean the air filter. Make sure that the air inlet and the air
outlet are not obstructed.
-
24. Excessive noise
- Ensure the unit is on a stable flat surface.
- Clean the air filter.
-
25. No air coming out from the air outlet -
26. C1 or C2 The unit is equipped with an overheat protection device. If overheating occurs, the display will show C1 or C2. The heater inside will shut down automatically, but the fan motor will continue running for about 10 minutes before the unit stops completely. Do not unplug the unit while the fans are still running.
• Disconnect the unit from the power supply only after it has completely stopped.
• Allow the unit to cool down fully.
• Clean the air filter.
• Make sure that the air inlet and air outlet are not blocked.
• Ensure the unit is not placed too close to walls or furniture and that air can circulate freely.
• Reconnect the unit to the power supply and restart it only after it has cooled down.
|