Step-by-step guide for assembling, operating, and maintaining the GRLLR Dome Kettle Charcoal BBQ. Includes setup instructions, grilling operation, temperature control, cleaning, storage, and safety information for safe and efficient outdoor cooking.
Product Information
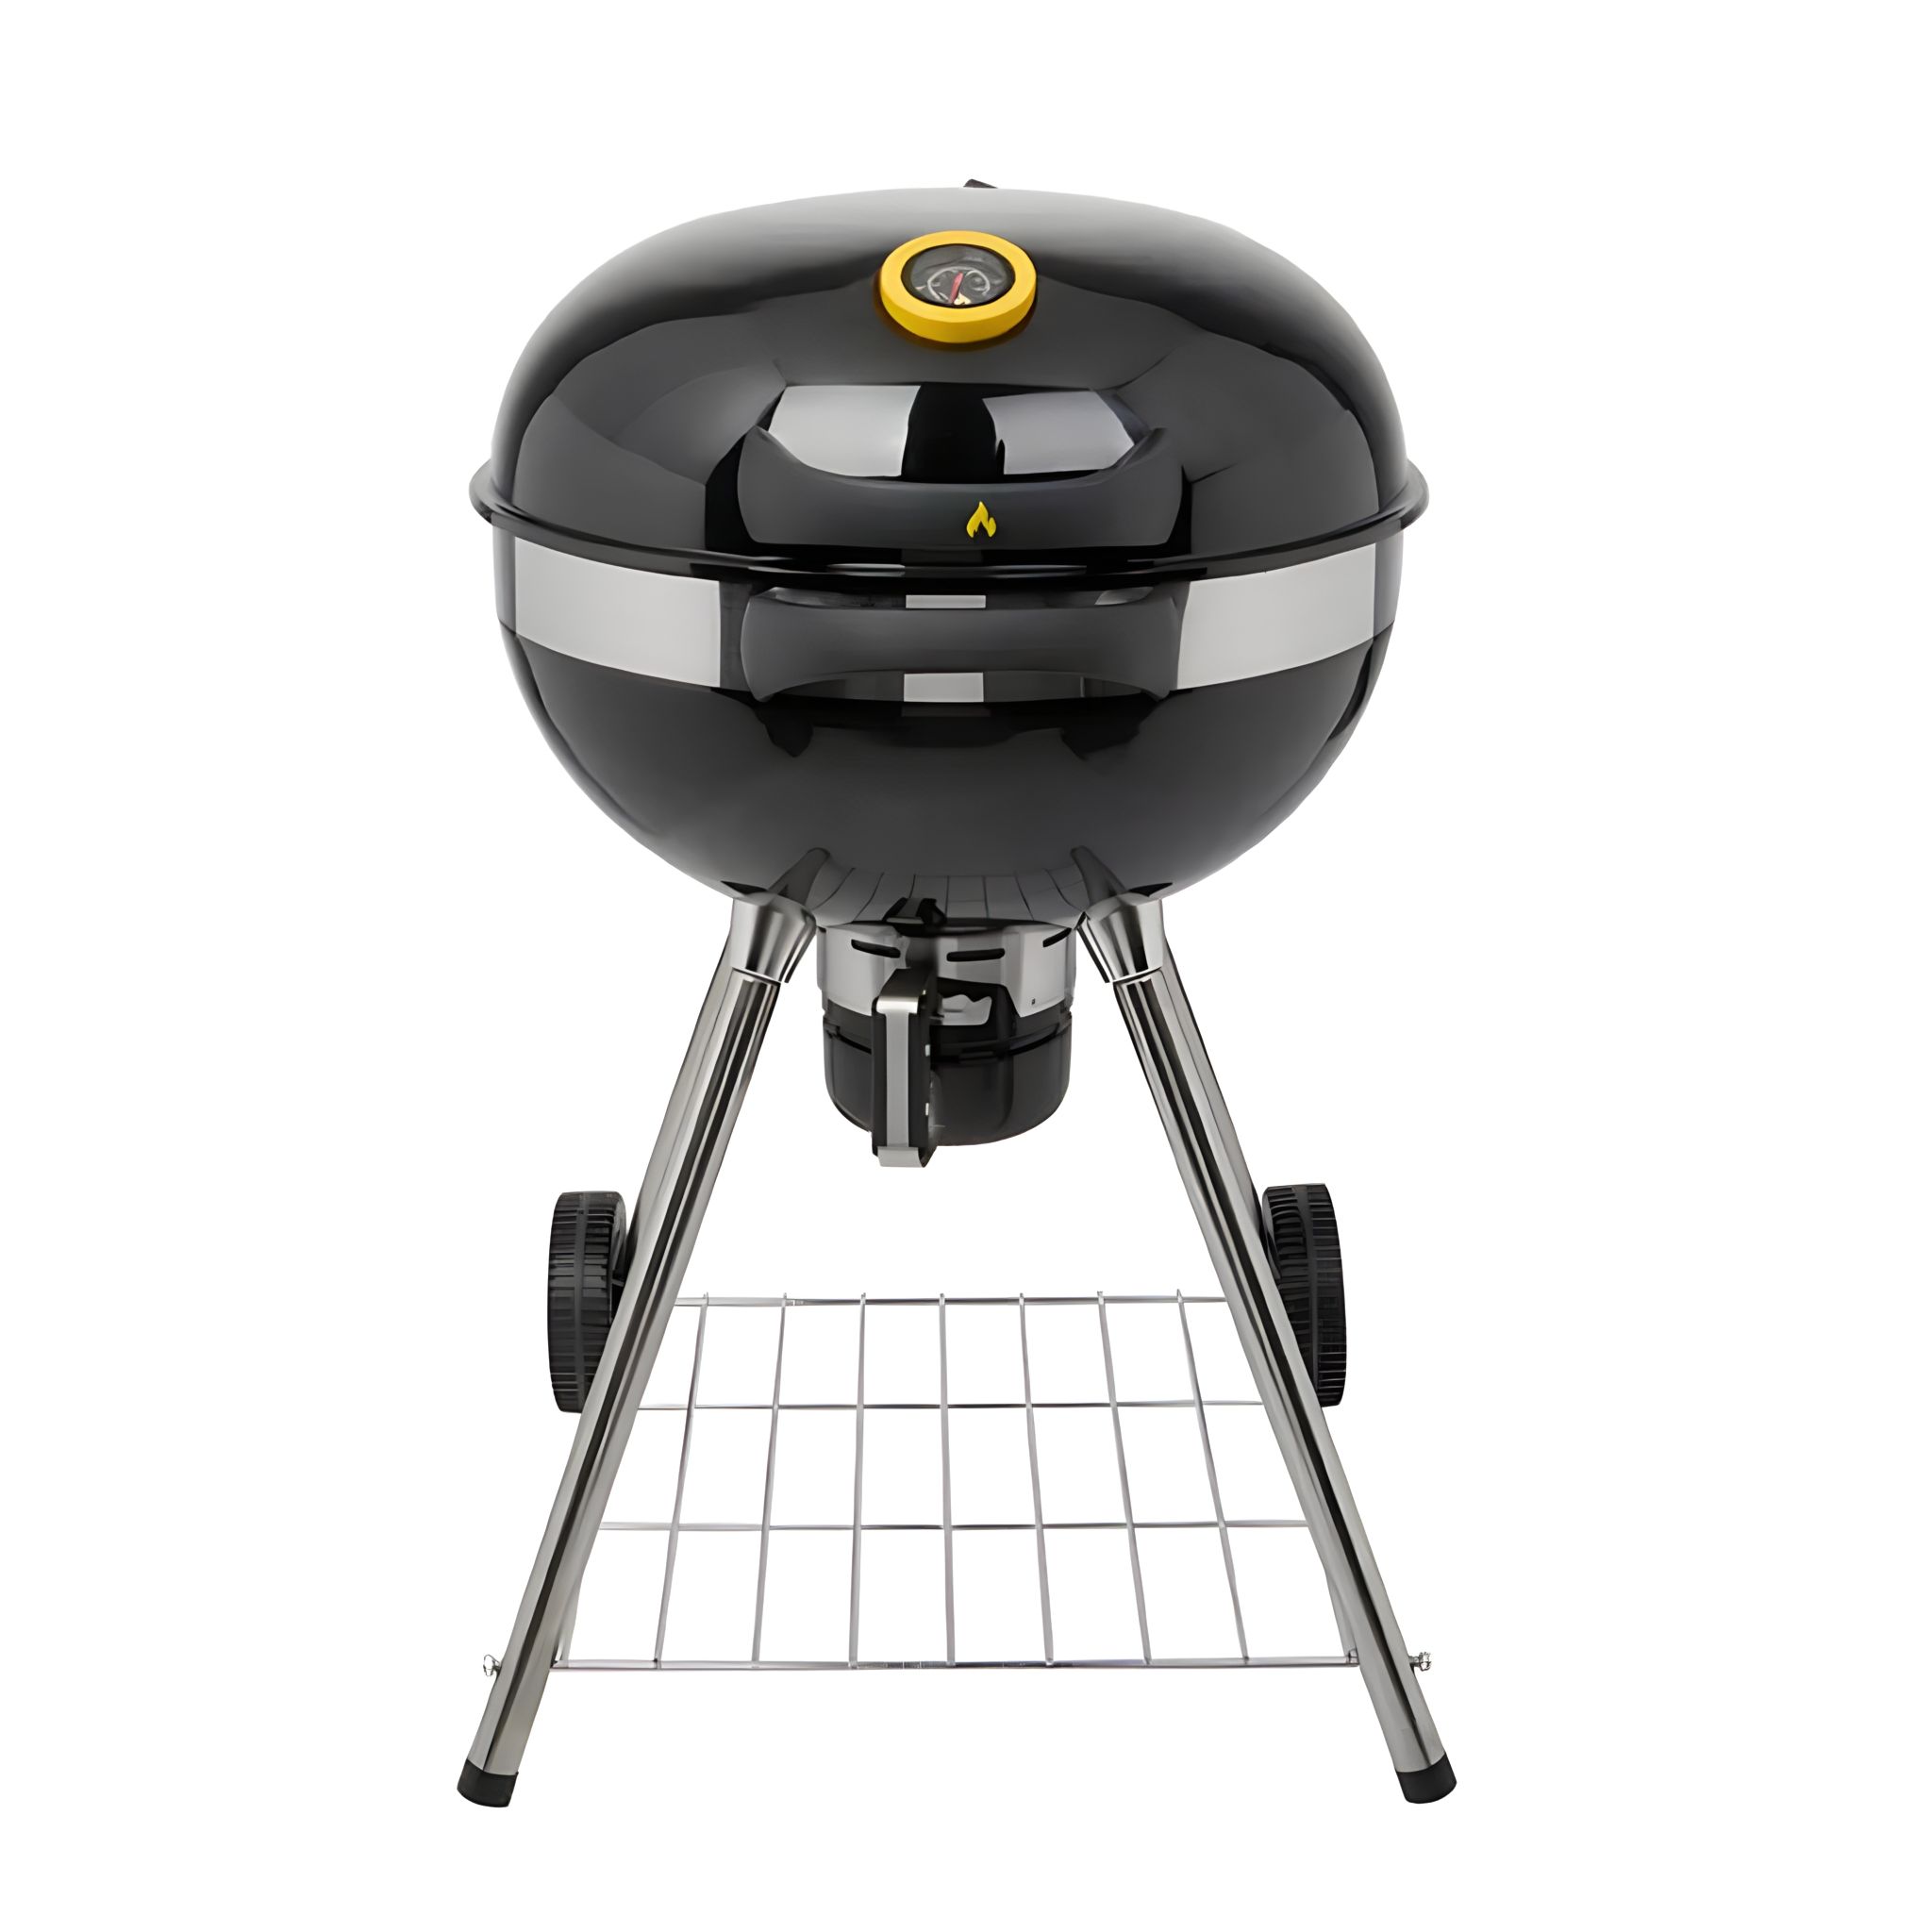
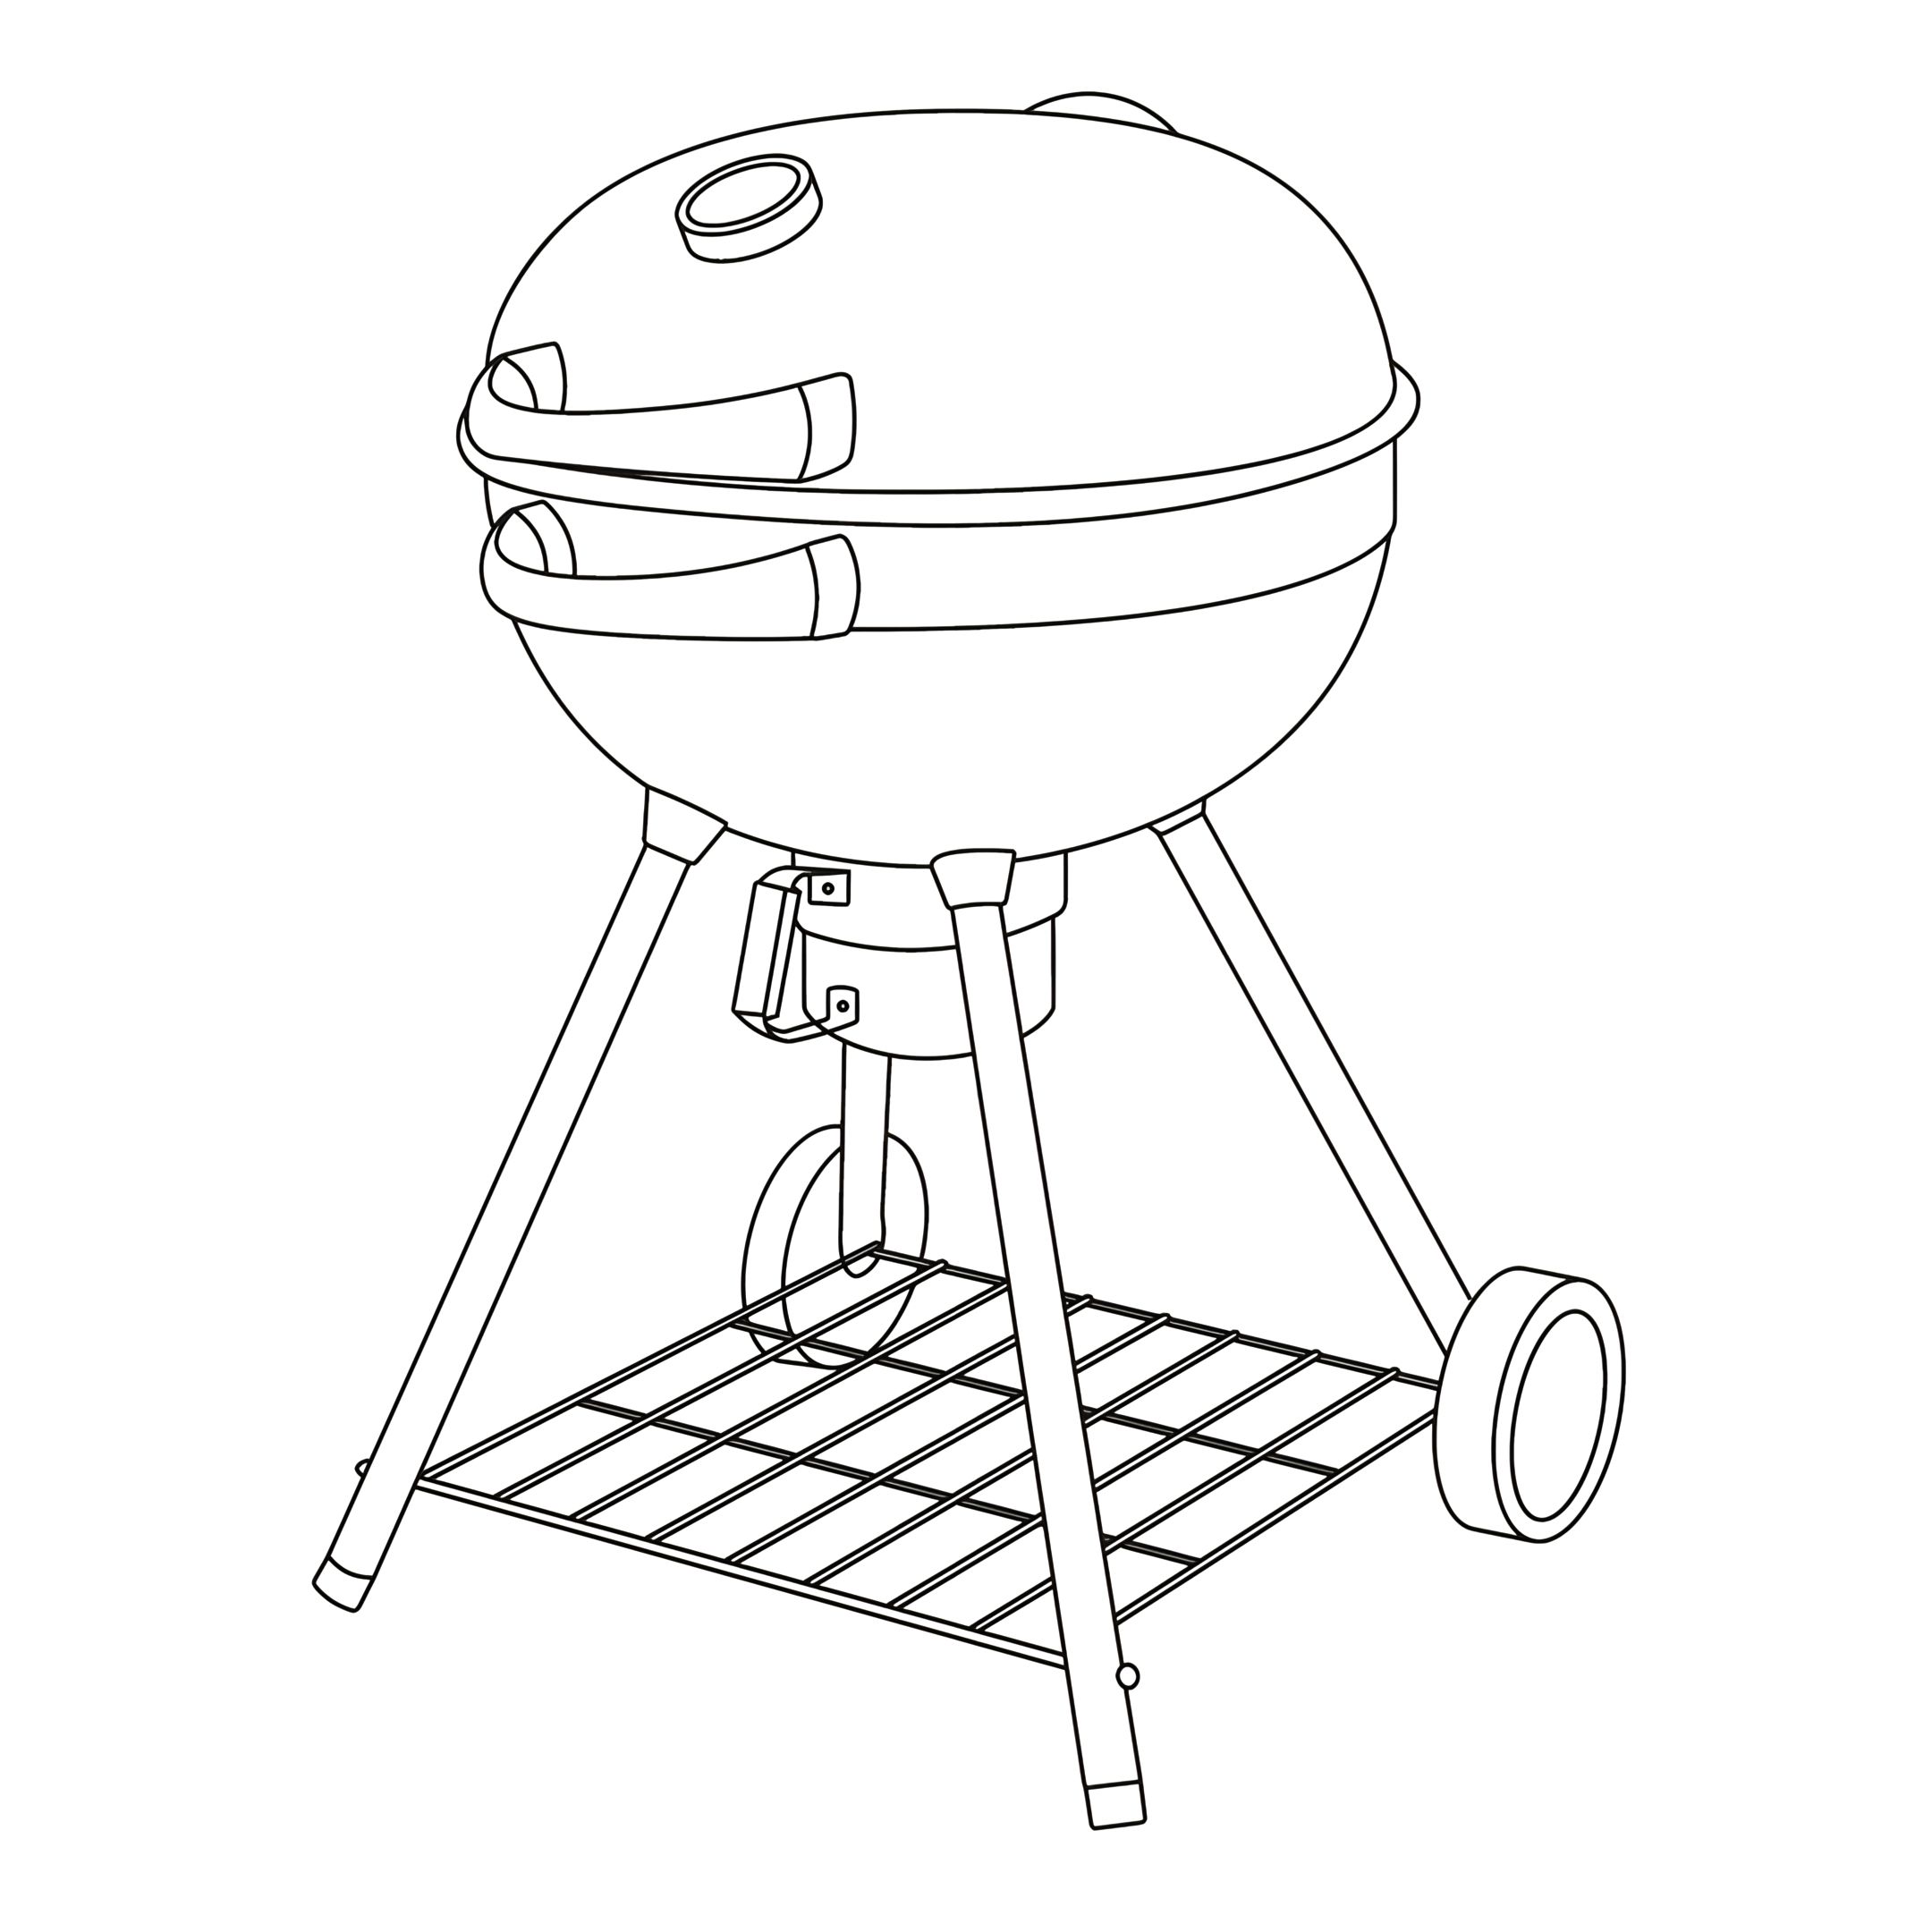
GRLLR Dome Kettle
Experience culinary perfection with the GRLLR Dome Kettle. Its ample cooking space and professional-grade grill grids ensure even heat distribution, while the innovative GrillFlow system promotes healthier, tastier grilled dishes.
Crafted for durability, this kettle boasts an enamel body and lid, alongside a custom hinge for easy sideway opening. With a convenient ash and grease collection system, cleanup is a breeze after every cookout.
Failure to follow these instructions can lead to problems and risks while using the charcoal grill.
Follow all of the assembly instructions as shown at the beginning of this manual.
Attention! The BBQ Body is very heavy! Two or more people are required for assembly.
2. Setting Up the Kettle Barbecue
CAUTION
Risk of Damage
During use, the screws can loosen slowly and impair the BBQ’s stability.
Check the tightness of the screws before every use. If necessary, tighten all of the screws again to ensure the grill is standing securely.
Before use, place the kettle barbecue on a level, sturdy surface outdoors.
When using the grill, please protect the surrounding walls from possible soiling, e.g. through grease splashes.
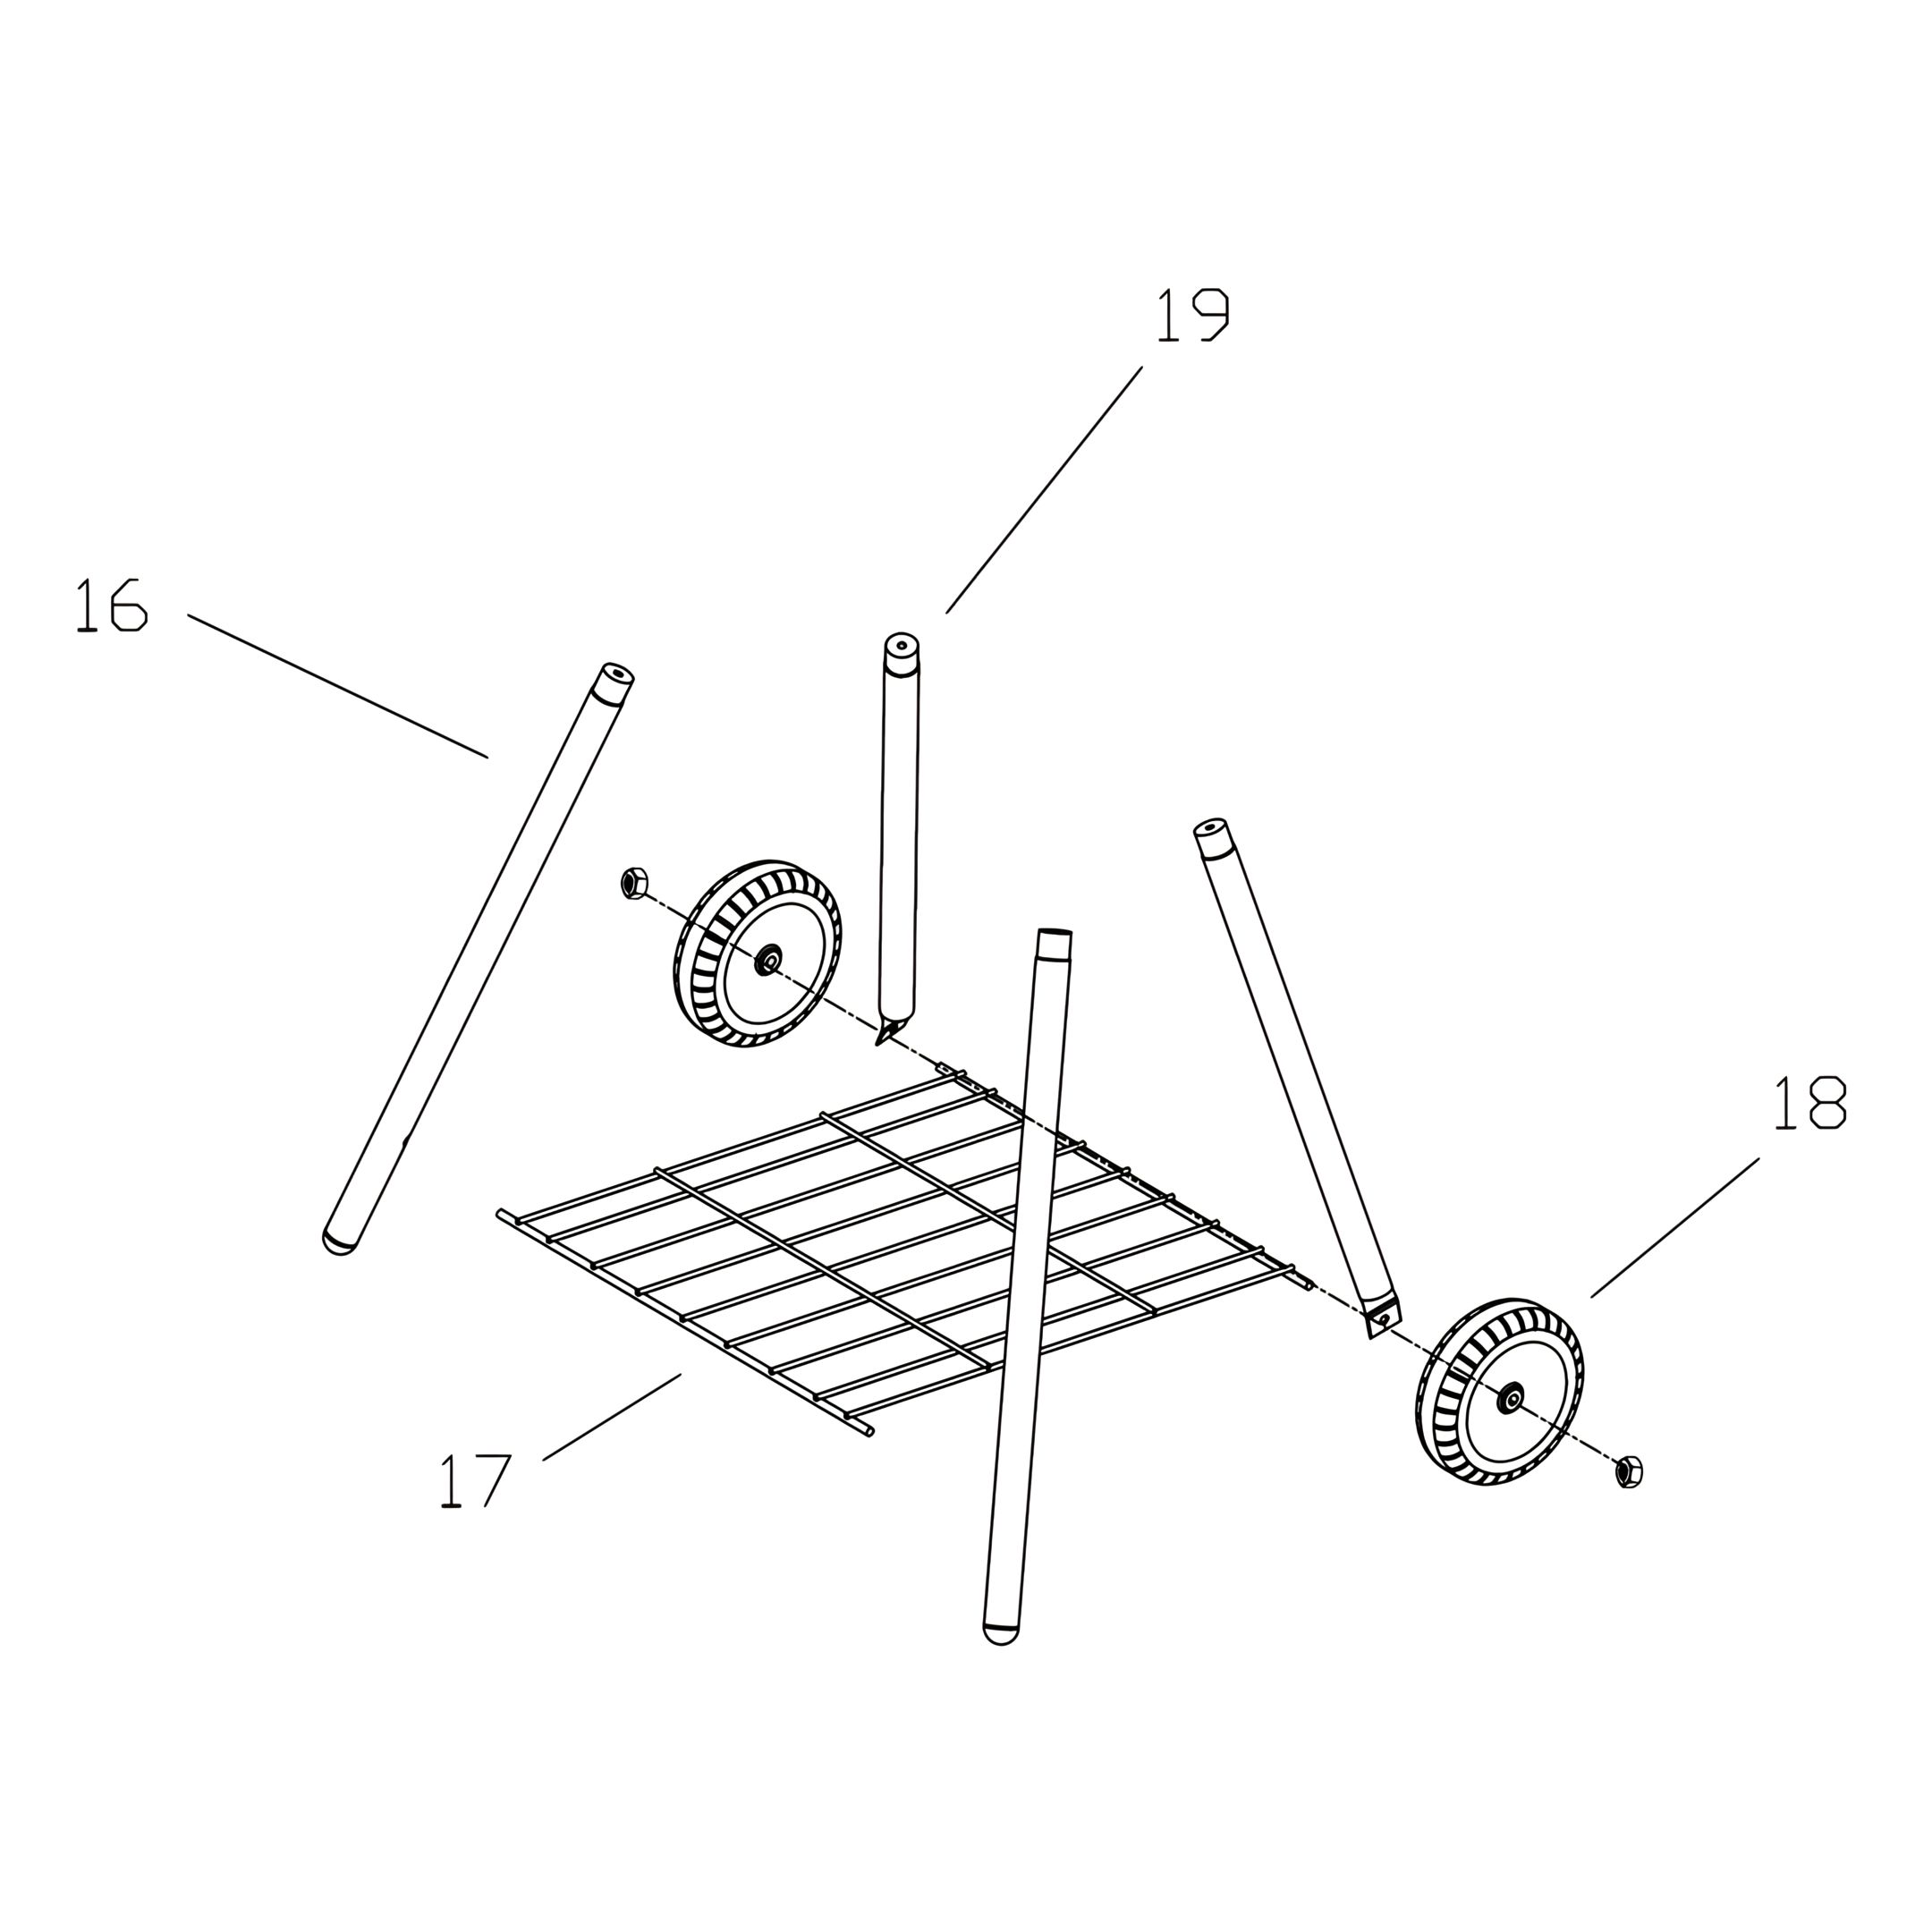
3. Assemble the Legs and Bottom Shelf
Position the Legs(16) and the Wheel Legs(19) as shown in the diagram.
Insert the ends of the Bottom Shelf Grid (17) into the holes of the Wheel Legs (16)
Slide the Wheels (18) into each end.
Secure each Wheel using one Nut (G) on the inside. Tighten firmly.
Insert the other ends of the Bottom Shelf Grid (17) into the holes on the Legs (16).
Check that the assembly is level and stable before proceeding.
Parts used:
Legs | 16 | 2×
Wheel Legs | 19 | 2×
Bottom Shelf Grid | 17 | 1×
Wheels | 18 | 2×
Nuts | G | 2×
4. Attach the BBQ Body and Legs
Place the BBQ Body (11) upside down on a soft surface to prevent scratches.
Insert the Leg Caps (20) into the top of each leg.
Align the holes on the Legs with the mounting holes at the bottom of the BBQ Body (11).
Secure the Legs using Screws (B).
Attach the Front Handle (12) to the front of the BBQ Body (11) using Washers (D), and Wing Nuts (E).
Tighten all connections evenly to ensure the BBQ stands firmly.
Parts used:
BBQ Body | 11 | 1×
Leg Caps | 20 | 4×
Front Handle | 12 | 1×
Screws M6×20 | B | 4×
Washers Ø16 | D | 2×
Wing Nuts M6 | E | 2×
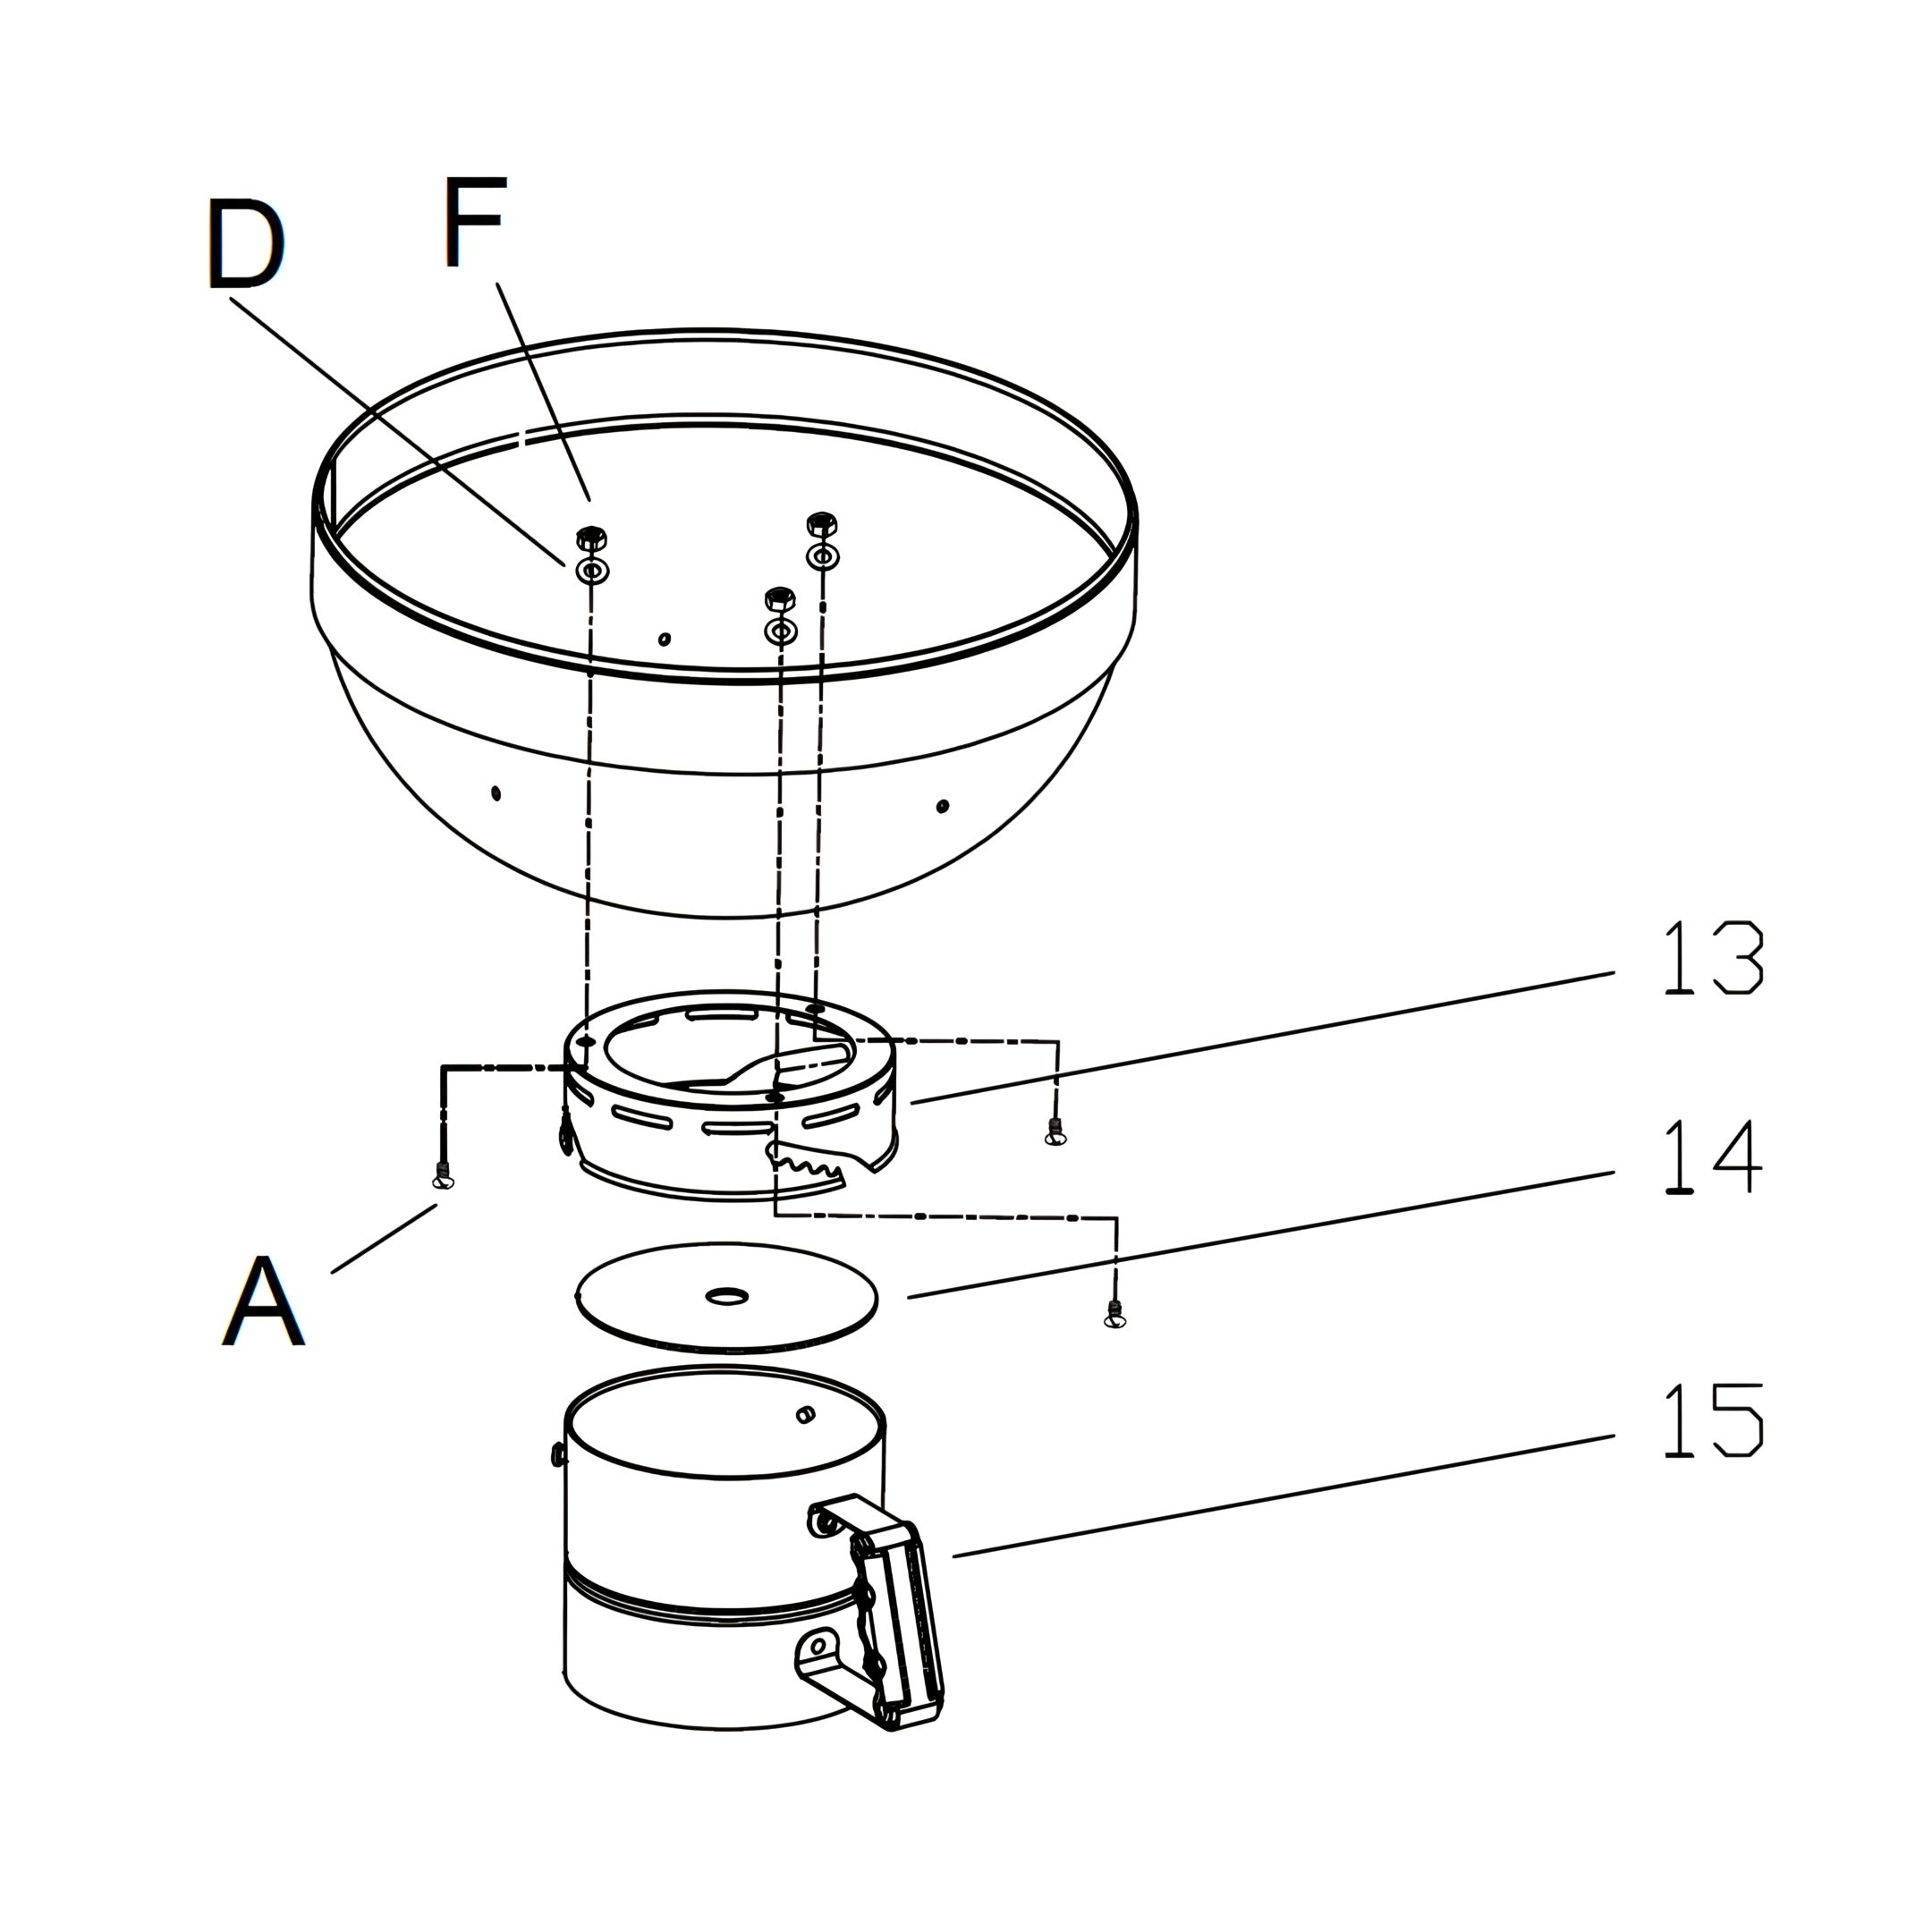
5. Attach the Front Handle and Ash Collector
Position the Air Vent Assembly (13) under the BBQ Body (11)
Secure it using Screws (A), Washers (D), and Nuts (F).
Place the Gasket Ring (14) and the Ash Collector (15) beneath the vent assembly
Verify that the Ash Collector moves and locks smoothly before continuing.
Parts used:
Air Vent Assembly | 13 | 1×
Gasket Ring | 14 | 1×
Ash Collector | 15 | 1×
Screws M6×15 | A | 3×
Washers Ø16 | D | 3×
Nuts M6 | F | 3×
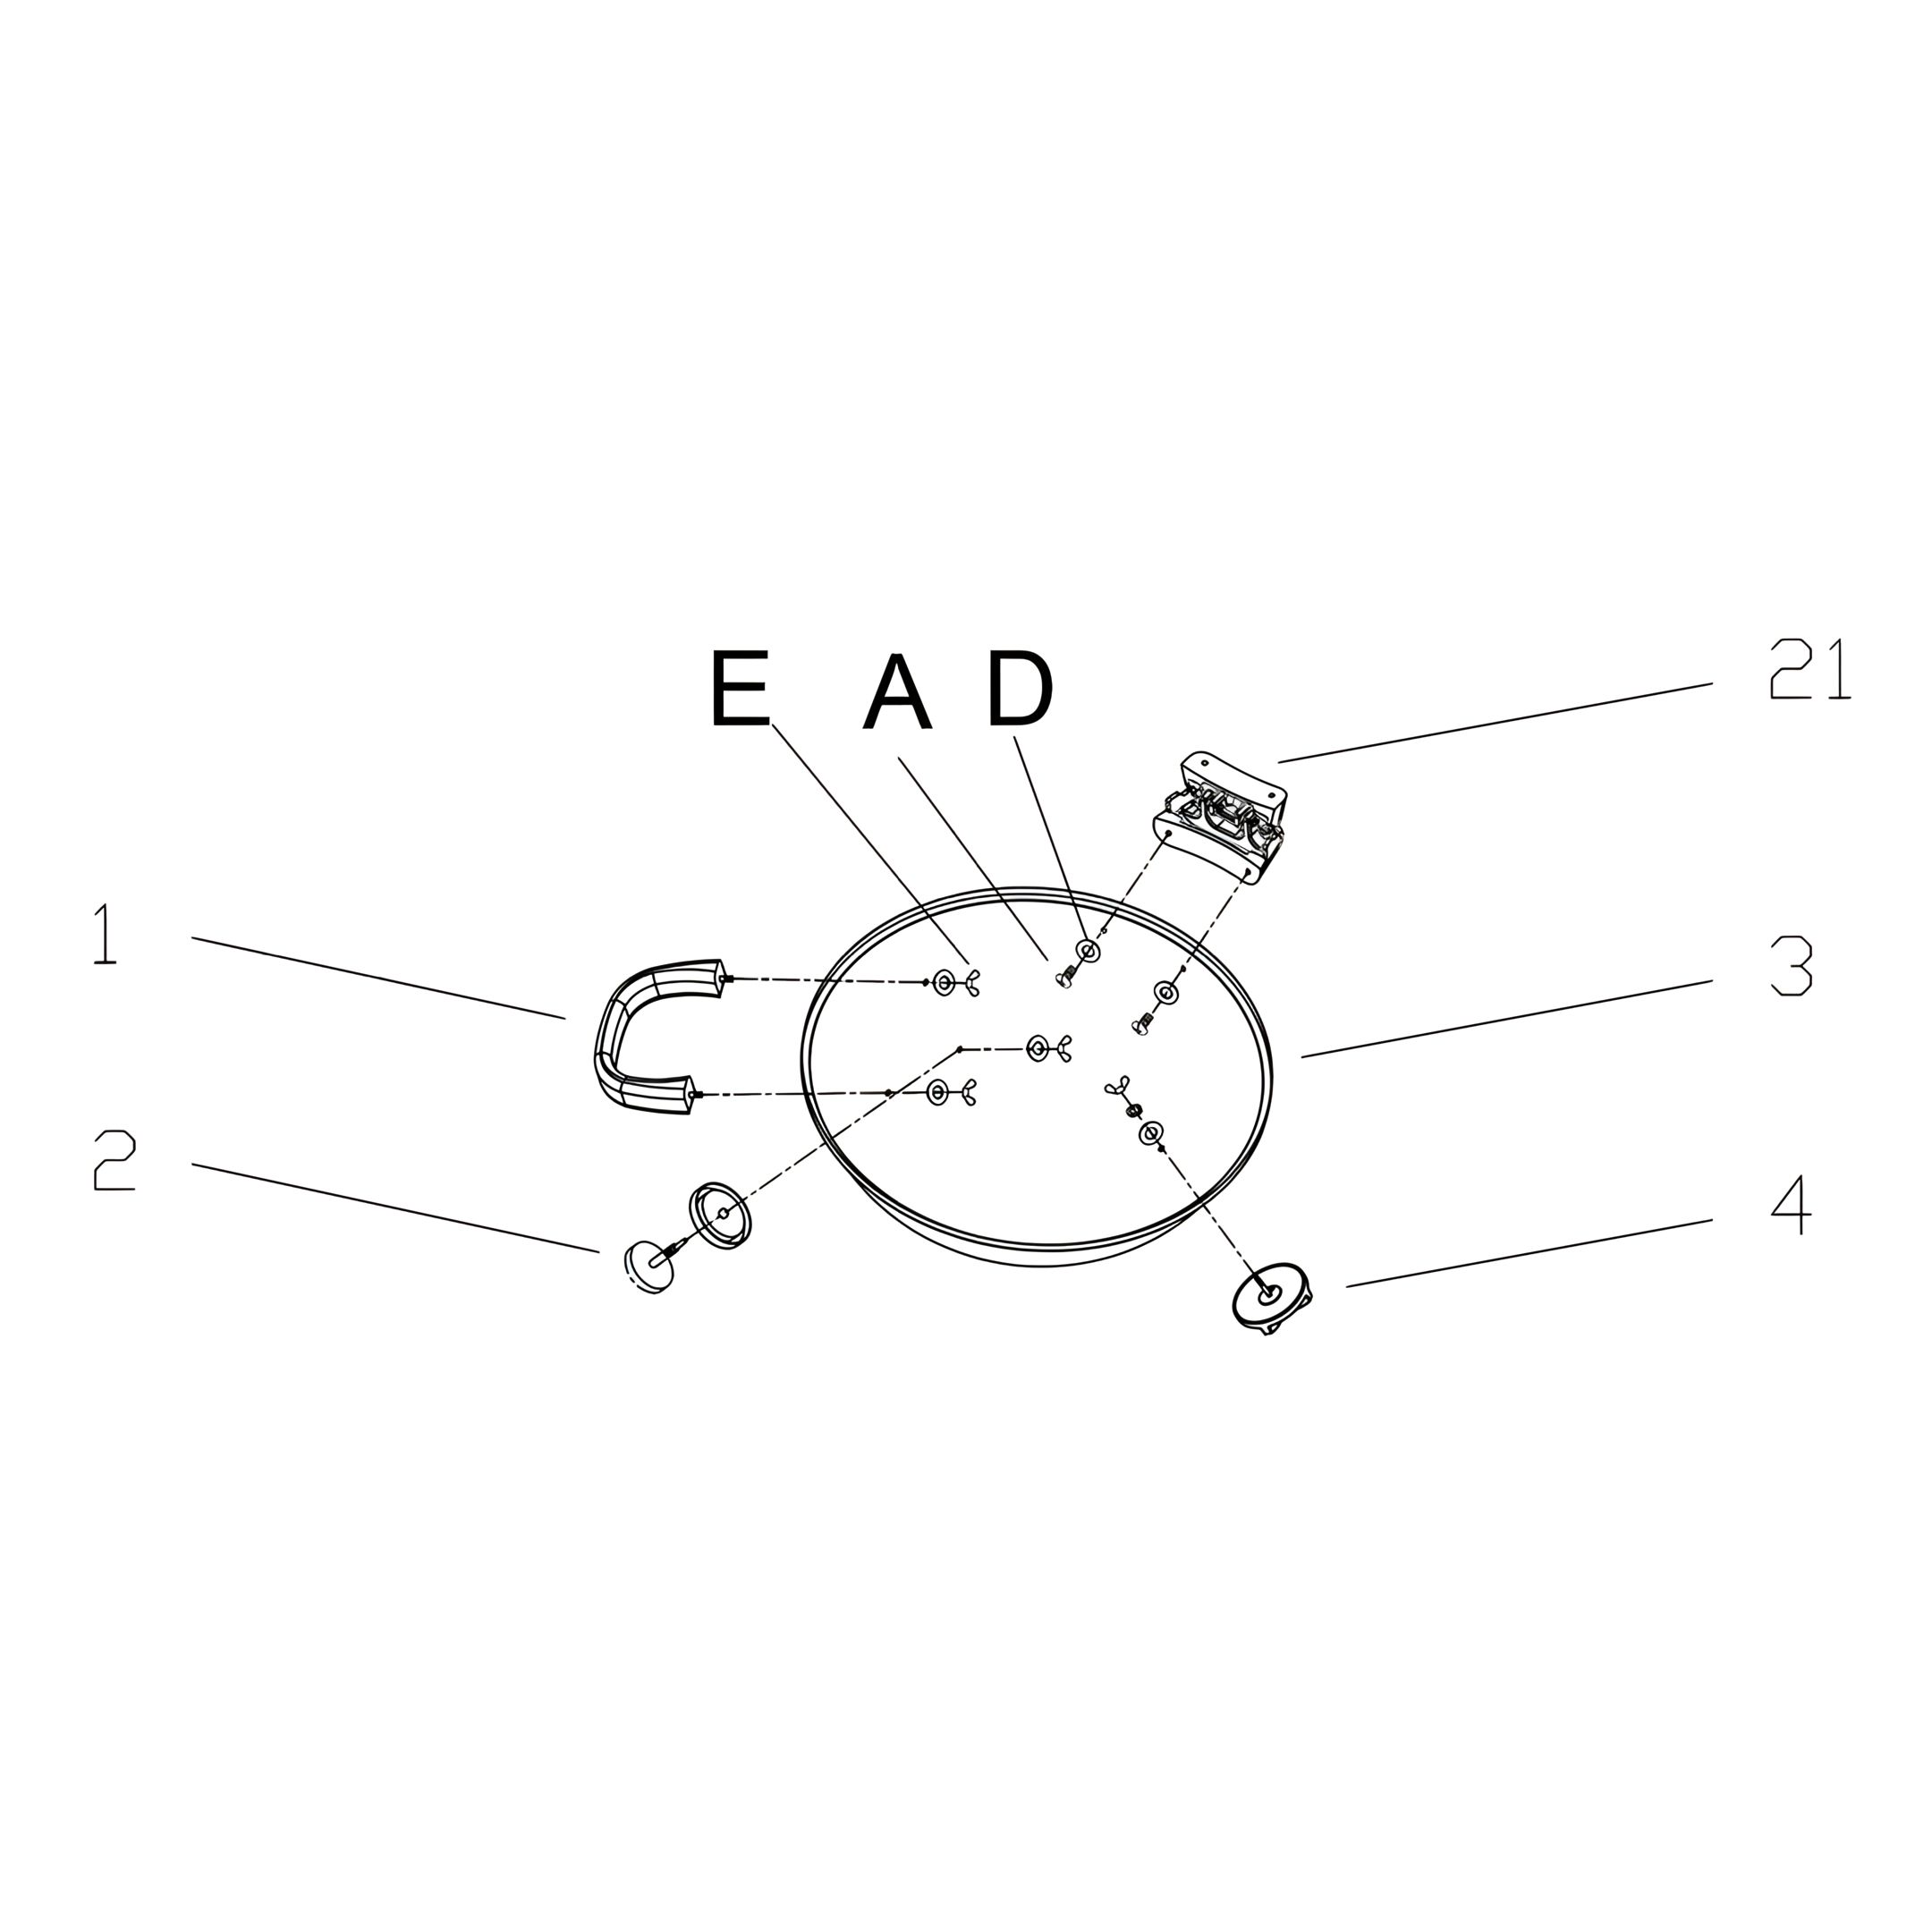
6. Assemble the Lid
Place the Lid (3) on a flat surface with the exterior facing down.
Attach the Lid Handle (1) to the top of the Lid using Washers (D), and Wing Nuts (E).
Insert the Thermometer (2) and secure it with a Washer (D) and a Wing Nut (E).
Mount the Air Vent (4) on the top of the Lid using a Washer (D) and a Wing Nut (E).
Attach the Hinge Support Plate (21) to the rear side of the Lid (3) using Screws (A) and Washers (D).
Parts used:
Lid | 3 | 1×
Lid Handle | 1 | 1×
Thermometer | 2 | 1×
Air Vent | 4 | 1×
Hinge Support Plate | 21 | 1×
Screws M6×15 | A | 2×
Washers Ø16 | D | 6×
Wing Nuts M6 | E | 4×
7. Attach the Lid to the BBQ Body
Attach the Grid Supports (10) to the interior of the BBQ Body (11) using Screws (A) and Wing Nuts (E).
Position the Lid (3) above the BBQ Body (11) with the hinges aligned.
Connect the Lid (3) to the Hinge Brackets (10) and secure them with Screws (A) and Washers (D).
Make sure the Lid opens and closes smoothly without obstruction.
Parts used:
Lid | 3 | 1×
Grid Supports | 10 | 4×
Screws M6×15 | A | 2×
Screws M6×15 | C | 4×
Washers Ø16 | D | 2×
Wing Nuts M6 | E | 4×
8. Install the Charcoal Plate and Cooking Grids
Place the Cooking Grill Grid (9) on top, ensuring it sits firmly within the grill frame.
Insert the Center Rod (8) vertically in the middle of the Cooking Grill Grid (9).
Place the Cooking Grill Support Frame (7) into the center of the BBQ Body so it rests securely on the supports.
Place the Heat Shield Panels (5) and (6) evenly inside the Cooking Grill Support Frame (7).
Check that all internal components are level and correctly positioned before closing the Lid (3).
Parts used:
Heat Shield Panels | 5 | 2×
Heat Shield Panels | 6 | 2×
Cooking Grill Support Frame | 7 | 1×
Center Rod | 8 | 1×
Cooking Grill Grid | 9 | 1×
9. Before Grilling
Cleaning the BBQ Grate
Prior to first use, wash the BBQ grate and the warming grill with warm soapy water.
Pre-Fire
Before you use the charcoal grill for the first time, it needs to be conditioned (pre-fired) for at least 30 minutes at a temperature of 100°C–200°C.
Pre-firing is necessary in order to prepare the inside of the kettle barbecue for barbecuing.
Usage
10. Caution: Risk of Burning
The charcoal grill, the charcoal, and the food become hot during use. Any contact can result in serious burns.
Keep sufficient distance from the hot parts, since any contact can lead to severe burns.
Always wear oven or BBQ gloves when grilling.
Use only long-handled utensils with heat-resistant hand grips.
DO NOT wear any clothing with wide sleeves.
Only operate the barbecue with charcoal in accordance with DIN EN 1860-2.
Use only dry lighters or special fluid lighters compliant with EN 1860-3 as firelighters.
11. Operation
Open the lid and lift out the BBQ grill grid.
Place 2–3 solid fire starters in the middle of the charcoal plate. Pay attention to the manufacturer’s instructions on the packaging.
Layer approximately 70% of the fire box with charcoal around the firelighters.
Open the air inlet of the BBQ body and light the firelighters using a long-stemmed match.
WARNING! Avoid letting the flames get too high in order to avoid damaging the lid seal.
Insert the BBQ grill grid into the body of the kettle barbecue.
12. Cooling Down the BBQ
Close the air controller in the lid and the air inlet on the BBQ body completely after barbecuing, so that the embers extinguish. NEVER EXTINGUISH THE EMBERS WITH WATER.
It will take a few hours for the BBQ to completely cool down.
13. Temperature Control
Close the lid.
Open the air controller in the lid and the air inlet on the BBQ body.
Monitor the temperature on the thermometer. As soon as the BBQ temperature approaches the desired level, close the lid’s air controller and the air inlet on the BBQ body in order to maintain this temperature. Leave both completely closed until the cooking temperature has been reached.
Then regulate the temperature using the air controller.
In order to reduce the temperature drastically, briefly and carefully open the lid.
Maintenance
14. Cleaning
WARNING
Health Risk
DO NOT use any decolourants or thinners to remove stains. These are harmful to health and may never come into contact with food.
Risk of Burning
The charcoal grill and the charcoal are very hot even after grilling. Any contact can result in serious burns.
Allow the charcoal grill to cool down completely before cleaning.
Only remove the ash when the charcoal has completely burned out.
Risk of Rust
Your kettle BBQ is designed for outdoor use, bringing the joy of grilling to your backyard or patio. Over time, it is natural for minimal rust to form on certain surfaces of the BBQ due to exposure to the elements.
To mitigate this, we recommend using a cover when storing your kettle BBQ. The cover acts as a protective shield, safeguarding your BBQ from the effects of weather and preventing unnecessary rusting.
To ensure the longevity and performance of your barbecue, make it a practice to cover it after each use or when not in active operation. This simple step will contribute to preserving the appearance and functionality of your kettle BBQ, allowing you to enjoy countless delicious meals for years to come.
Risk of Damage
DO NOT use any strong or grinding solvent or abrasive pads, since these can attach to the surfaces and leave behind scrape marks.
Remove the cold ashes.
It is very important that you remove the ash before moisture combines with the cold ash. Ash is saline and, when moist, will attach to the inside of the ash collection tray. Thus, over the course of years, the ash collecting tray can sustain damage through rust.
Remove the BBQ Grill Grid, clean it thoroughly with soapy water, and rinse it down with clean water. Carefully dry off the BBQ