GRLLR Ember Classic 16 inch | Charcoal Black: Assembly and Operation Manual
Step-by-step guide for assembling, operating, and maintaining the GRLLR Ember 16-Inch Kamado Grill. Includes detailed assembly steps, safety instructions, and maintenance tips to ensure long-lasting performance and optimal grilling results.
Product Information
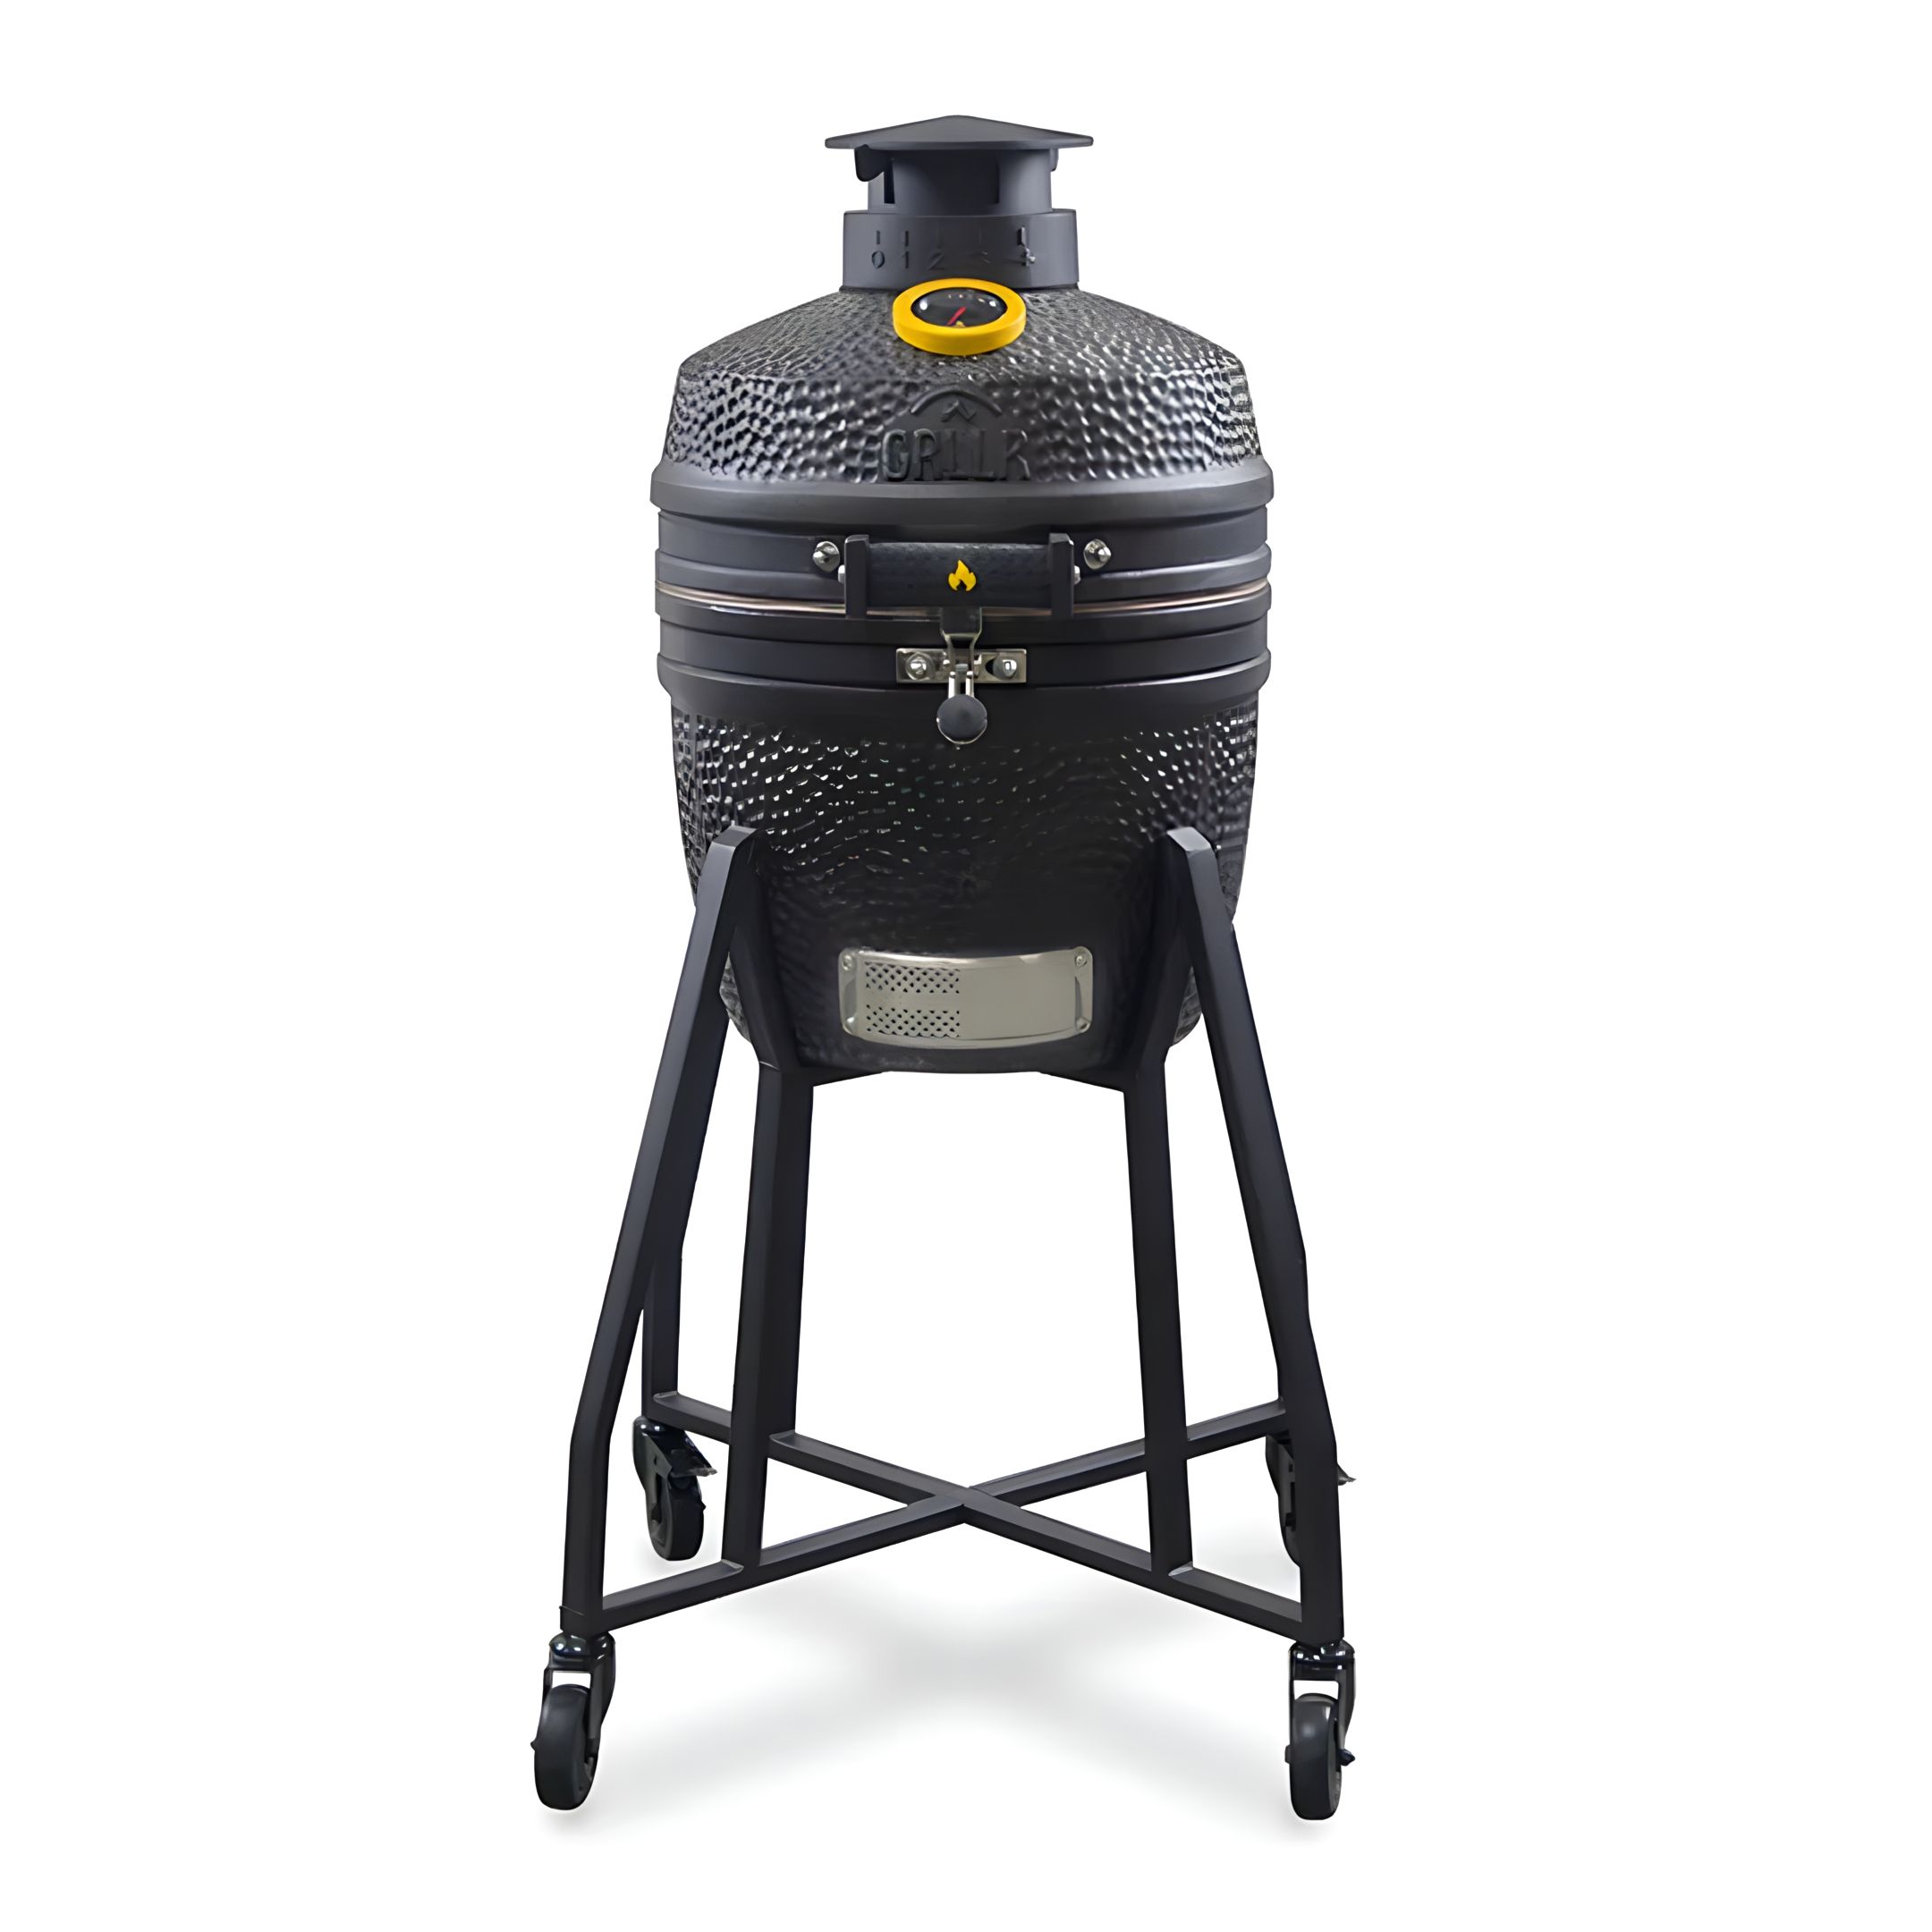
GRLLR Ember Classic 16 inch | Charcoal Black
Elevate your outdoor cooking game with the GRLLR Ember Classic 16-inch Kamado. Experience grilling perfection with its high-quality features and precise heat control for delicious results every time.
Registered GRLLR DESIGN
Handmade ceramic body 2 times baked at 1200 degrees
First, thoroughly read the assembly instructions and allow
enough time for the assembly. Choose a flat workspace of two to
three square meters and have the necessary tools at hand.
Unpack all individual parts and remove all packaging materials.
Keep the packaging materials away from children and dispose of
them according to regulations after assembling the charcoal grill.
CAUTION
Risk of Injury
Failure to follow these instructions can lead to problems and risks while using the charcoal grill.
Follow all of the assembly instructions as shown at the beginning
of this manual.
ATTENTION! The BBQ Body is very heavy! Two or more people
are required for assembly
2. Setting Up the Kamado
CAUTION
Risk of Damage
During use, the screws can loosen slowly and impair the BBQ’s
stability.
Check the tightness of the screws before every use. If necessary,
tighten all of the screws again to ensure the grill is standing securely.
Before use, place the kamado on a level, sturdy surface outdoors.
When using the grill, please protect the flow and surrounding
walls from possible soiling e.g. through grease splashes.
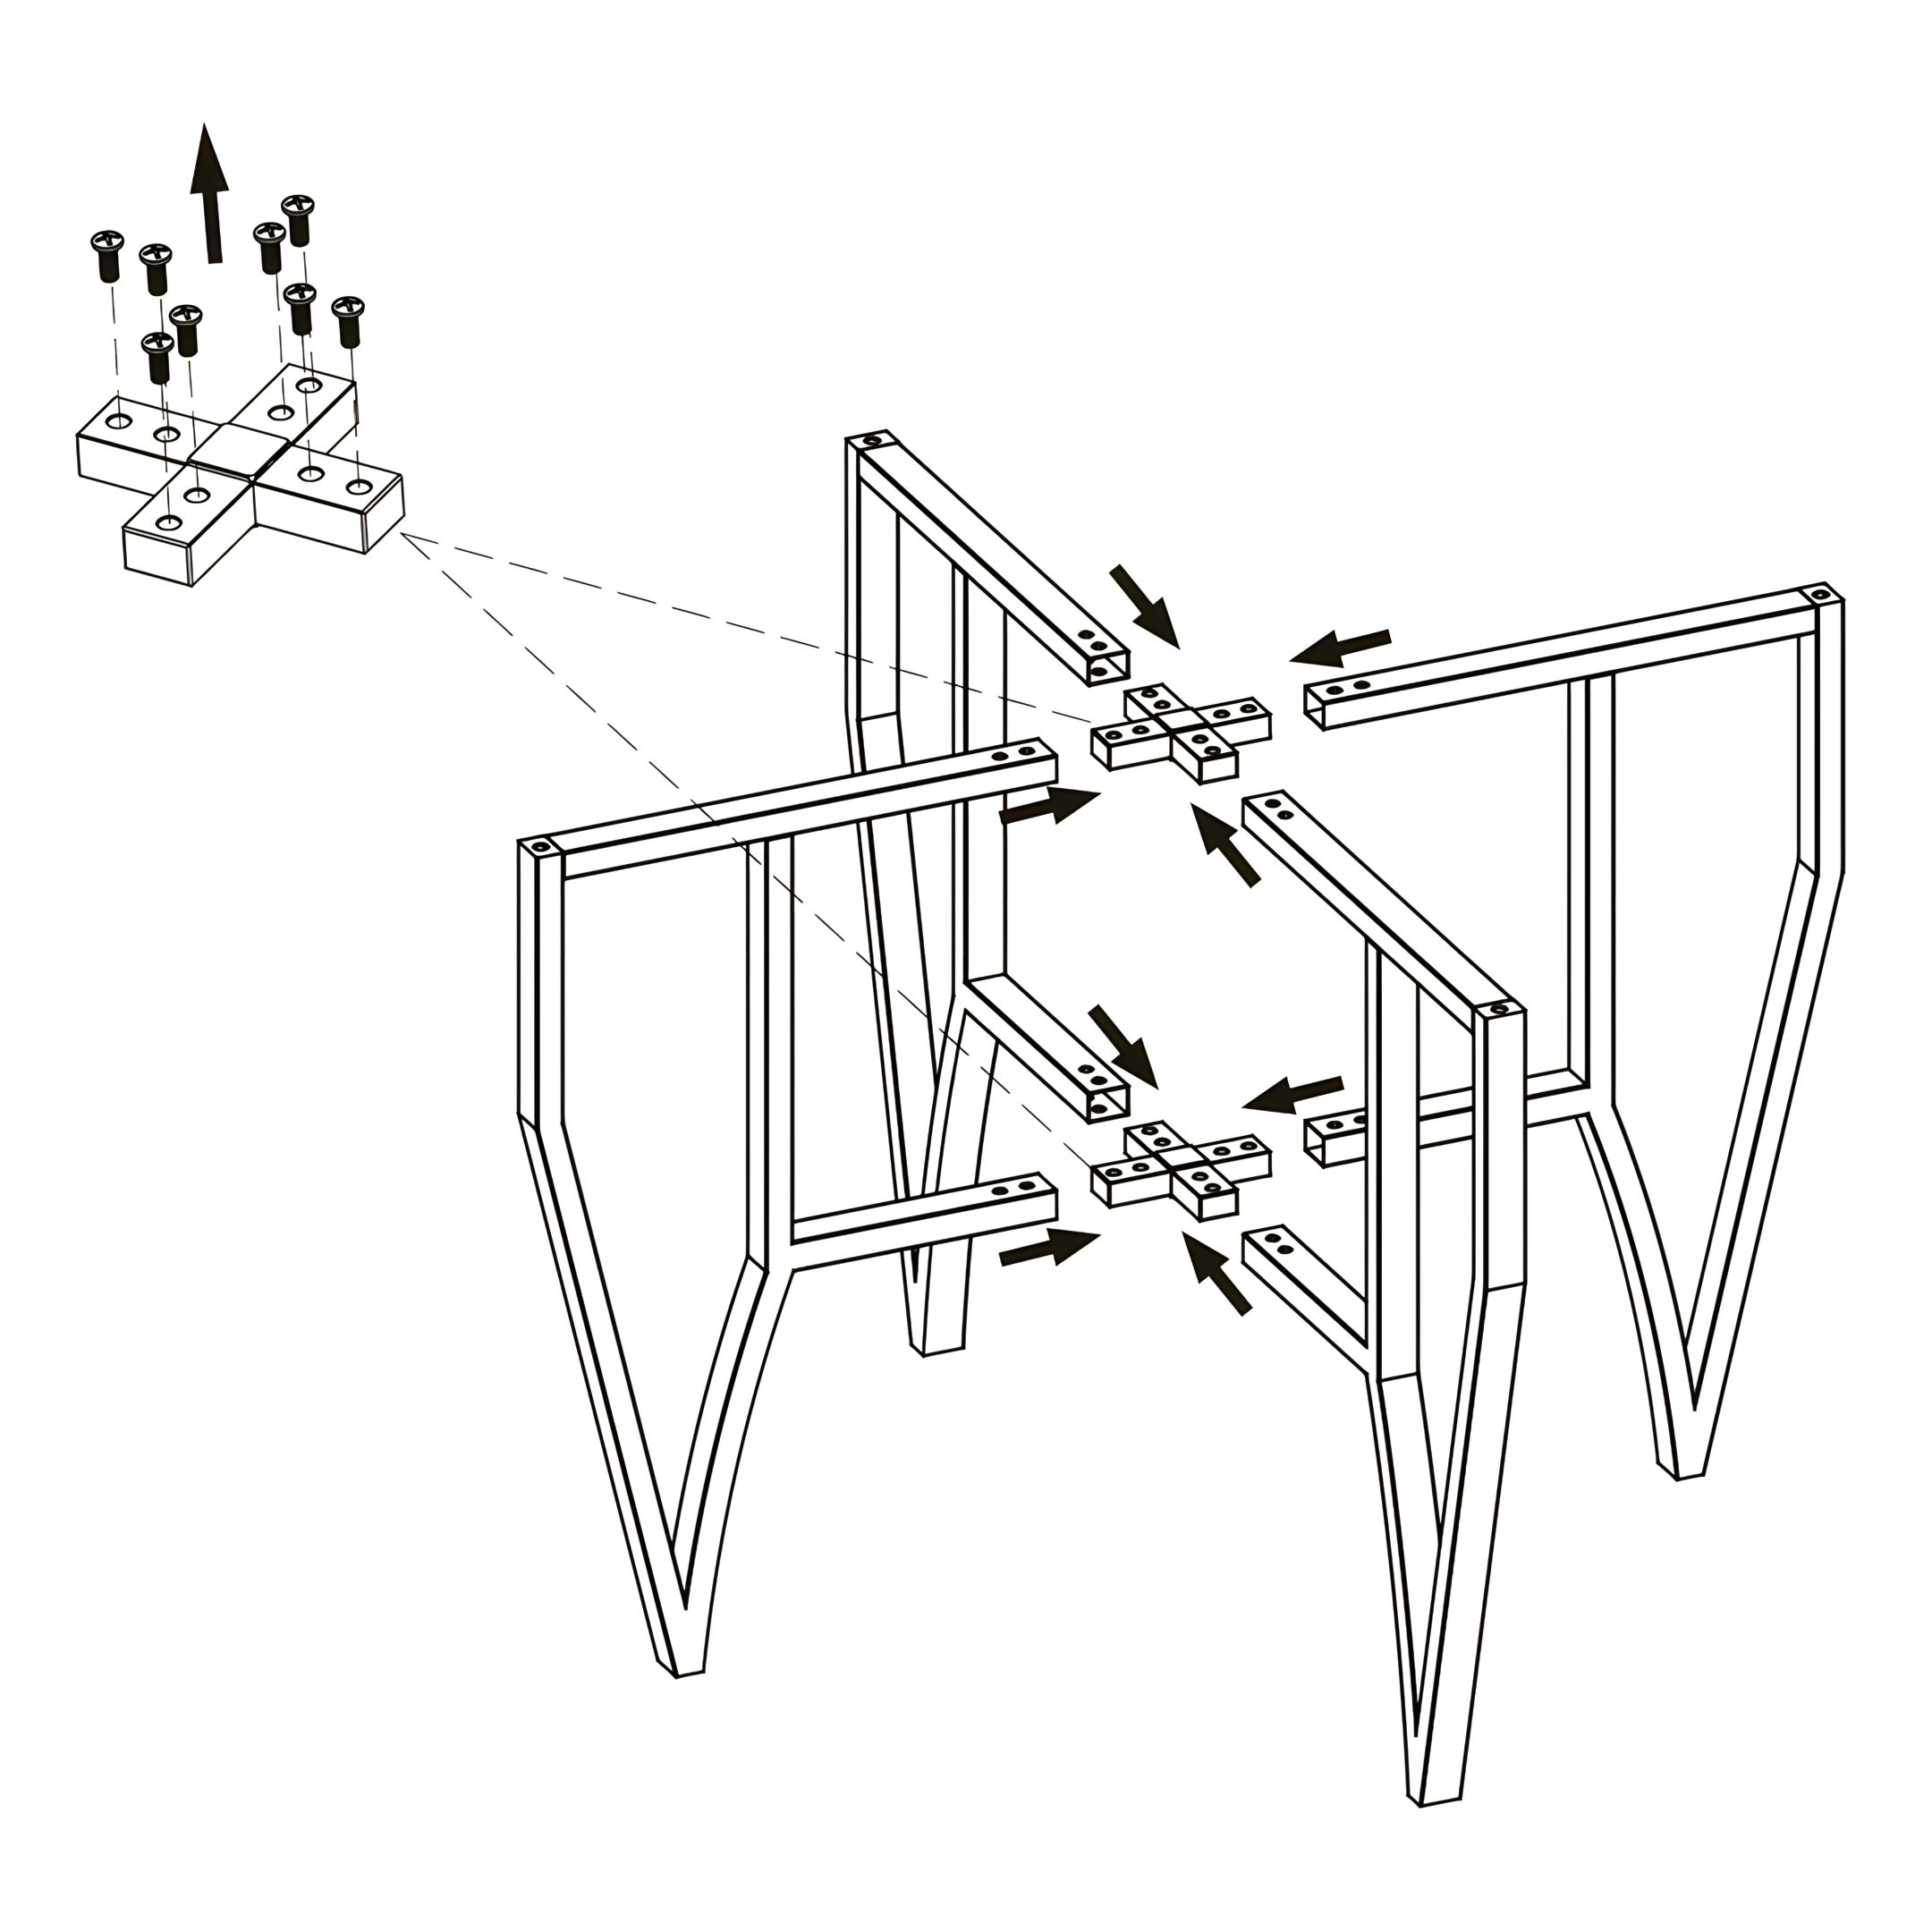
3. Assemble the Trolley Frame
Position the Trolley Legs (4) upright as shown.
Align the Trolley Leg Connectors (5) in the center where the legs meet.
Secure each connector using Screws.
Attach the Casters (6) to the underside of each corner.
Once aligned, tighten all screws securely.
Parts used:
Trolley Leg | 4 | 4×
Trolley Leg Connector | 5 | 2×
Caster | 6 | 4×
Screws | 16×
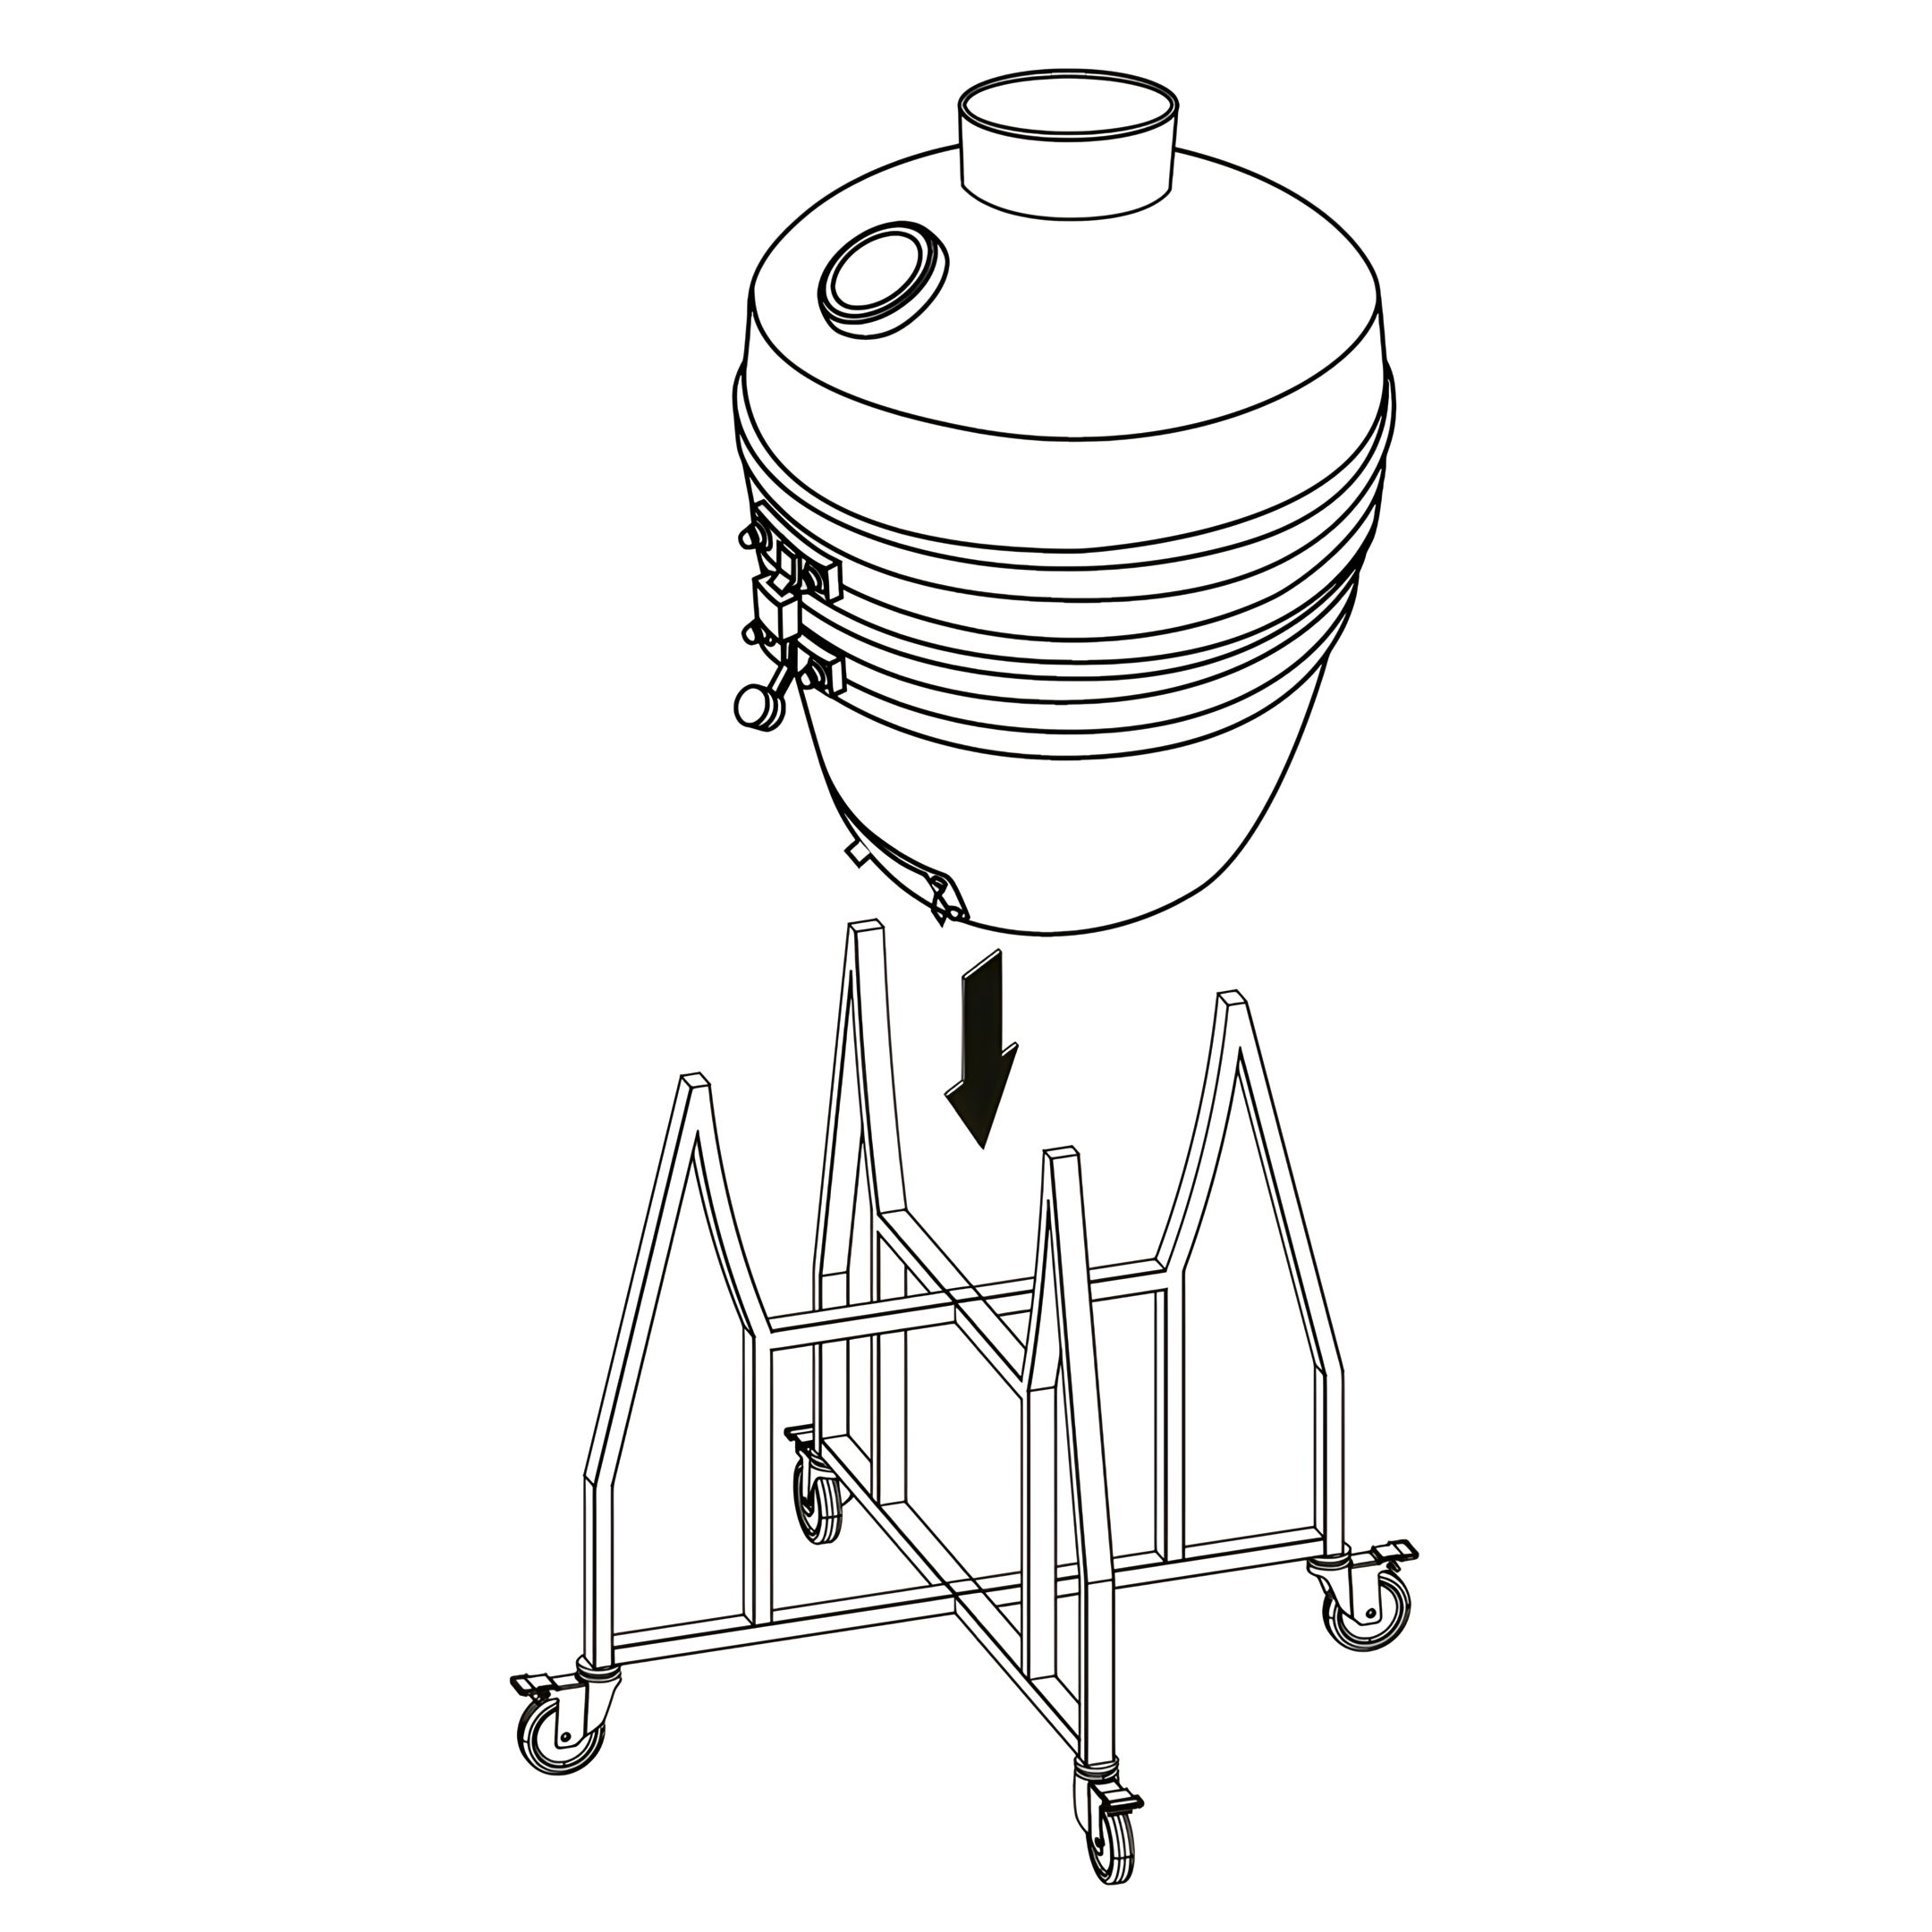
4. Mount the Kamado Body and Attach Components
With two or more people, carefully lift the Ceramic Kamado Bottom (3.10) and lower it into the assembled Trolley Frame as shown.
Ensure the Kamado sits securely within the trolley supports and align the Bottom Vent (3.9) to face forward.
Attach the Top Lid Handle (2) using a Washer and Cap Nut.
Position the Top Vent (1) onto the opening at the top of the Ceramic Kamado Top (3.3).
Align the screw holes and insert the Screw through the side.
Tighten securely to hold the vent in place, ensuring it can still rotate for airflow control.
Parts used:
Kamado Body | 3 | 1×
Trolley Frame | 1×
Top Vent | 1 | 1×
Washer | 2×
Cap Nut | 2×
Screw | 1×
5. Before Grilling
Cleaning the BBQ grate
Prior to first use, wash the BBQ grate and the warming grill with
warm soapy water.
Pre-fire
Before you use the charcoal grill for the first time, it needs to be
conditioned (pre-fired) for at least 30 minutes at a temperature
of 100°C-200°C. Pre-firing is necessary in order to prepare the
inside of the kamado for barbecuing.
Usage
6. Caution: Risk of Burning
The charcoal grill, the charcoal and the food become hot during
use. Any contact can result in serious burns.
Keep sufficient distance from the hot parts, since any contact
can lead to severe burns.
Always wear oven or BBQ gloves when grilling.
Use only long-handled utensils with heat-resistant hand grips.
DO NOT wear any clothing with wide sleeves.
Only operate the barbecue with charcoal in accordance with
DIN EN 1860-2.
Use only dry lighters or special fluid lighters compliant with EN
1860-3 as firelighters
7. Operation
Open the lid and lift out the BBQ grill grid
Place 2-3 solid fire starters in the middle of the charcoal plate.
Pay attention to the manufacturer’s instructions on the packaging.
Place charcoal in no more than approx. 70% of the BBQ bowl.
For best results, we do not recommend moving coal after ignition.
Open the air inlet of the BBQ body and light the firelighters using a long-stemmed match.
WARNING! Avoid letting the flames get too high, in order to
avoid damaging the lid seal.
Insert the BBQ grill grid into the body of the kamado
8. Cooling Down the BBQ
Close the air controller in the lid and the air inlet on the BBQ
Body completely after barbecuing, so that the embers extinguish.
NEVER EXTINGUISH THE EMBERS WITH WATER.
It will take a few hours for the BBQ to completely cool down.
9. Temperature Control
Close the lid.
Open the air controller in the lid and the air inlet on the BBQ
body.
Monitor the temperature on the thermometer. As soon as the
BBQ temperature approaches the desired temperature, close
the lid’s air controller and the air inlet on the BBQ body in order
to maintain this temperature. Leave both completely closed,
until the cooking temperature has been reached.
Then regulate the temperature using the air controller.
In order to reduce the temperature drastically, briefly and carefully
open the lid..
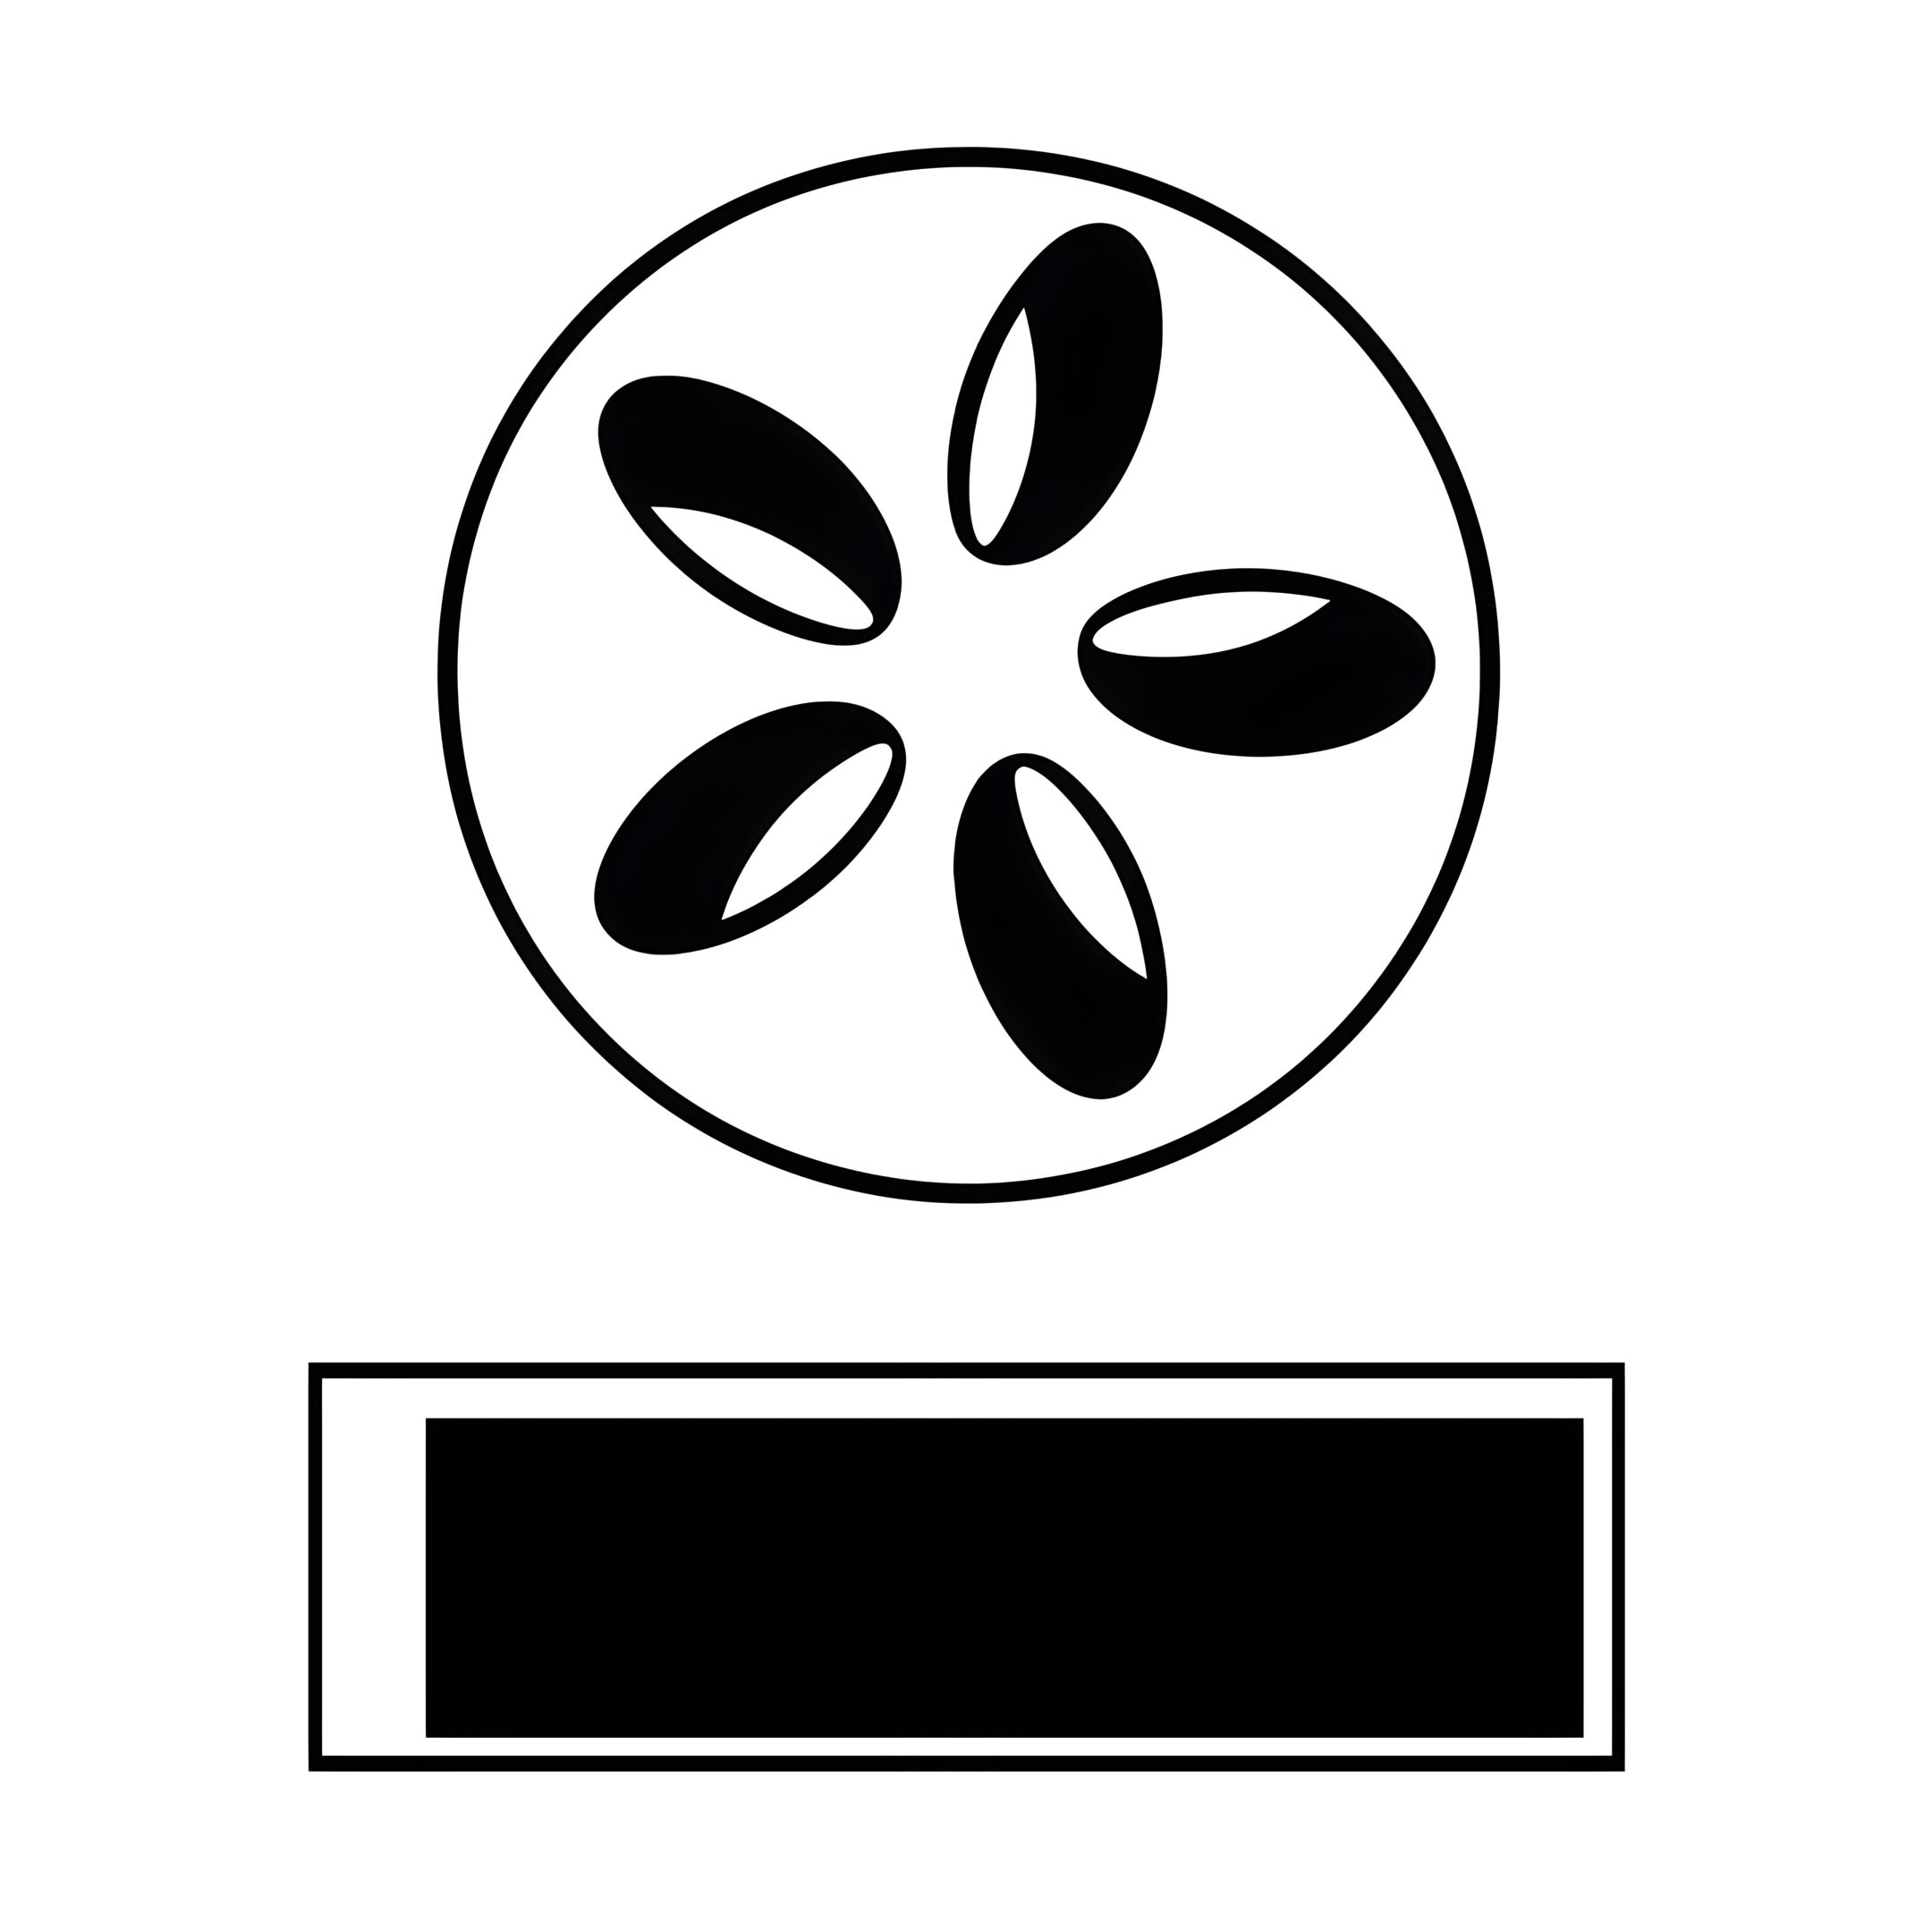
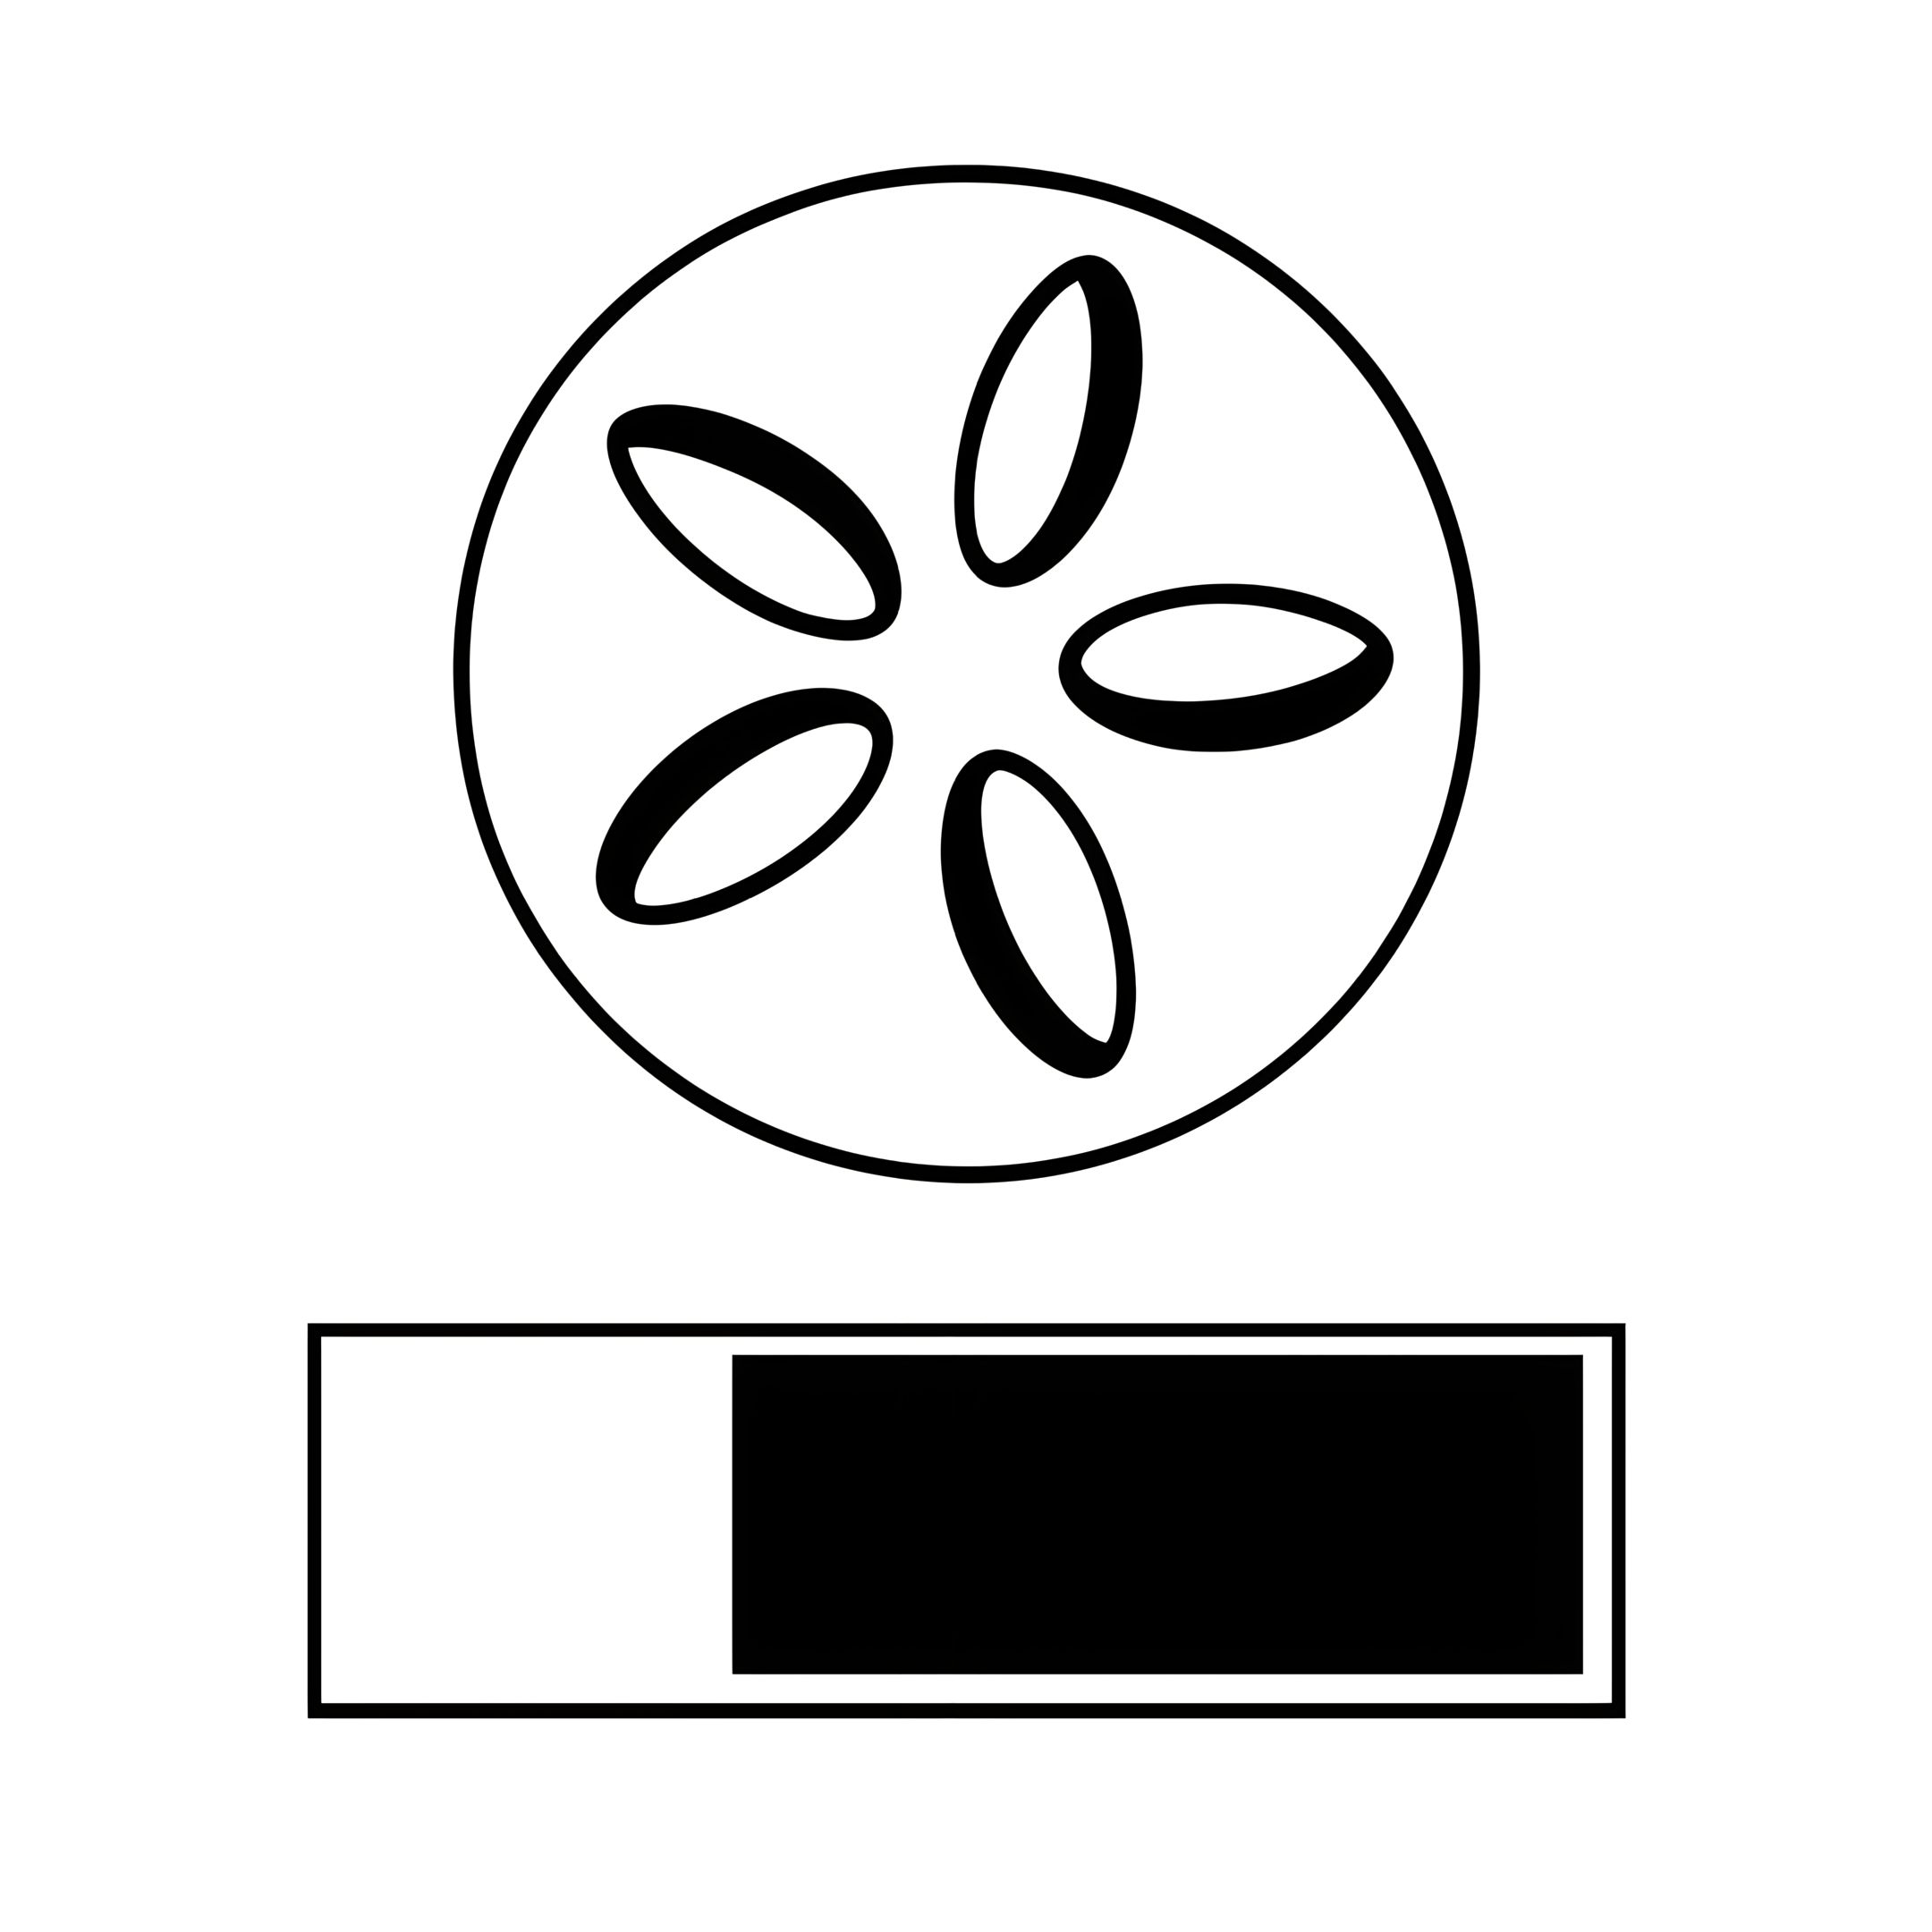
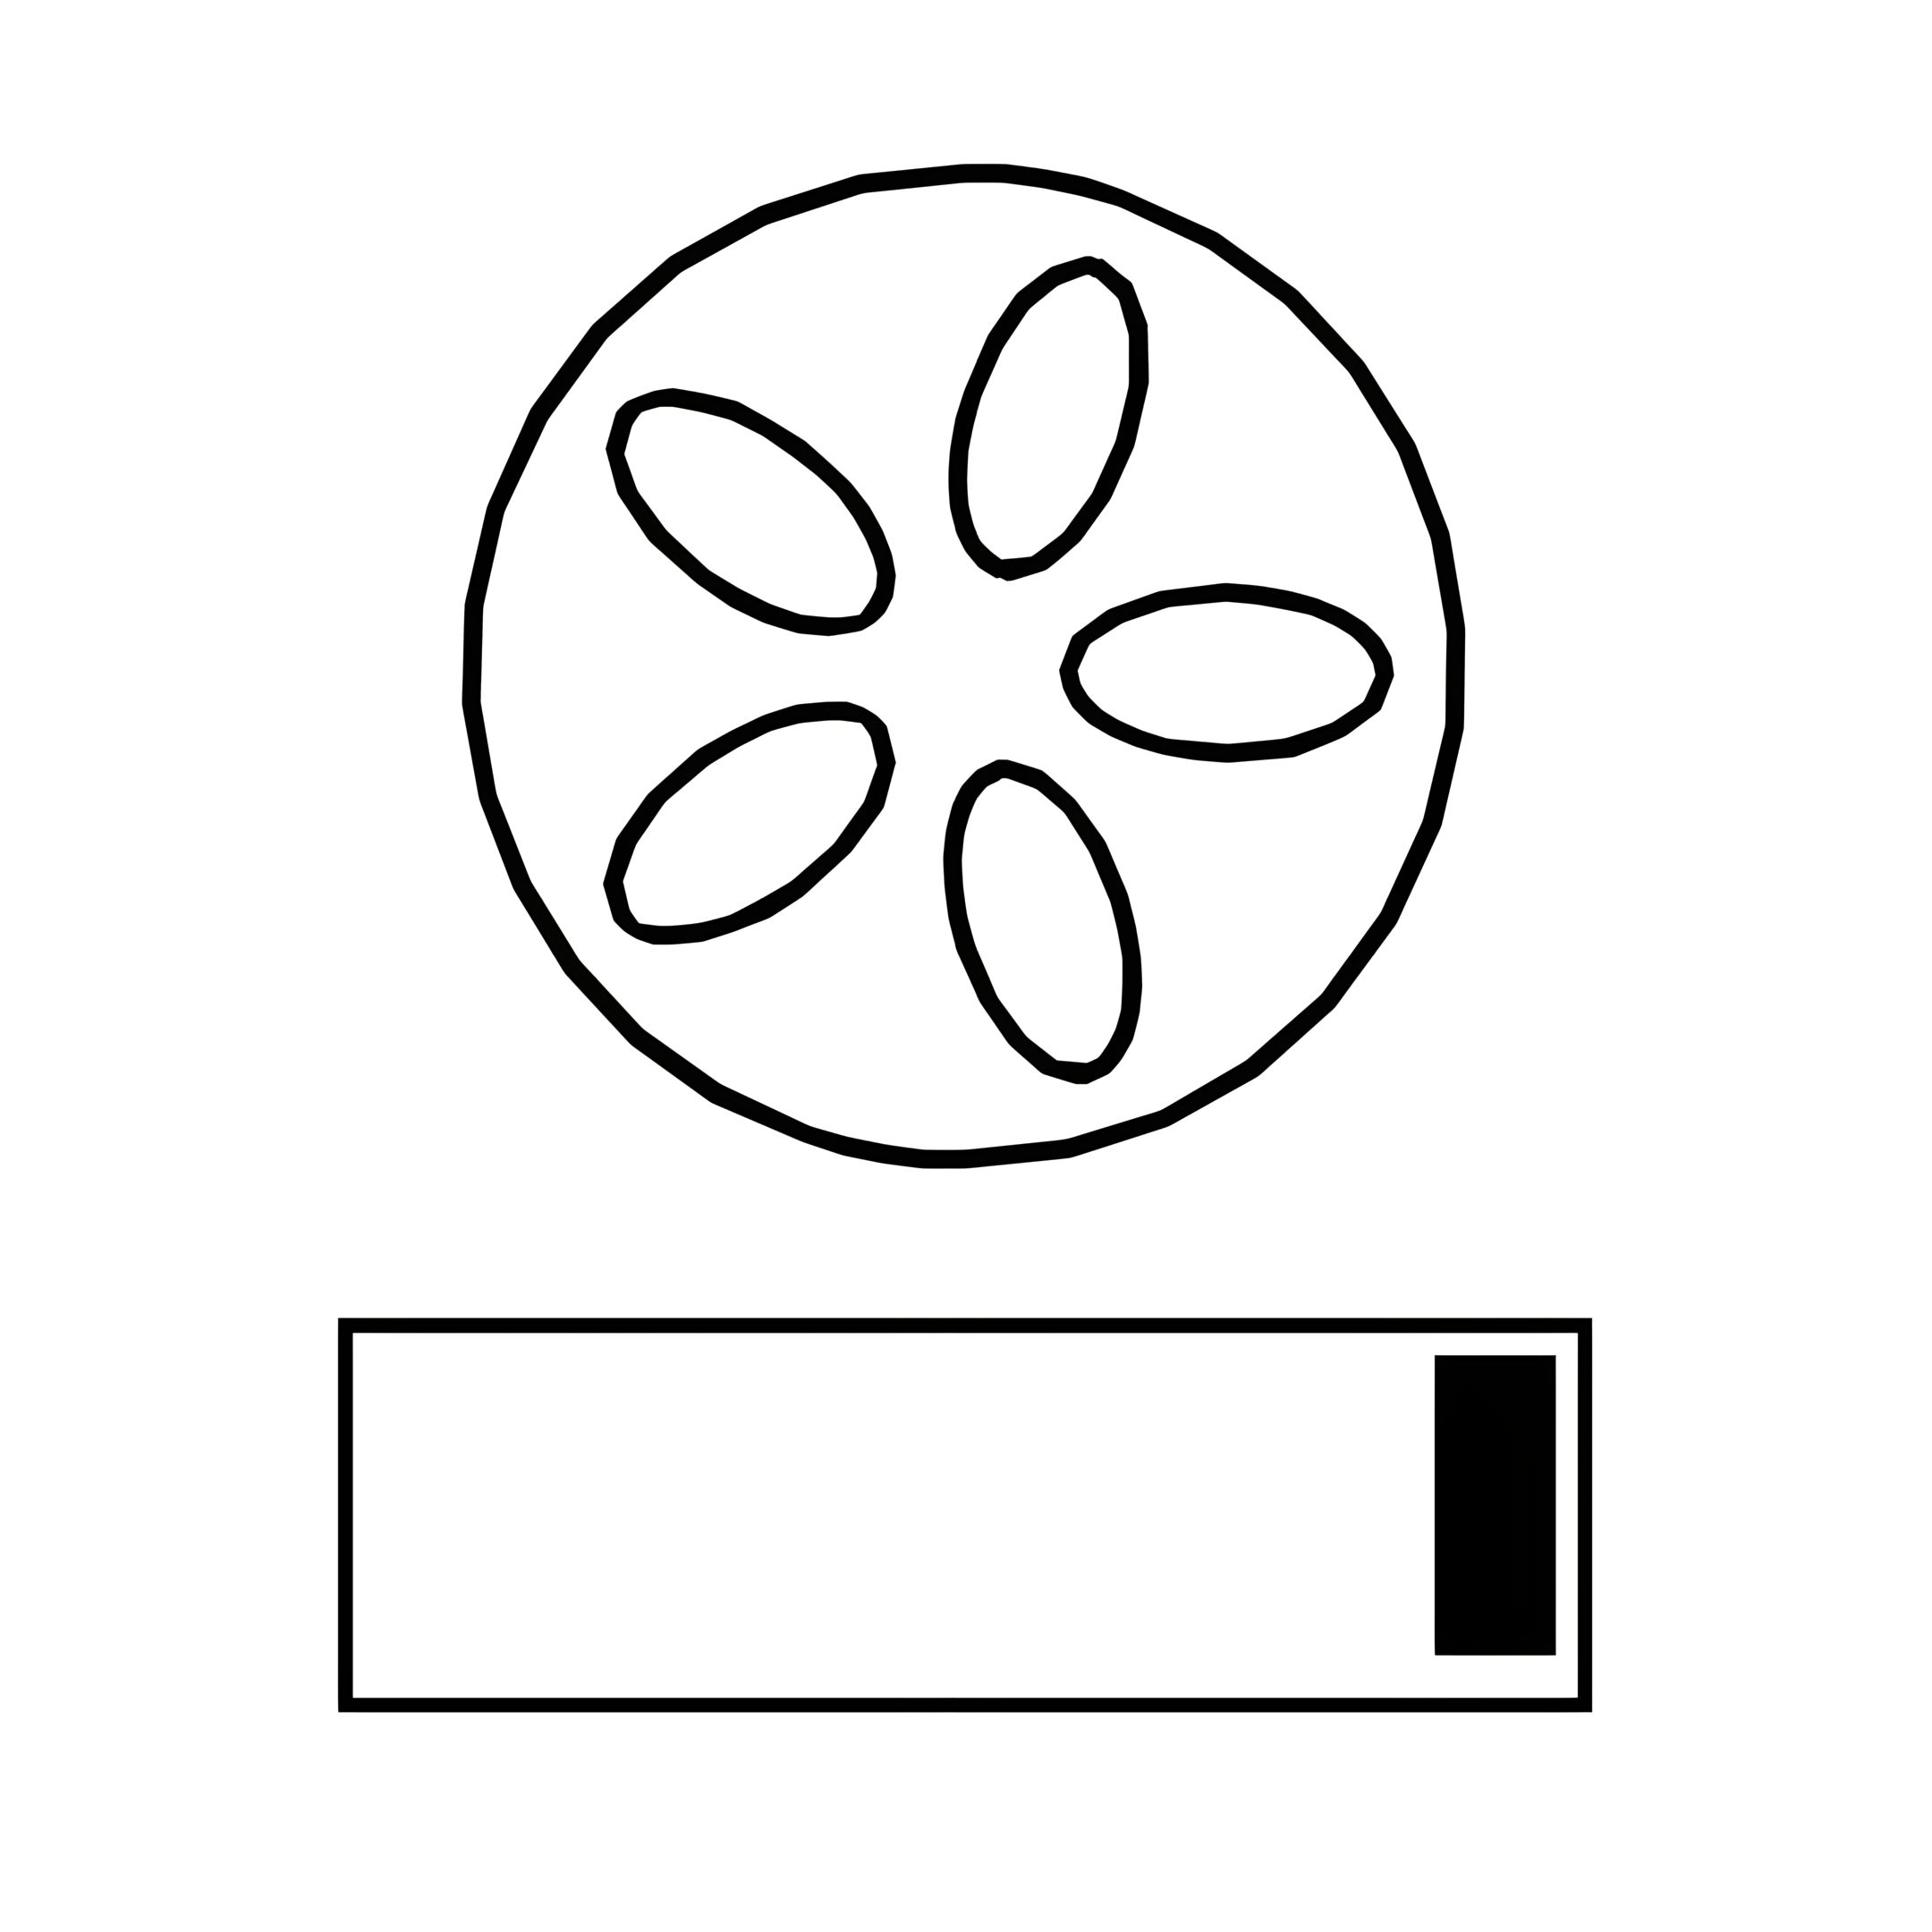
Ventilation Settings and Cooking Times
10. Airflow and Temperature Settings
The following settings of the air controller in the lid and the air
inlet on the BBQ body are approximate and the cooking times are estimated values. Please use a meat thermometer to guarantee the
quality of your food and to achieve the respective safe temperature
range.
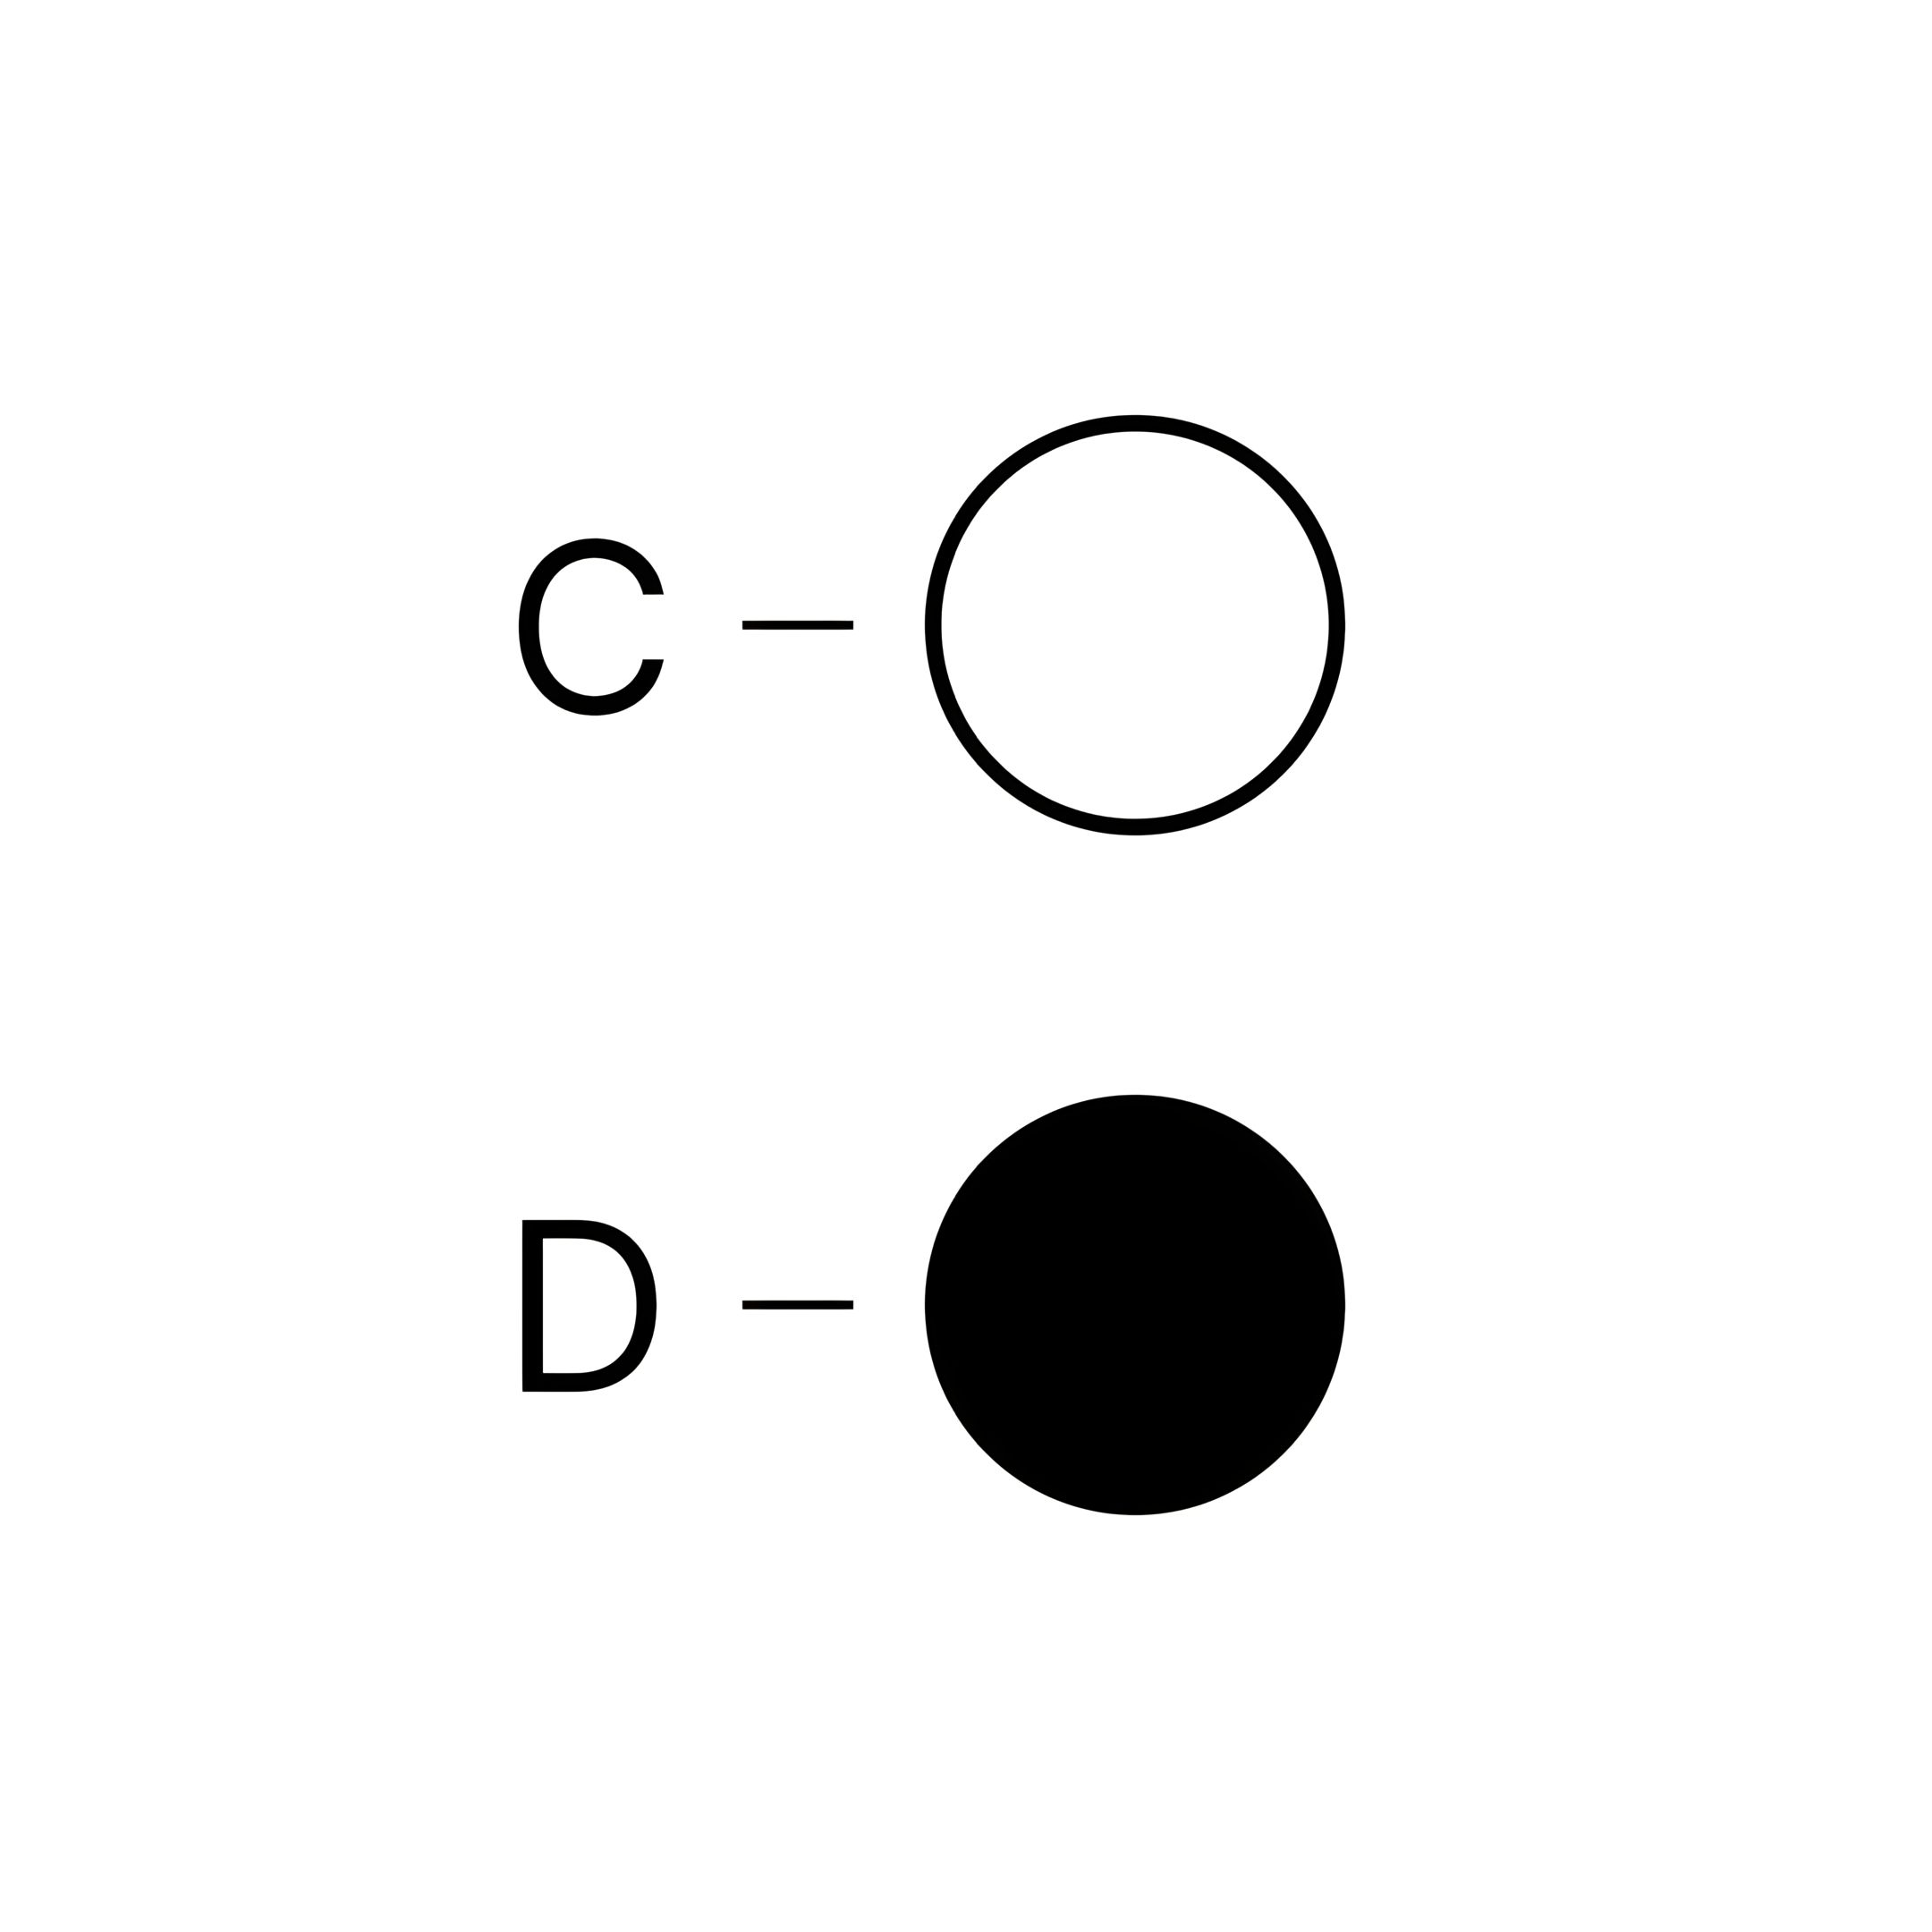
A - Air controller on the lid
B - Air inlet on the body
C - Open
D - Closed
11. Slow-Cooking and Smoking (110°C to 135°C)
Food Type
Approximate Cooking Time
Beef Brisket
4 hrs. per kg
Pulled Pork
2 hrs. per kg
Chicken (Whole)
3–4 hrs
Pork Ribs
3–5 hrs
Roasting
9+ hrs
12. Barbecuing and Roasting (160°C to 180°C)
Food Type
Approximate Cooking Time
Fish
15-20 mins
Pork Loin
15-30 mins
Chicken Cuts
30-45 mins
Chicken (Whole)
1-1.5 hrs
Leg of Lamb
3-4 hrs
Turkey
2-4 hrs
Ham
2-5 hrs
13. Searing (260°C to 370°C)
Food Type
Approximate Cooking Time
Steak
5-8 mins
Pork Cutlets
6-10 mins
Hamburgers
6-10 mins
Sausages
6-10 mins
Maintenance and Storage
14. Cleaning
WARNING
Health Risk
DO NOT use any de-colorants or thinners to remove stains.
These are harmful to health and may never come into contact
with food.
Risk of Burning
The charcoal grill and the charcoal are very hot even after grilling.
Any contact can result in serious burns.
Allow the charcoal grill to cool down completely before cleaning.
Only remove the ash when the charcoal has completely burned
out.
Risk of Damage
DO NOT use any strong or grinding solvent or abrasive pads,
since these can attach the surfaces and leave behind scrape
marks.
Remove the cold ashes.
It is very important that you remove the ash before moisture
combines with the cold ash. Ash is saline and, when moist,
will attach the inside of the ash collection tray. Thus, over the
course of years, the ash collecting tray can sustain damage
through rust.
Remove the BBQ Grill Grid, clean it thoroughly with soapy water
and rinse it down with clean water. Carefully dry off the BBQ
grill grid and insert it back into the BBQ.
The inside of the BBQ is self-cleaning.
CAUTION! Do not use water or cleaning products on the inside
of the BBQ. The walls are porous and absorb liquids, which can
cause cracks to form in the creaming lining when the BBQ is
next used.
15. Storage
Store the charcoal grill in a dry and dust-free place.
Check all the device parts before next use and tighten the screws and nuts if necessary.
If you cover the charcoal grill with a dust cover, make sure that the cover is only put on when the charcoal grill has cooled down and is clean and dry. Otherwise, it can lead to severe corrosion.
16. Declaration of Conformity
This product is in compliance with the applicable European and
national directives (DIN EN 1860-1).