Pattern for crocheting the Soft Book Vehicles by Hardicraft. The Soft Book Vehicles is approximately 12 cm x 11 cm and is made with a 2.5 mm crochet hook.
The pages are crocheted in rows. Ch 1 after each row and turn around. This turning-ch is not mentioned in the pattern, with the exception of the chain at the beginning. Sc 4 pages with blue and 4 pages with green.
Ch 26
1. 25 sc from the 2nd ch from the needle.
2. - 25. 25 sc
Fasten off and weave in the end.
2. Bus
The bus is crocheted in rows. Ch 1 after each row and turn around. This turning-ch is not mentioned in the pattern. Ch 16 with yellow.
1. 15 sc into the 2nd ch from the needle.
2. - 3. 15 sc
4. 13 sc, sc 2 st together (= 14 sc)
5. Sc 2 st together, 12 sc (= 13 sc)
6. 12 sc, leave the last st unworked and turn around.
7. - 8. 12 sc
9. Sc 2 st together, 8 sc, sc 2 st together (= 10 sc)
End with 1 sl and fasten off.
Sc 15 sl with grey along the bottom of the bus.
3. Windows (3 x)
The windows are crocheted in rows. Ch 1 after each row and turn around. This turning-ch is not mentioned in the pattern. Ch 4 with white.
3 sc into the 2nd ch from the needle.
- 3. 3 sc
Fasten off. Sew the windows onto the bus.
4. Wheels (2 x)
Ch 2 with grey or start with a magic ring.
 6 sc into the 2nd ch or into the magic ring, 1 sl into the 1st sc (= 6 sc)
End with 1 sl and fasten off. Sew the wheels onto the bottom of the bus.
5. Bus Lights
Embroider with white the headlight. Embroider with red a taillight and little stripes over row 2.
6. Bus Sign
Ch 6 with white.
 5 sc into the 2nd ch from the needle.
- 3. 5 sc
Ch 7 with grey. Sew these ch in the middle onto the bottom of the sign. Leave a long yarn hanging and embroider the letters “bus” onto the sign. Sew the bus and the bus sign onto a page.
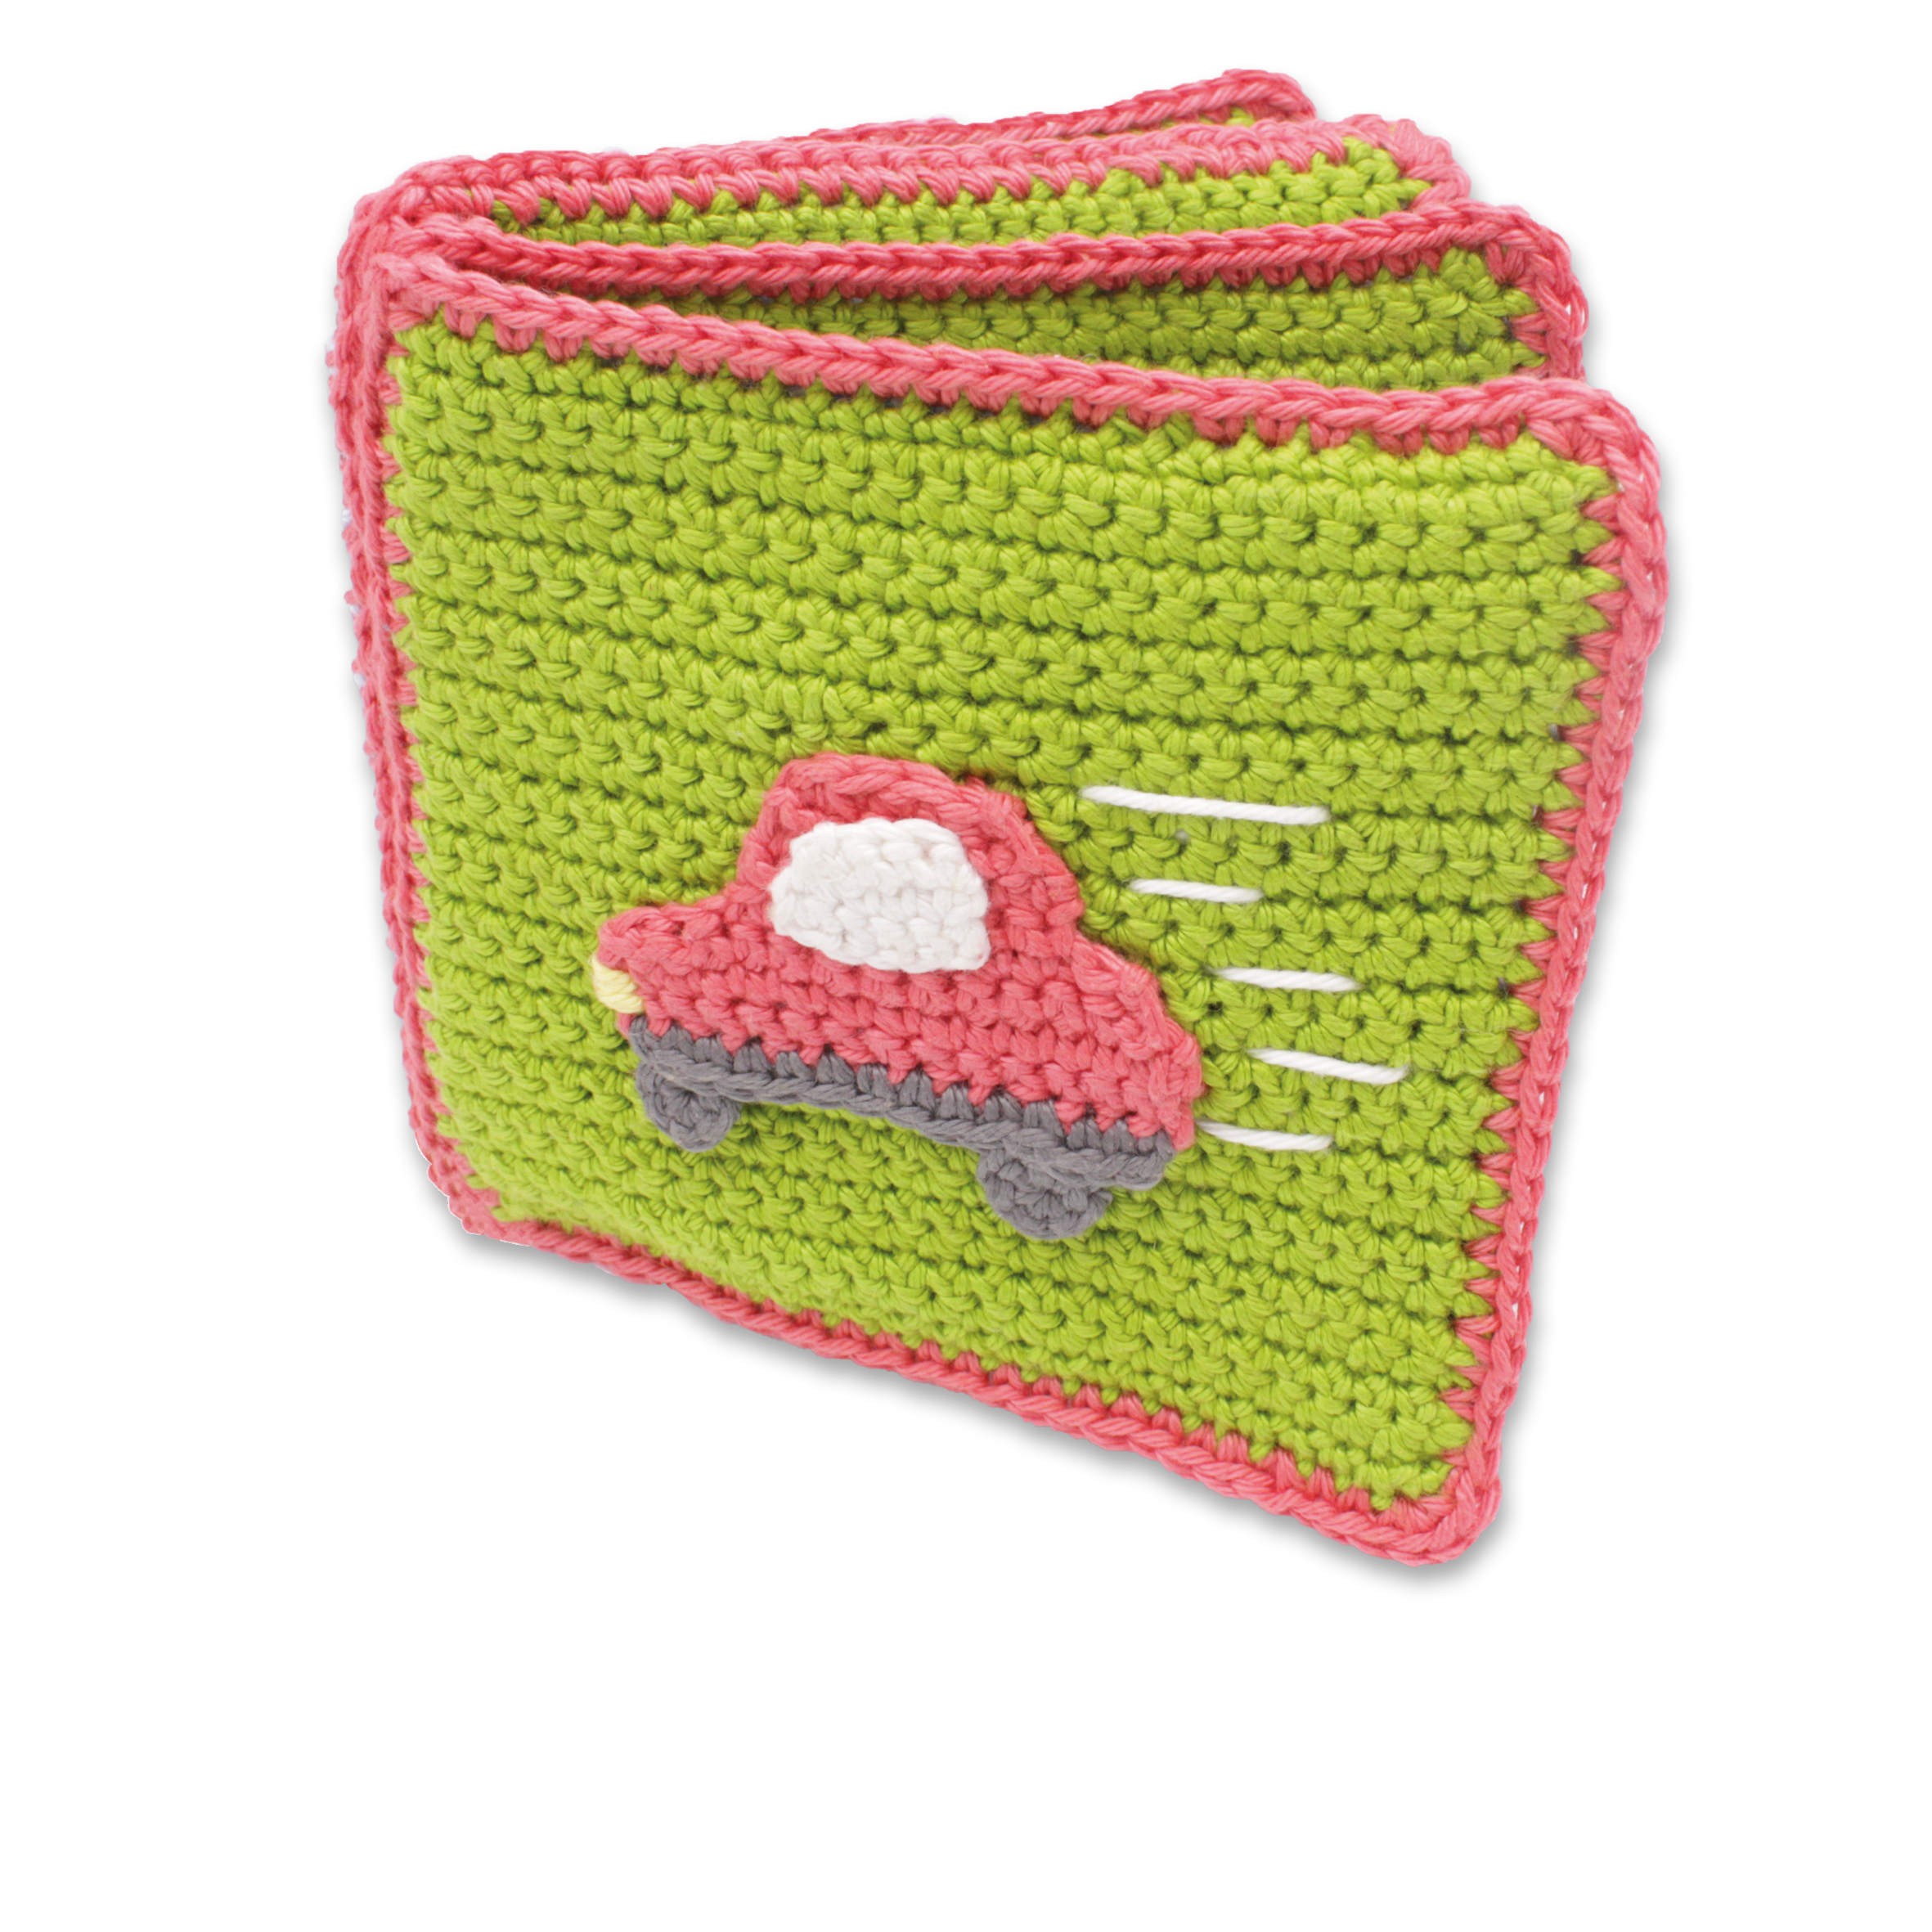
7. Car
The car is crocheted in rows. Ch 1 after each row and turn around. This turning-ch is not mentioned in the pattern. Ch 15 with red.
14 sc into the 2nd ch from the needle.
14 sc
Sc 2 st together, 10 sc, sc 2 st together (= 12 sc)
Sc 2 st together, 7 sc, leave the rest of the st unworked (= 8 sc)
7 sc, leave the last st unworked.
7 sc
Sc 2 st together, 3 sc, sc 2 st together (= 5 sc)
Sc 2 st together, 1 sc, sc 2 st together (= 3 sc)
End with 1 sl and fasten off.
Sc with grey 14 sl along the bottom of the car.
8. Window
The window is crocheted in rows. Ch 1 after each row and turn around. This turning-ch is not mentioned in the pattern. Ch 6 with white.
5 sc into the 2nd ch from the needle.
3 sc, sc 2 st together (= 4 sc)
Sc 2 st together, 1 sc (= 3 sc)
Fasten off. Sew the window onto the car.
9. Wheels (2 x)
Ch 2 with grey or start with a magic ring.
1. 6 sc into the 2nd ch or into the magic ring, 1 sl into the 1st sc (= 6 sc)
End with 1 sl and fasten off. Sew the wheels onto the bottom of the car.
10. Car Lights
Embroider with yellow the headlight. Sew the car onto a page. Embroider with white a few stripes behind the car.
11. Rocket
The rocket is crocheted in rows. Ch 1 after each row and turn around. This turning-ch is not mentioned in the pattern. Ch 9 with grey.
1. 8 sc into the 2nd ch from the needle.
2. - 14. 8 sc
Continue with red.
15. 8 sc
16. Sc 2 st together, 4 sc, sc 2 st together (= 6 sc)
17. Sc 2 st together, 2 sc, sc 2 st together (= 4 sc)
18. 2 x (sc 2 st together) (= 2 sc)
Fasten off.
Ch 3 with white onto the top of the rocket.
Sc with white a row of 8 sl onto the bottom.
12. Wings
Attach with red at the bottom of the rocket and sc along the side as follows:
1. 5 sc
Turn around, sc back over the previous row, but don’t crochet a turning-ch.
2. Sc 2 st together, 3 sc (= 4 sc)
Fasten off and sc another wing onto the other side.
13. Windows (2 x)
Ch 2 with white or start with a magic ring.
1. 6 sc into the 2nd ch or into the magic ring, 1 sl into the 1st sc (= 6 sc)
End with 1 sl and fasten off. Sew the windows onto the rocket.
14. Attaching the Rocket
Sew the rocket diagonal onto a page. Embroider with red and yellow a few stripes onto the bottom, these are the flames.
15. Train
The train is crocheted in rows. Ch 1 after each row and turn around. This turning-ch is not mentioned in the pattern. Ch 13 with blue.
1. 12 sc into the 2nd ch from the needle.
2. - 3. 12 sc
Continue with grey.
4. 7 sc, leave the rest of the st unworked.
5. - 10. 7 sc
Continue with red.
11. 2 sc in 1 sc, 5 sc, 2 sc in 1 sc (= 9 sc)
Fasten off.
Sc with red 12 sc onto the bottom of the train.
16. Chimney
Attach with grey into the last sc of row 3.
1. - 4. 3 sc
Fasten off.
Embroider with red a stripe onto the chimney.
17. Window
The window is crocheted in rows. Ch 1 after each row and turn around. This turning-ch is not mentioned in the pattern. Ch 5 with white.
1. 4 sc into the 2nd ch from the needle.
2. - 3. 4 sc
Fasten off. Sew the window onto the train.
18. Small Train Wheels (2 x)
Ch 2 with grey or start with a magic ring.
1. 6 sc into the 2nd ch or into the magic ring, 1 sl into the 1st sc (= 6 sc)
19. Large Train Wheel
Ch 2 with white or start with a magic ring.
1. 6 sc into the 2nd ch or into the magic ring, 1 sl into the 1st sc (= 6 sc)
Continue with grey.
2. 2 sc in every sc (= 12 sc)
Fasten off and sew the wheels onto the bottom of the train. Sew the train onto a page.
20. Sailing Boat
The boat is crocheted in rows. Ch 1 after each row and turn around. This turning-ch is not mentioned in the pattern. Ch 10 with red.
9 sc into the 2nd ch from the needle.
2 sc in 1 sc, 7 sc, 2 sc in 1 sc (= 11 sc)
2 sc in 1 sc, 9 sc, 2 sc in 1 sc (= 13 sc)
2 sc in 1 sc, 11 sc, 2 sc in 1 sc (= 15 sc)
Fasten off.
21. Sail 1
The sails are crocheted in rows. Ch 1 after each row and turn around. This turning-ch is not mentioned in the pattern.
Ch 8 with white.
7 sc into the 2nd ch from the needle.
7 sc
5 sc, sc 2 st together (= 6 sc)
6 sc
4 sc, sc 2 st together (= 5 sc)
5 sc
3 sc, sc 2 st together (= 4 sc)
4 sc
2 sc, sc 2 st together (= 3 sc)
3 sc
1 sc, sc 2 st together (= 2 sc)
2 sc
Sc 2 st together (= 1 sc)
Fasten off.
22. Sail 2
Ch 10 with white.
9 sc into the 2nd ch from the needle.
9 sc
Sc 2 st together, 7 sc (= 8 sc)
6 sc, sc 2 st together (= 7 sc)
Sc 2 st together, 5 sc (= 6 sc)
4 sc, sc 2 st together (= 5 sc)
Sc 2 st together, 3 sc (= 4 sc)
2 sc, sc 2 st together (= 3 sc)
Sc 2 st together, 1 sc (= 2 sc)
Sc 2 st together (= 1 sc)
Fasten off.
23. Mast
Ch 13 with grey. Skip 1 ch and sc 1 sl in every ch.
Fasten off.
24. Flag
Ch 5 with yellow.
1 sl, 1 sc, 1 hdc, 1 st into the 2nd ch from the needle.
Fasten off and sew the flag onto the mast.
Sew all parts of the boat onto a page. Embroider with grey 2 birds.
25. Helicopter
The helicopter is crocheted in rows. Ch 1 after each row and turn around. This turning-ch is not mentioned in the pattern. Ch 9 with green.
8 sc into the 2nd ch from the needle.
8 sc
2 sc in 1 sc, 6 sc, 2 sc in 1 sc (= 10 sc)
2 sc in 1 sc, 8 sc, 2 sc in 1 sc (= 12 sc)
2 sc in 1 sc, 10 sc, 2 sc in 1 sc, ch 7 (= 21 st)
21 sc
14 sc, leave the rest of the st unworked.
Sc 2 st together, 12 sc (= 13 sc)
11 sc, sc 2 st together. (= 12 sc)
Sc 2 st together, 8 sc, sc 2 st together (= 10 sc)
Sc 2 st together, 6 sc, sc 2 st together (= 8 sc)
Fasten off.
26. Tail
Attach with green into st 21 of row 5.
3 sc
Sc 2 st together, 1 sc (= 3 sc)
Fasten off.
27. Rotor Blades
Attach with grey into the 3rd sc of row 11.
4 sc
Sc 2 st together, 1 sc, sc 2 st together (= 3 sc)
Fasten off.
Ch 9 with red.
Sc into the 2nd ch from the needle: 2 sl, 2 sc, 2 hdc, 2 dc
Fasten off.
Make another red rotor blade and sew them onto the grey part.
28. Window
Ch 6 with white.
5 sc into the 2nd ch from the needle.
4 sc, 2 sc into the next sc (= 6 sc)
6 sc
4 sc, sc 2 st together (= 5 sc)
Fasten off and sew the window onto the helicopter.
29. Landing Gear
Ch 14 with grey.
Sc into the 2nd ch from the needle: 3 sl, (ch 4, skip 1 ch, 3 sl), 6 sl, (ch 4, skip 1 ch, 3 sl), 2 sl
Fasten off and sew the landing gear onto the bottom of the helicopter. Sew the helicopter onto a page.
30. Bicycle Frame
Ch 24 with red and close the ring with 1 sl.
10 sl, 3 sc into the next ch, 6 sl, 3 sc into the next ch, 6 sl, 3 sc into the next ch, end with 1 sl.
Fasten off.
31. Wheels (2 x)
Ch 5 with white.
1. Sc into the 5th ch from the needle: 5 x (1 dc, ch 2), end the row with 1 sl.
Continue with grey.
2. 4 sc in every ch-space of the previous round, end with 1 sl into the 1st sc of the round.
Fasten off and sew the wheels onto the frame. The middle of the wheels is at the 1st and 3rd increase of sc in the frame.
32. Handlebar
Ch 9 with red.
1. 8 sl into the 2nd ch from the needle.
Continue with grey.
Ch 3, continue with 2 sl into the 2nd ch from the needle.
Fasten off and sew the bottom of the steering pin onto the middle of the front wheel.
33. Saddle
Ch 5 with grey.
Sc into the 2nd ch from the needle: 1 sl, 1 sc, 1 hdc, 1 dc.
Fasten off. Sew the saddle onto the 2nd increasing of the frame. Sew the bicycle onto a page.
34. Completion
Sew all applications onto a page. Use the pictures as a guide or use your own imagination! When you have finished this, lay the pages with the backsides against each other.
Make a row of red sc along the pages as follows: 24 sc along the side, 3 sc at the corner, 23 sc along the bottom, 3 sc at the corner, 23 sc along the side, 3 sc at the corner, 24 sc along the top. End with 1 sl into the 1st st of the row.
To sew the pages onto each other, cut off a red strand of approx. 1 meter. Lay the first 2 pages onto each other and sew them together by zigzagging underneath the row of red loops. Then lay page 3 on top of page 2 and zigzag underneath the red loops of page 2 and page 3. Repeat this with page 4. Fasten off and weave in the end.
Previous stepCopy link to sharePrint / PDFNext step