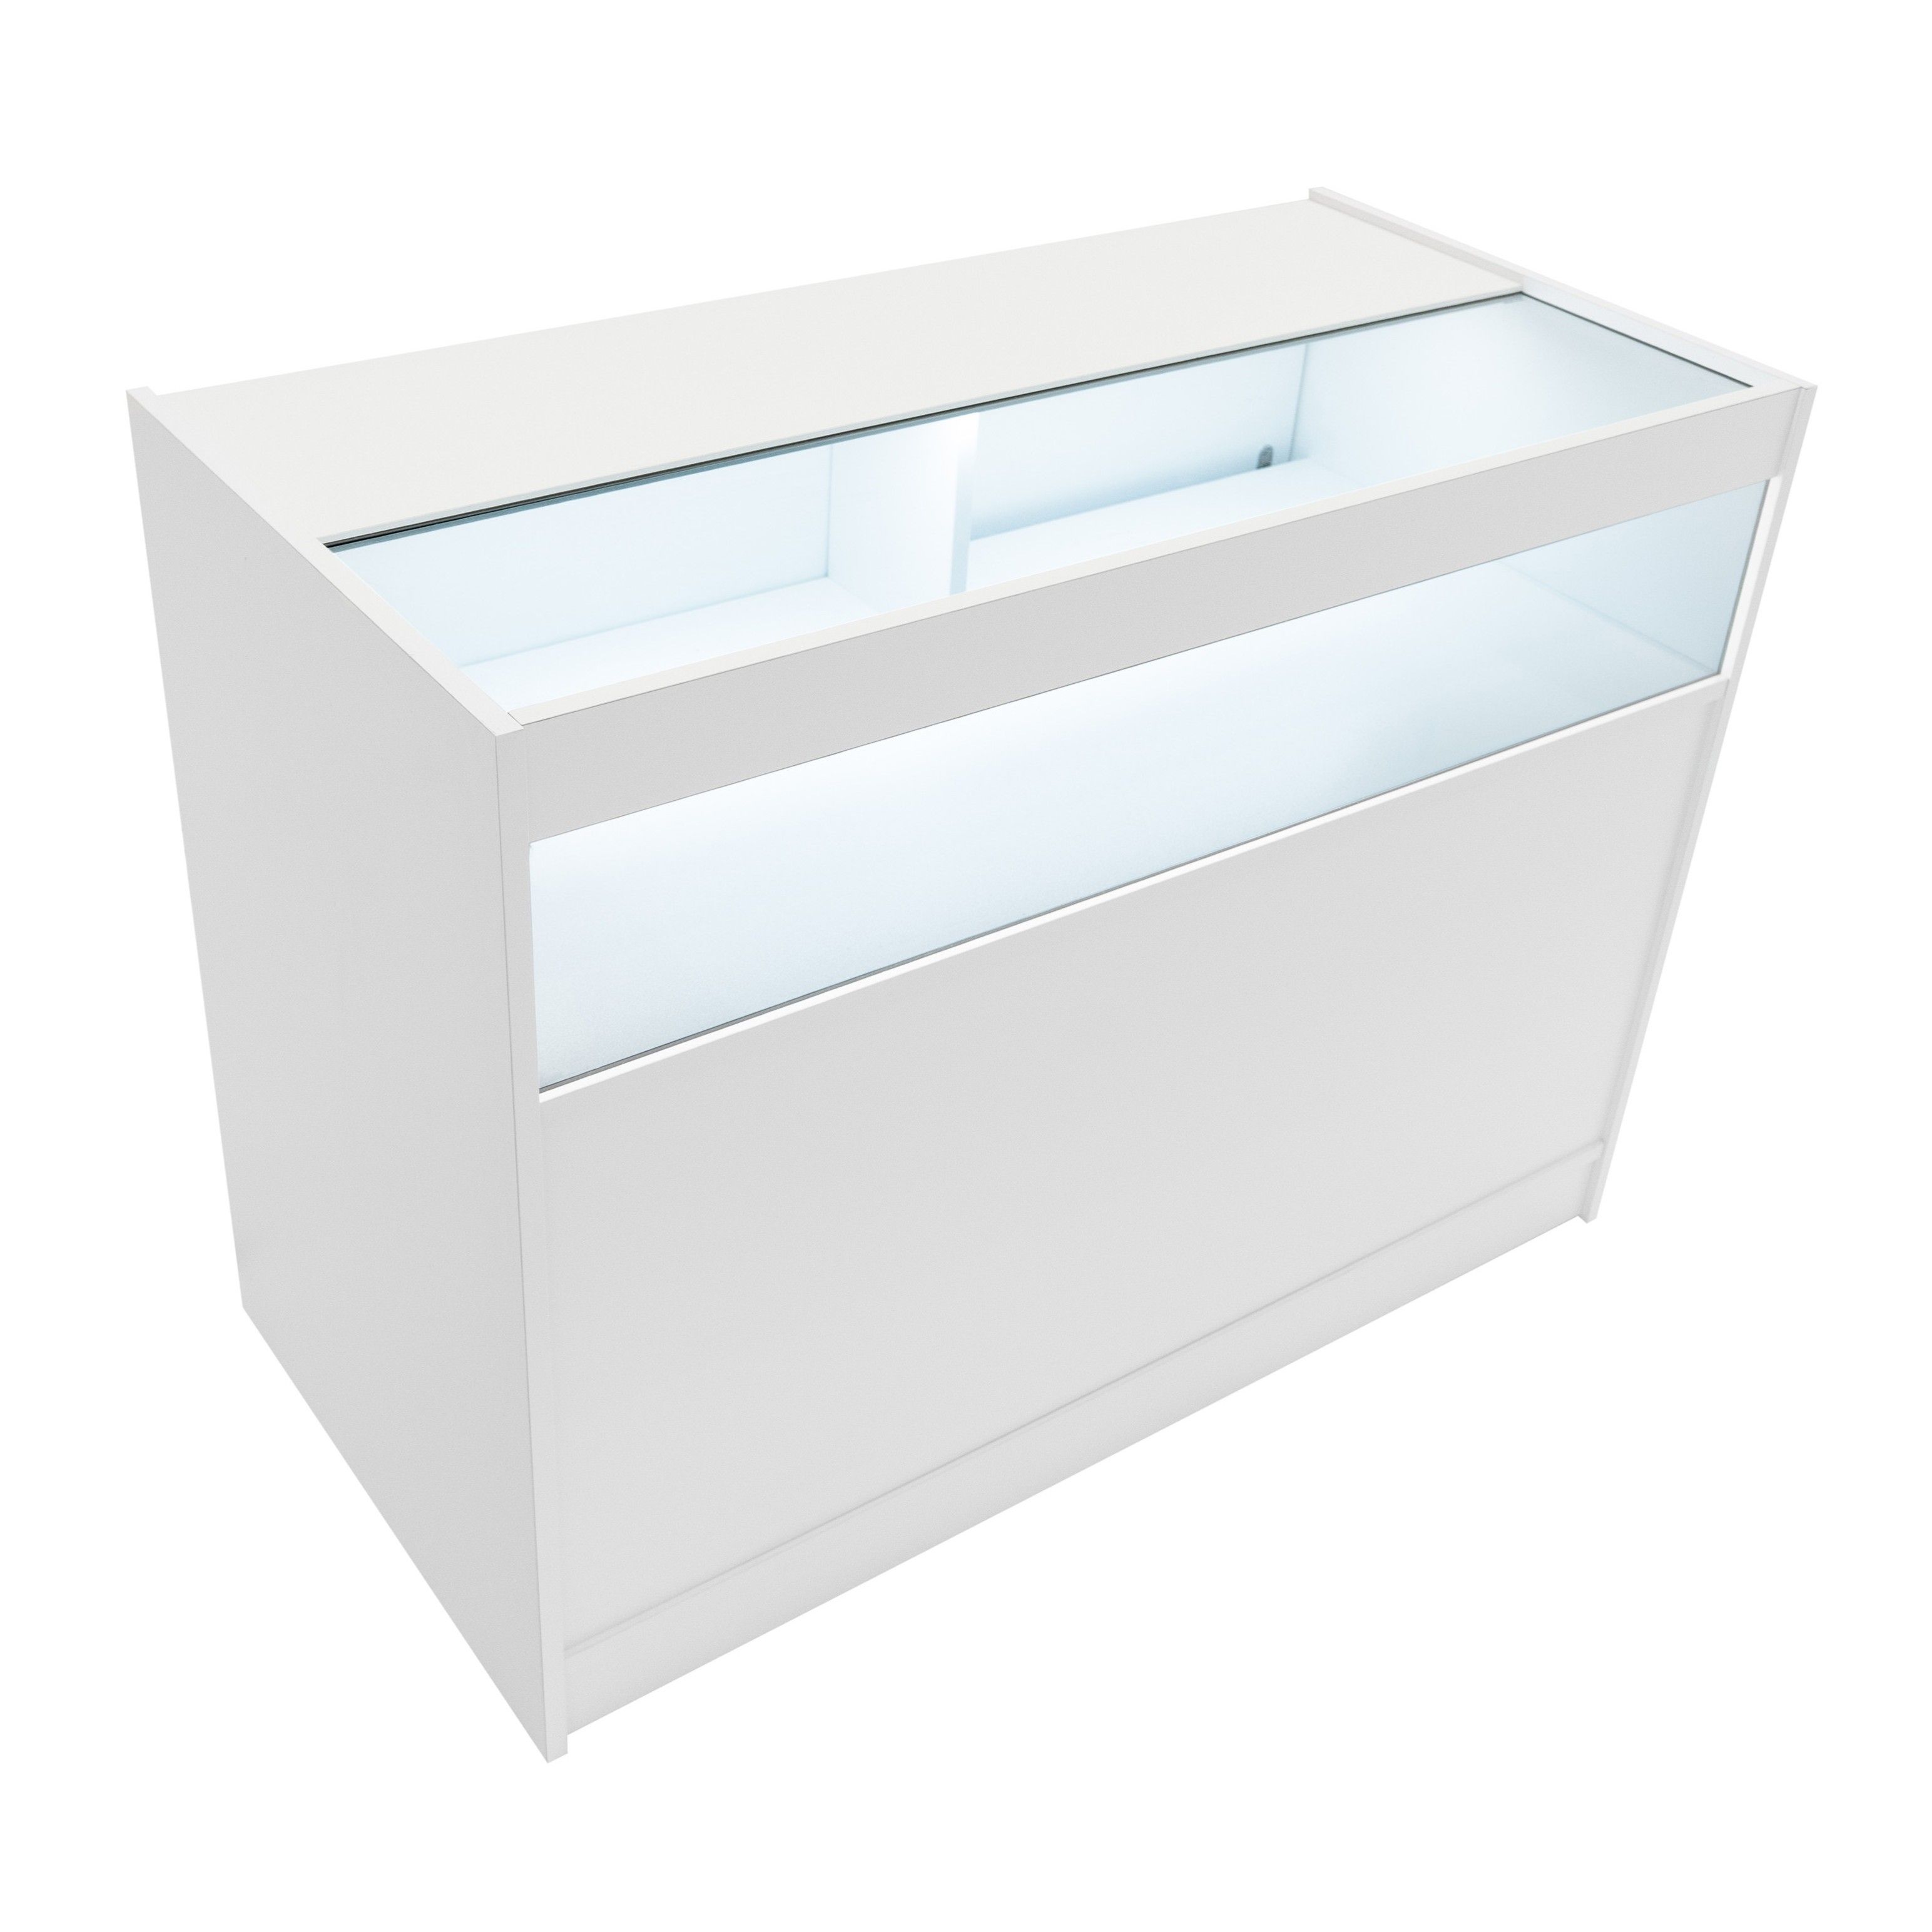
A stylish LED shop counter that combines illuminated glass display with secure rear storage, creating a clean and professional focal point for showcasing premium retail products.
Manufacturer: Monster Group UK Limited, Monster House 19-23 Alan Farnaby Way, Industrial Estate Sheriff Hutton, York YO60 6PG
Person Responsible: Rana Harvey, Monster Group UK Limited, Monster House 19-23 Alan Farnaby Way, Industrial Estate Sheriff Hutton, York YO60 6PG, England, +441347878880
EU
Manufacturer: Monster Group BV, Van Heemskerckweg 28A & B, Venlo 5928LL Netherlands +441347878880
Person Responsible: Rana Harvey, Monster Group BV, Van Heemskerckweg 28A & B, Venlo 5928LL, Netherlands, +44134787888
Materials
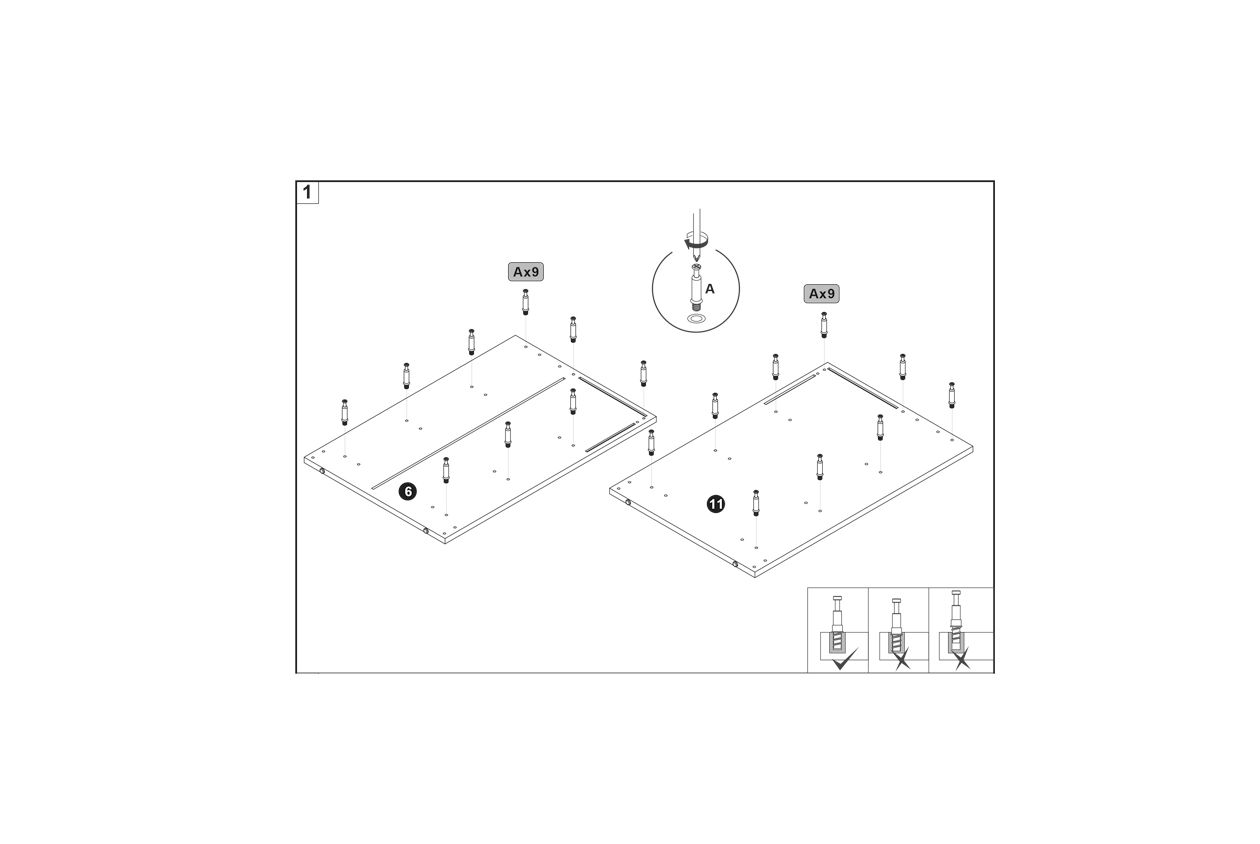
1.
To begin assembling the B900-1200 LED Shop Counter, follow these steps:
Identify the two panels labeled as 6 and 11.
Gather the hardware labeled A, which includes 9 pieces for each panel.
Insert the hardware A into the pre-drilled holes on both panels 6 and 11.
Ensure each piece of hardware is securely fastened as shown in the correct assembly diagram.
Check that all components are aligned properly and securely attached.
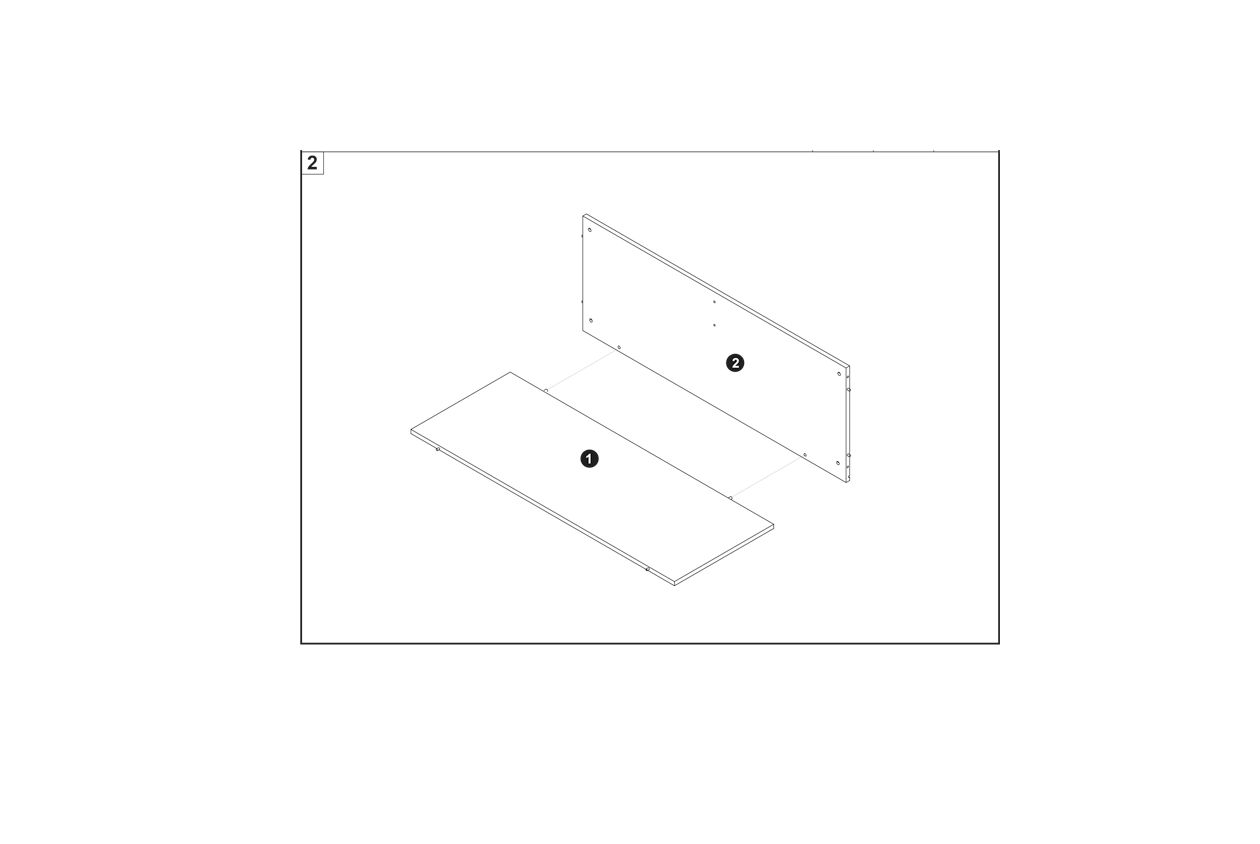
2.
To assemble the B900-1200 LED Shop Counter, follow these steps:
Identify the base panel (1) and the back panel (2).
Align the back panel (2) vertically with the base panel (1) as shown in the diagram.
Secure the panels together using the appropriate connector screws (A) as indicated in the assembly guide.
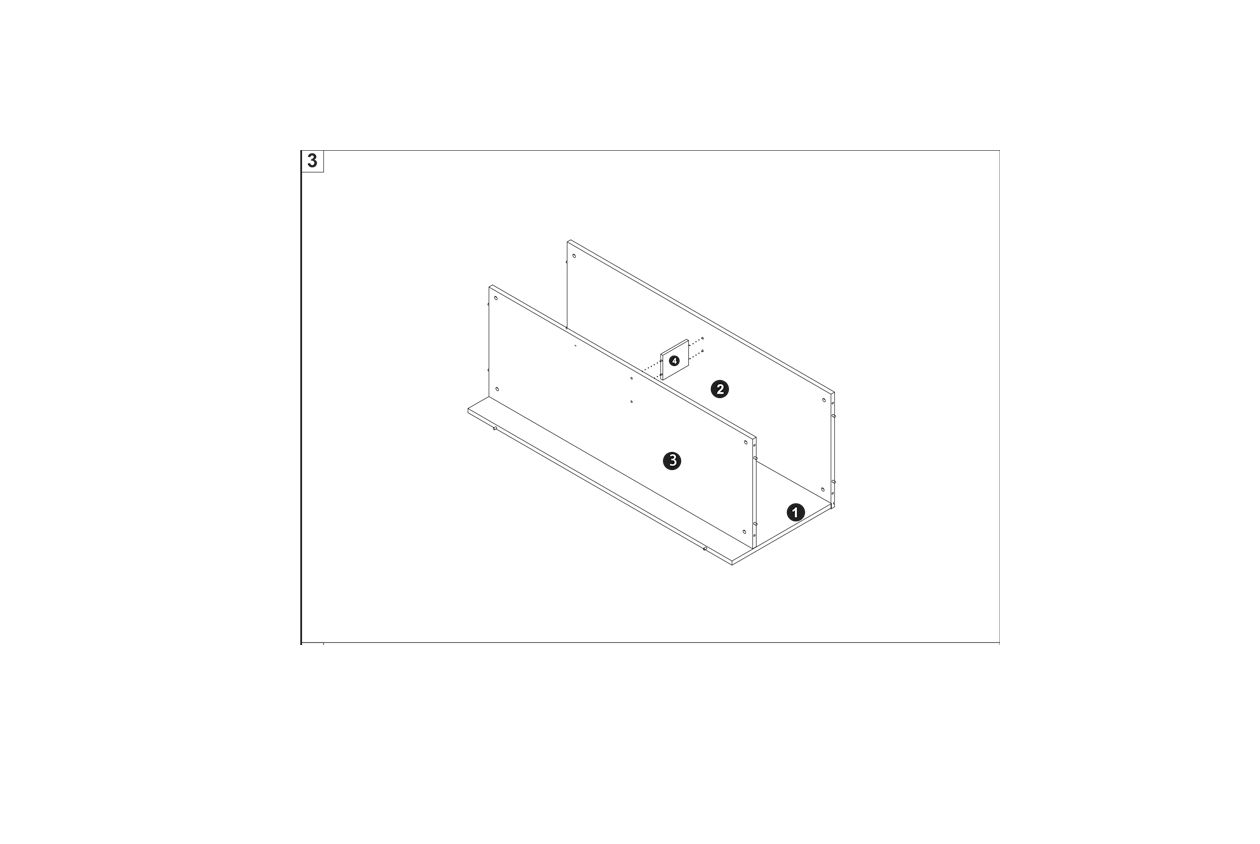
3.
To assemble the B900-1200 LED Shop Counter, follow these steps:
Identify the base panel (1) and place it on a stable surface.
Attach the side panels (2) to the base panel using the provided connector screws. Ensure the panels are aligned correctly.
Secure the back panel (3) to the side panels, ensuring all edges are flush and aligned.
Use cam locks to fasten the panels securely, checking for stability and alignment.
4.
To assemble the B900-1200 LED Shop Counter, follow these steps:
Identify the base panel and the back panel.
Align the base panel with the back panel.
Secure the back panel to the base using connector screws.
Ensure the panels are properly aligned and stable.
5.
To assemble the B900-1200 LED Shop Counter, follow these steps:
Identify the side and back panels as shown in the image.
Align the panels correctly, ensuring that the pre-drilled holes are facing the right direction.
Use connector screws and cam locks to securely fasten the panels together.
Ensure all components are aligned and securely fastened before proceeding to the next step.
6.
To assemble the B900-1200 LED Shop Counter, follow these steps:
Align the back panel with the side panels of the counter.
Insert connector screws (labeled as B) into the pre-drilled holes on the back panel.
Secure the back panel to the side panels using cam locks. Ensure the cam locks are properly aligned and tightened.
Repeat the process for all six connector screws to ensure the back panel is securely attached.
7.
To assemble the B900-1200 LED Shop Counter, follow these steps:
Identify the base panel labeled as part 7.
Align the base panel with the pre-assembled side and back panels.
Secure the base panel to the structure using the appropriate connector screws and cam locks.
Ensure all components are aligned and securely fastened.
8.
To assemble the B900-1200 LED Shop Counter, follow these steps:
Align the base panel (8) with the side and back panels of the counter structure.
Secure the base panel using connector screws (B) as shown in the detailed view.
Ensure all components are properly aligned and stable before proceeding to the next step.
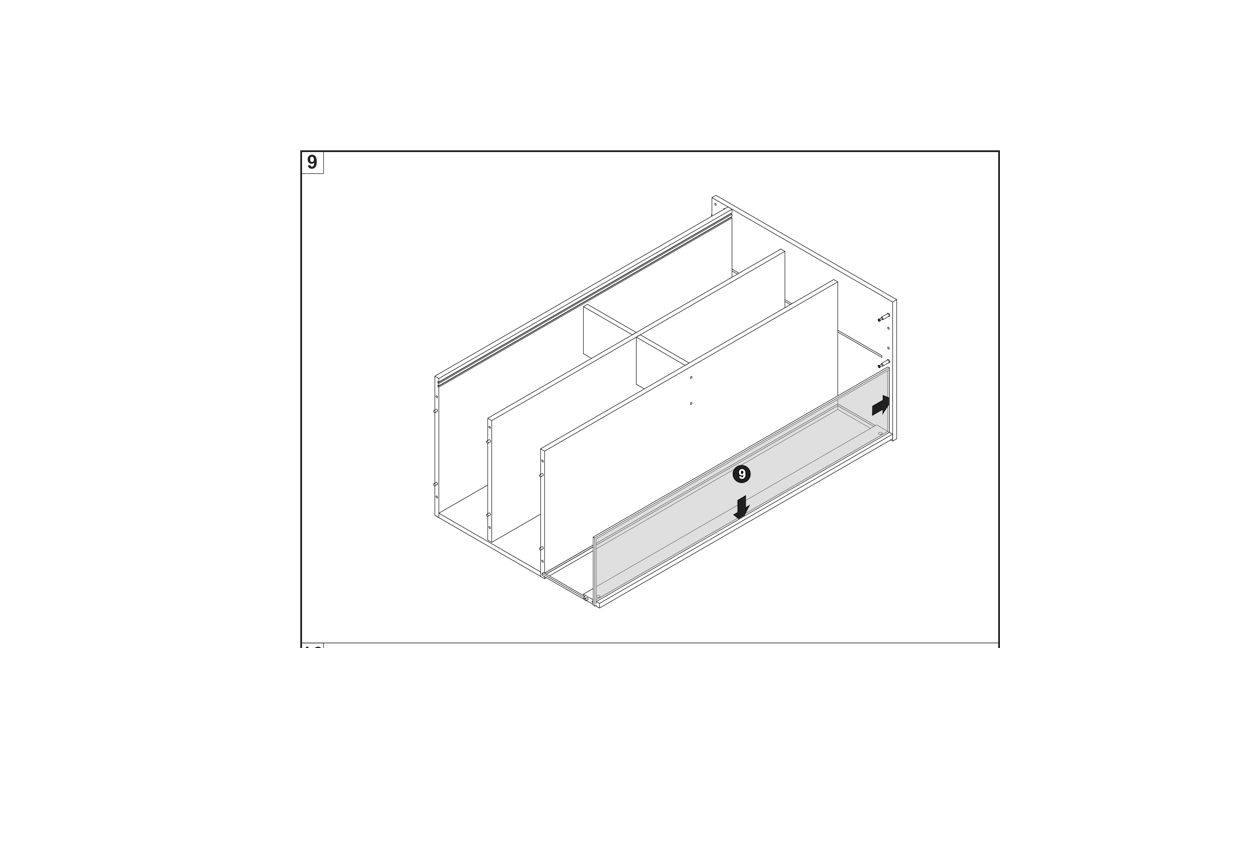
9.
To assemble the B900-1200 LED Shop Counter, follow these steps:
Position the back panel (labeled as 9) into the frame of the counter.
Ensure the panel is aligned with the side panels and fits securely into place.
Slide the panel downwards and ensure it is properly seated within the grooves.
Check that the panel is flush with the sides and securely fastened.
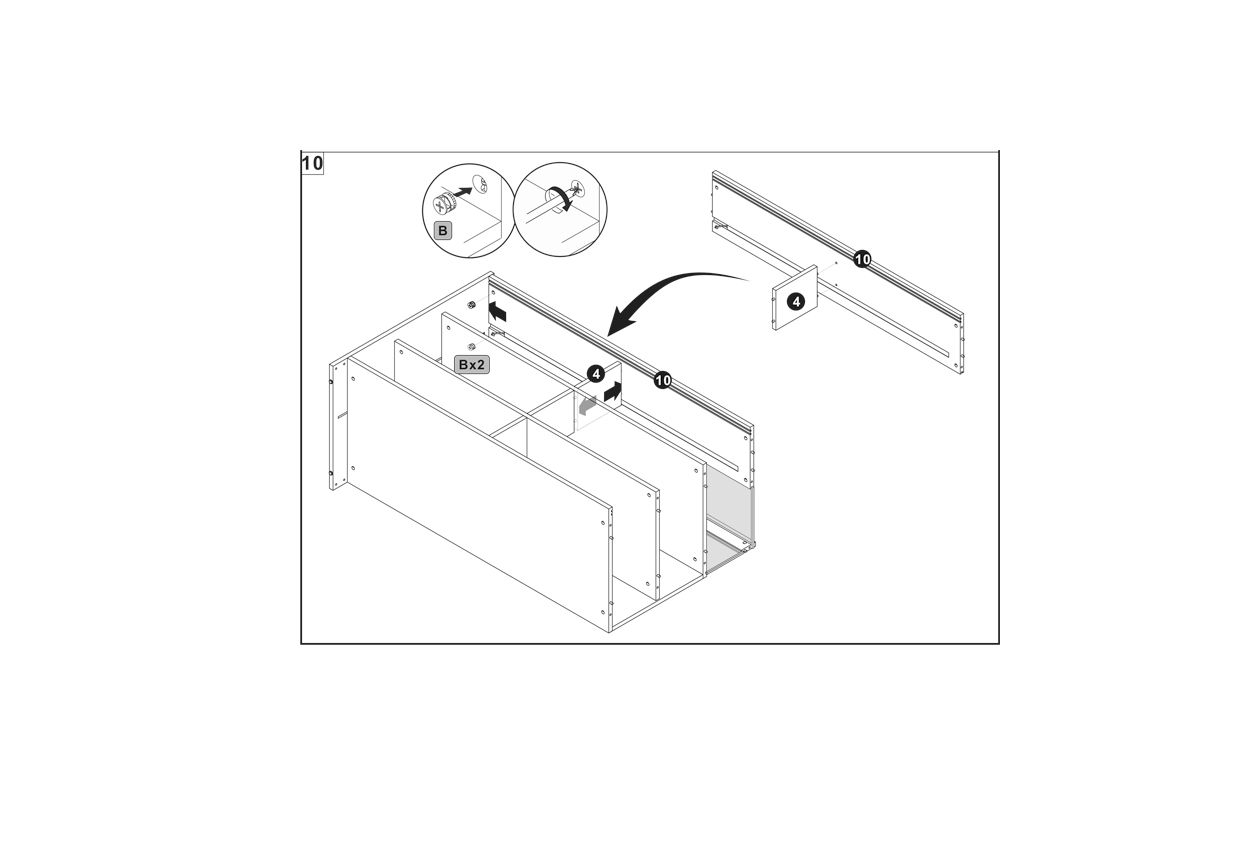
10.
To assemble the B900-1200 LED Shop Counter, follow these steps:
Identify the components labeled as 4 and 10 in the diagram.
Align the panel labeled 10 with the structure, ensuring it fits securely into place.
Use the connector screws labeled B to attach the panel 10 to the main structure. Ensure the screws are tightened properly for stability.
Repeat the process for the second panel labeled 4, ensuring it is aligned and secured with the connector screws.
Double-check that both panels are securely fastened and aligned correctly with the rest of the structure.
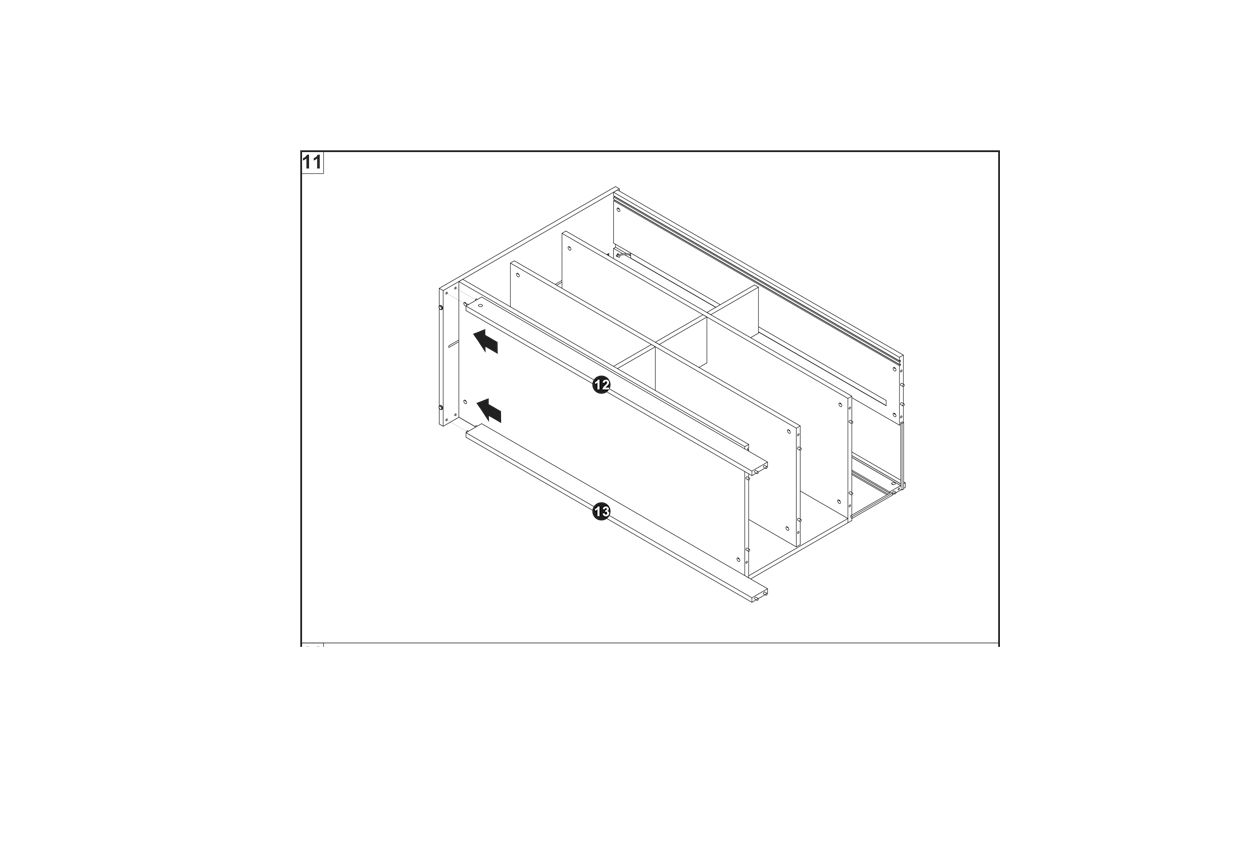
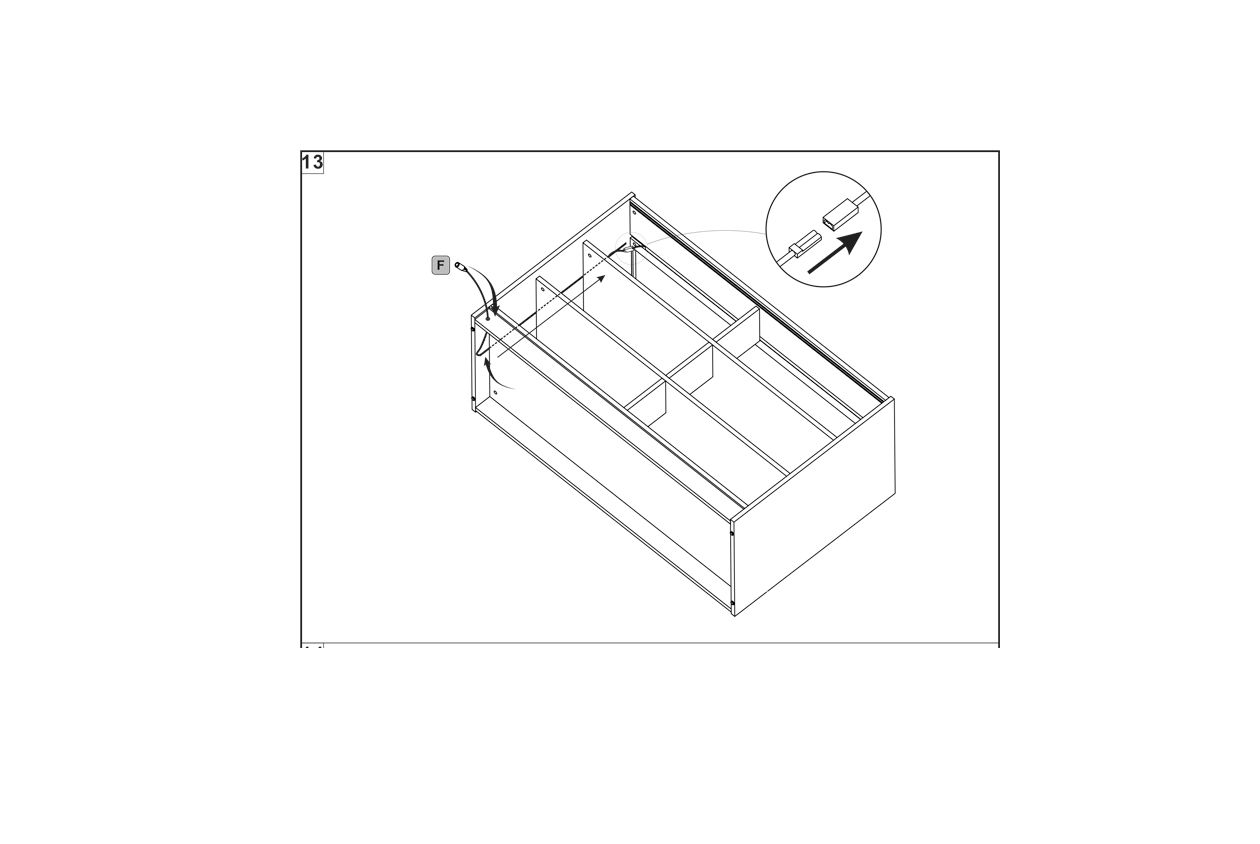
11.
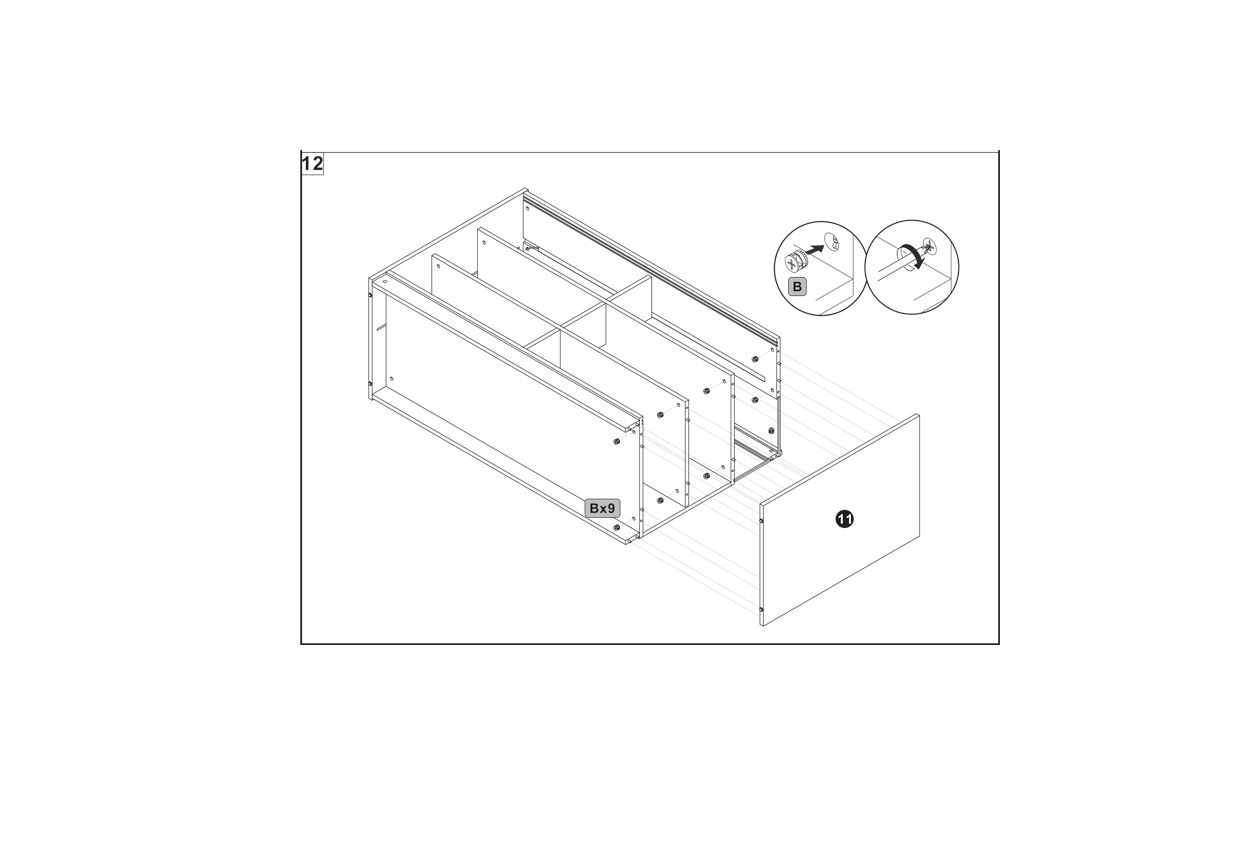
12.
13.
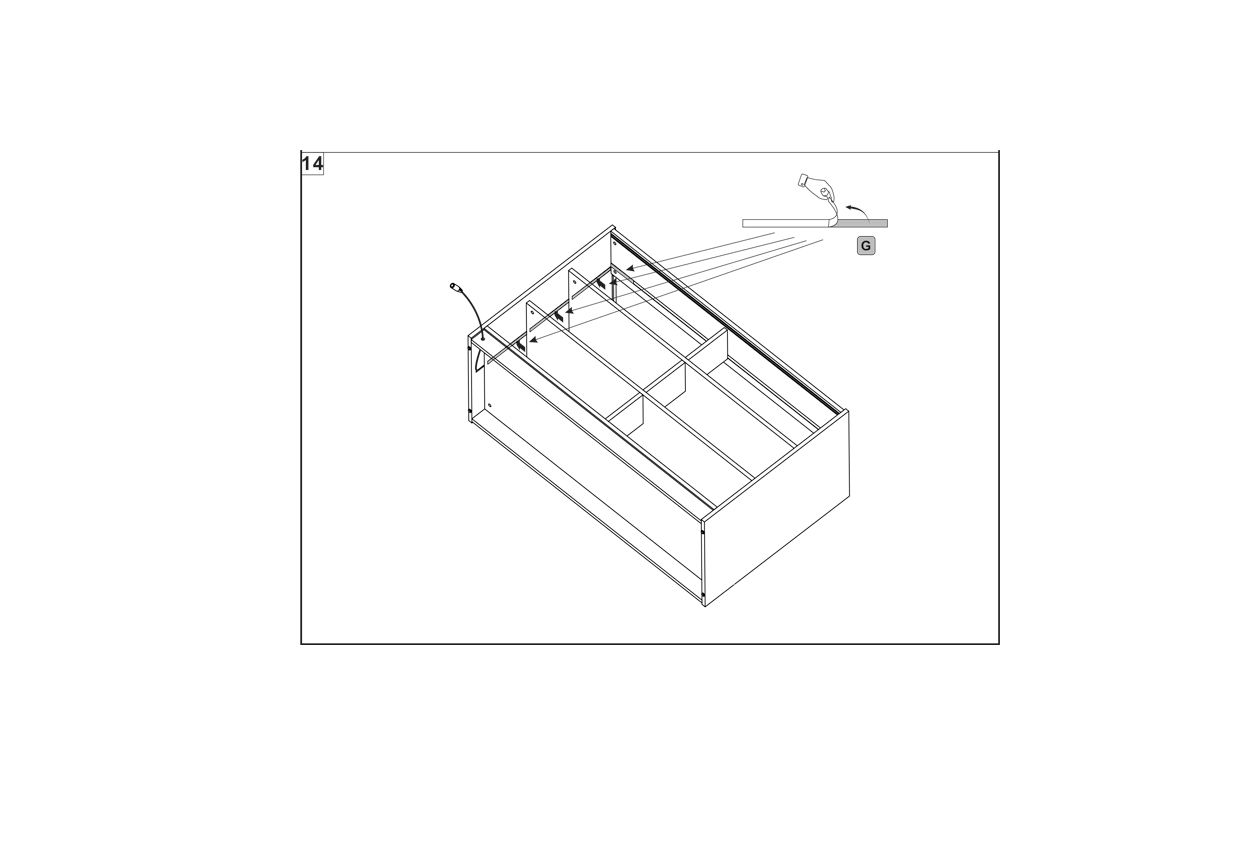
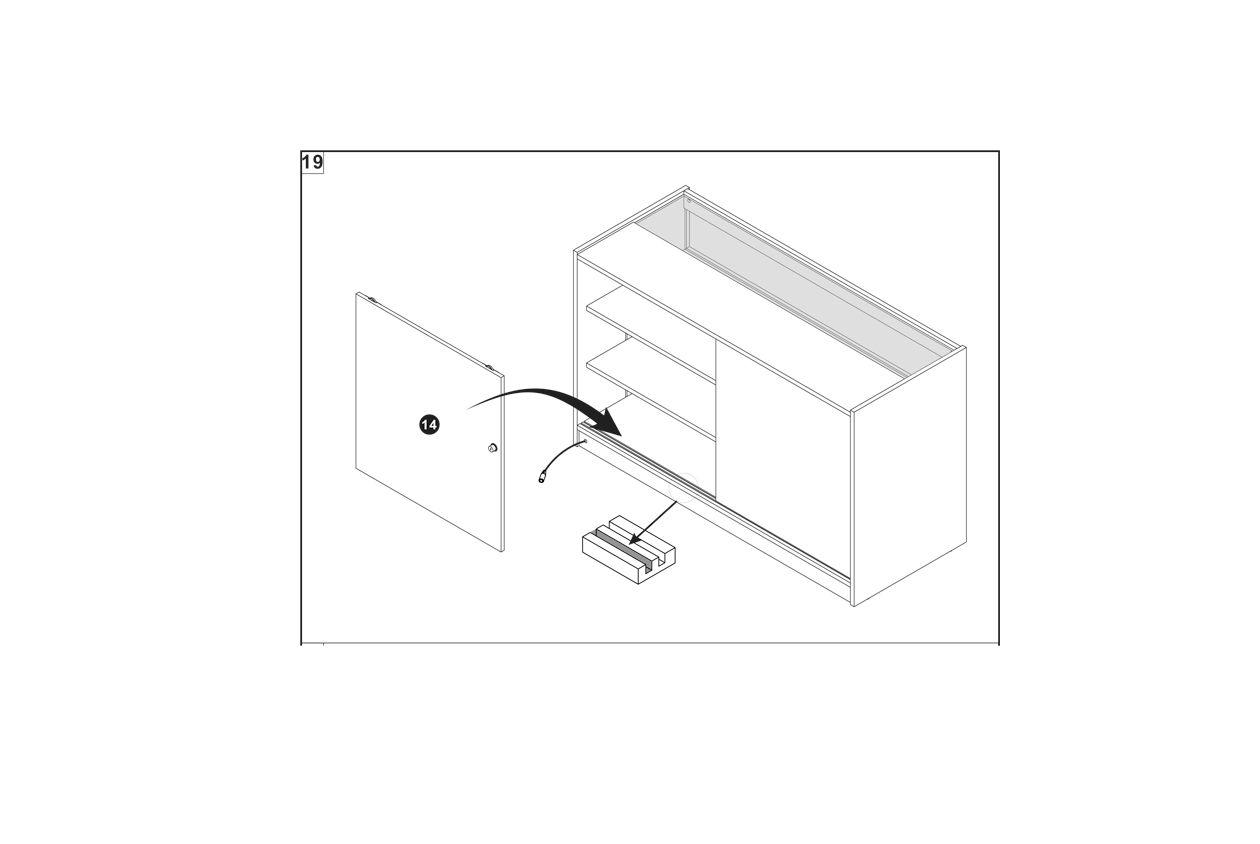
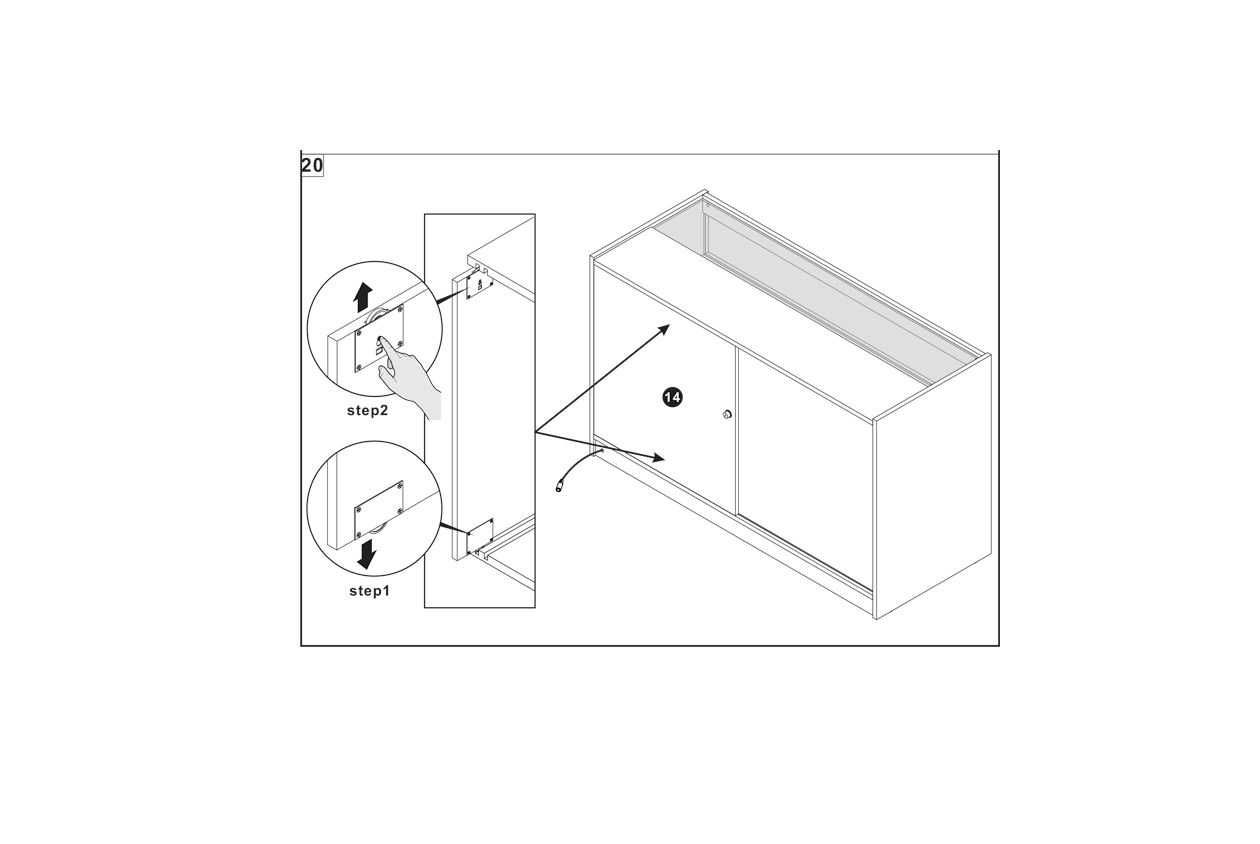
14.
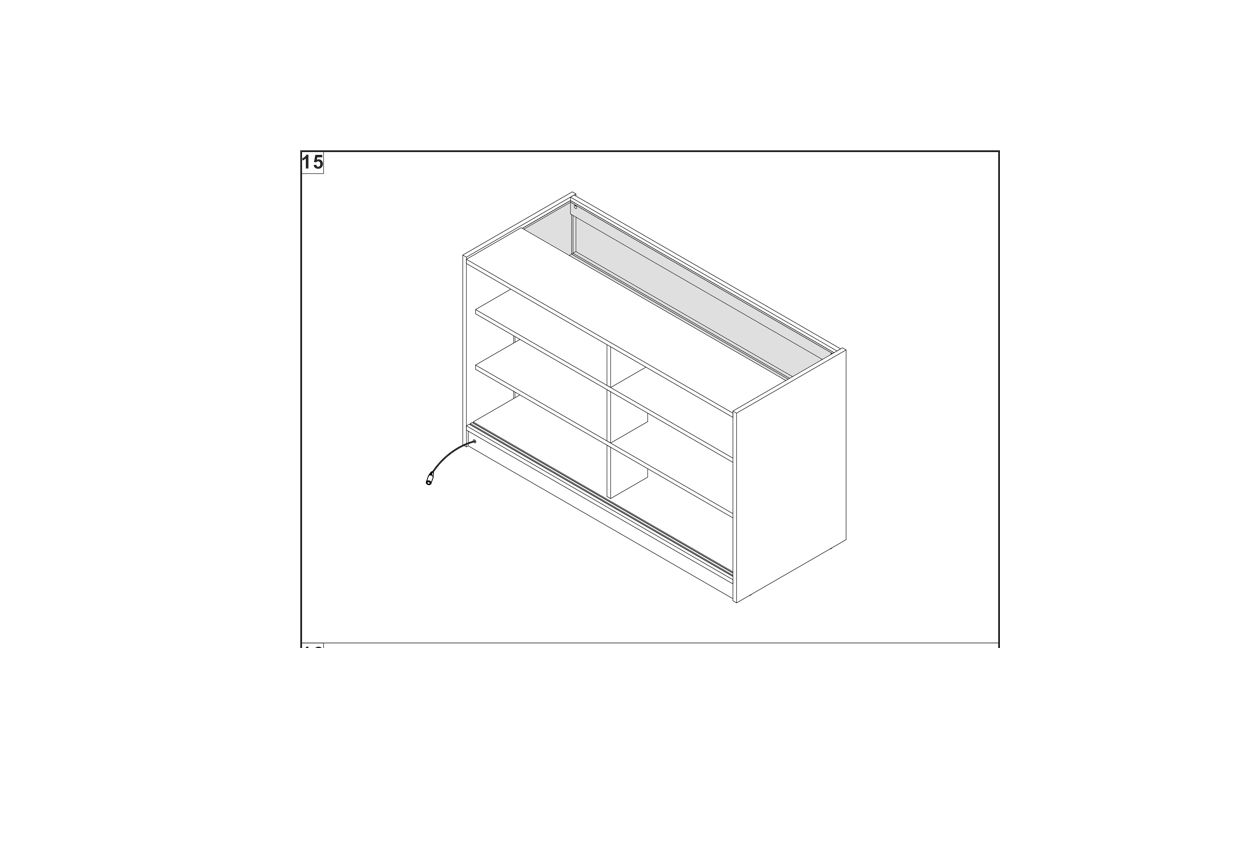
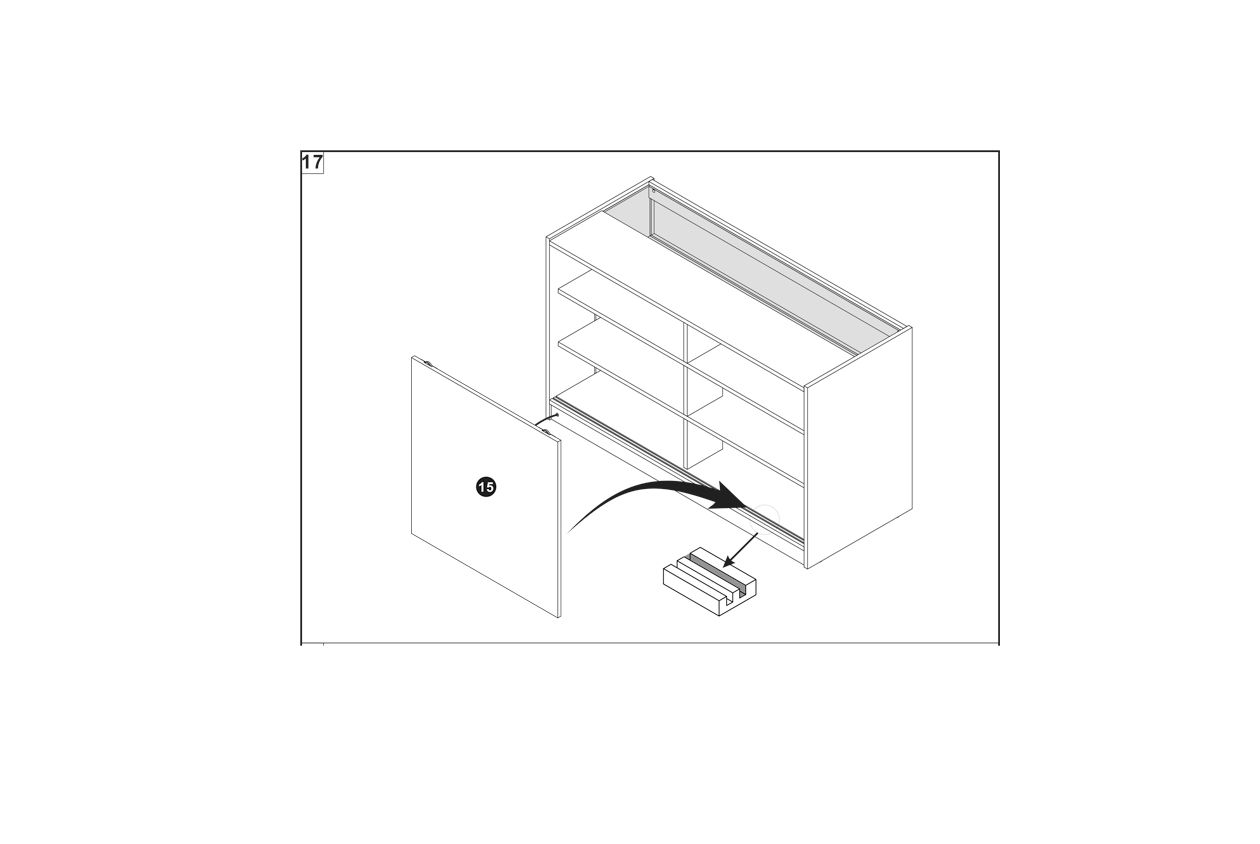
15.
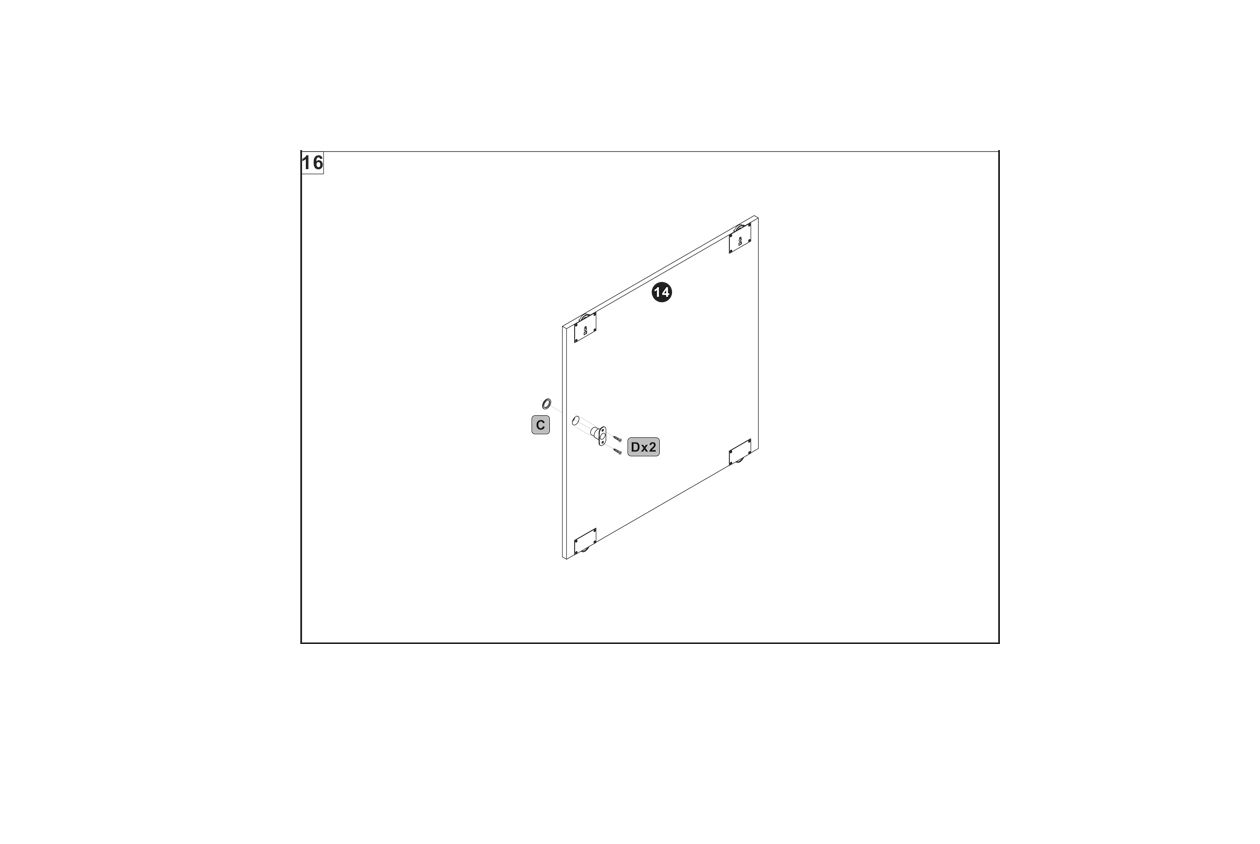
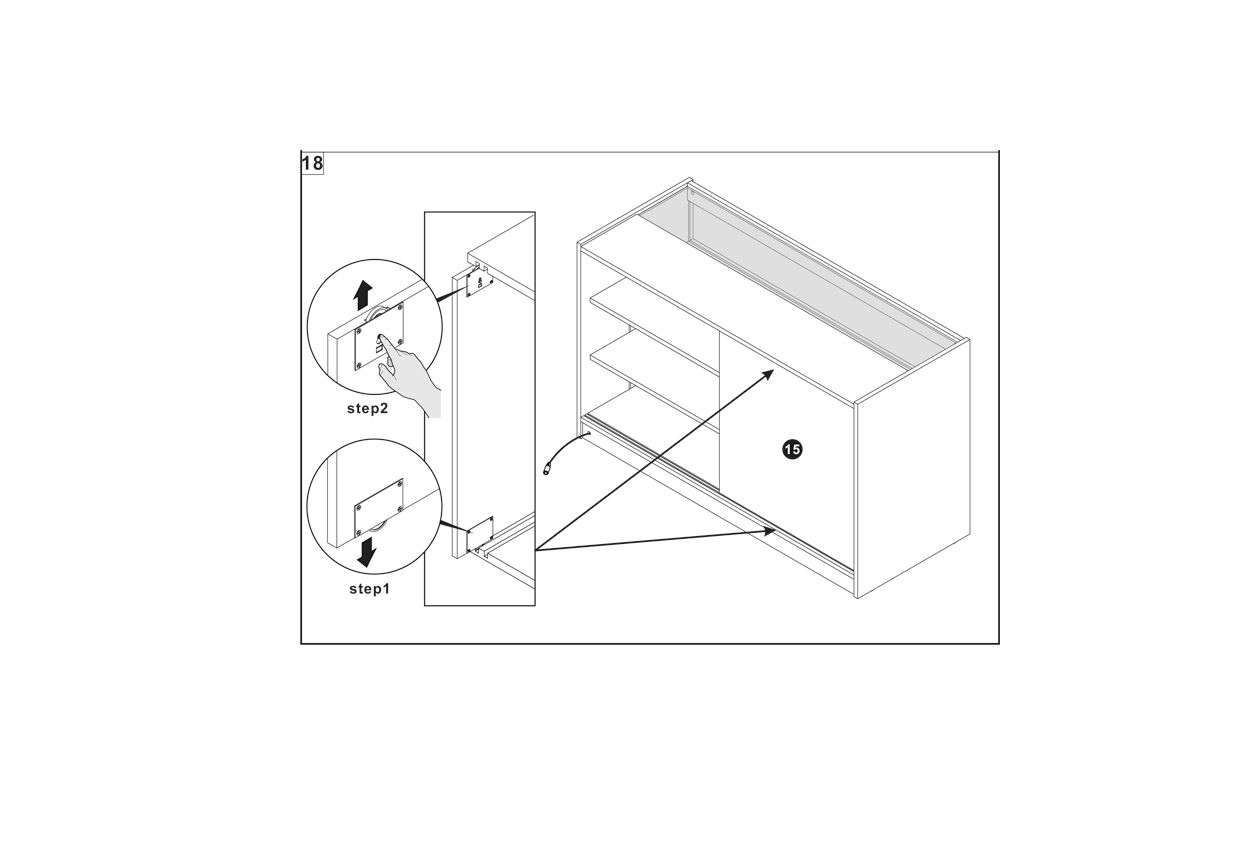
16.
17.
18.
19.
20.
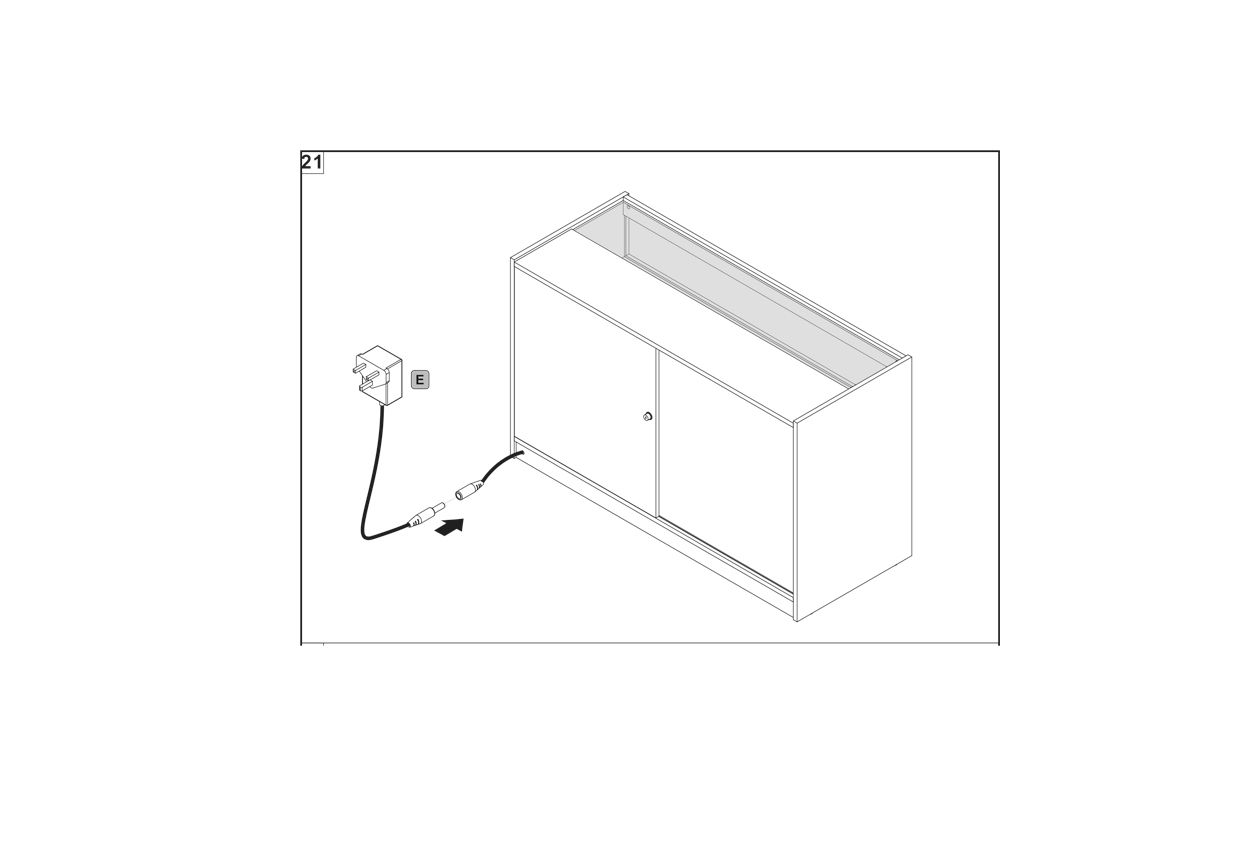
21.
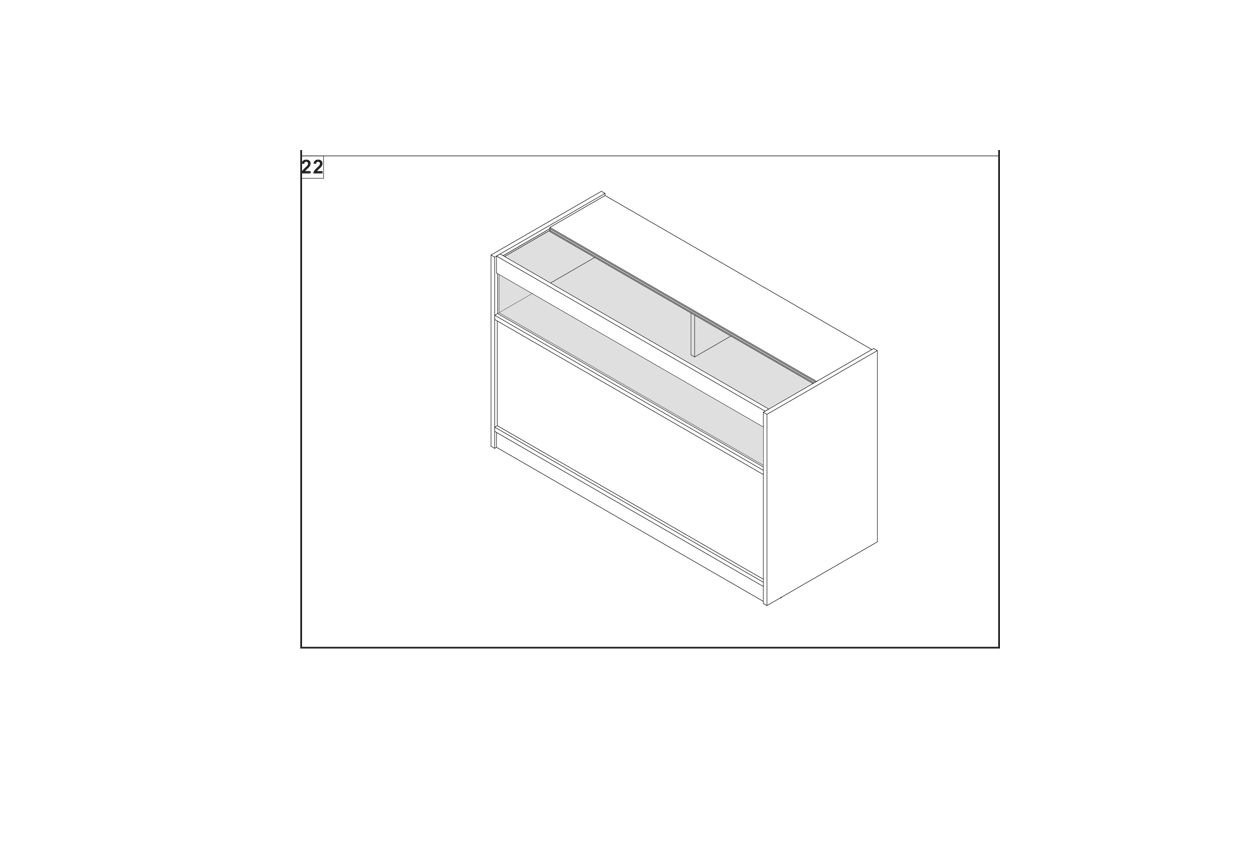
22.
23. Maintenance
Clean the unit with a soft, damp cloth. Avoid using harsh chemicals or abrasive cleaners, which could damage the laminate or glass surfaces.
Clean the glass shelves with appropriate glass-cleaning products to maintain visibility and avoid streaks.
24. Troubleshooting
WHAT DO I DO IF THERE ARE MISSING PARTS FROM MY ORDER?
If there appears to be any part missing from your order, contact our friendly and helpful Customer Support Team within 7 days of receipt.
FOR ALL OTHER ISSUES, PLEASE CONTACT OUR CUSTOMER SUPPORT TEAM.
Previous stepCopy link to sharePrint / PDFNext step